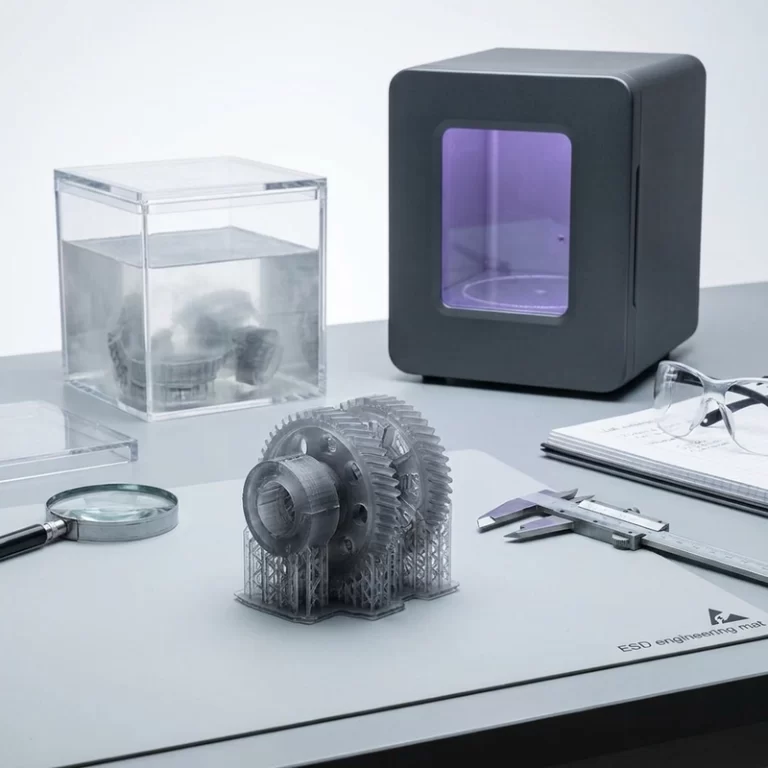
Grey SLA resin is popular for prototype reviews for one simple reason: it makes shape easier to judge. Not stronger by default. Not more heat-resistant by default. Just easier to read on the bench, under a lamp, and in photos when the team is checking edges, curves, gaps, support scars, and small surface defects.
I use grey parts as a kind of truth surface. White resin can wash out highlights. Black resin can hide shadows. Clear resin often needs extra finishing before anyone can judge the actual form. A matte grey part sits in the middle, so a low spot, a sanding scratch, a warped lip, or a small mismatch between two housing halves becomes harder to ignore.
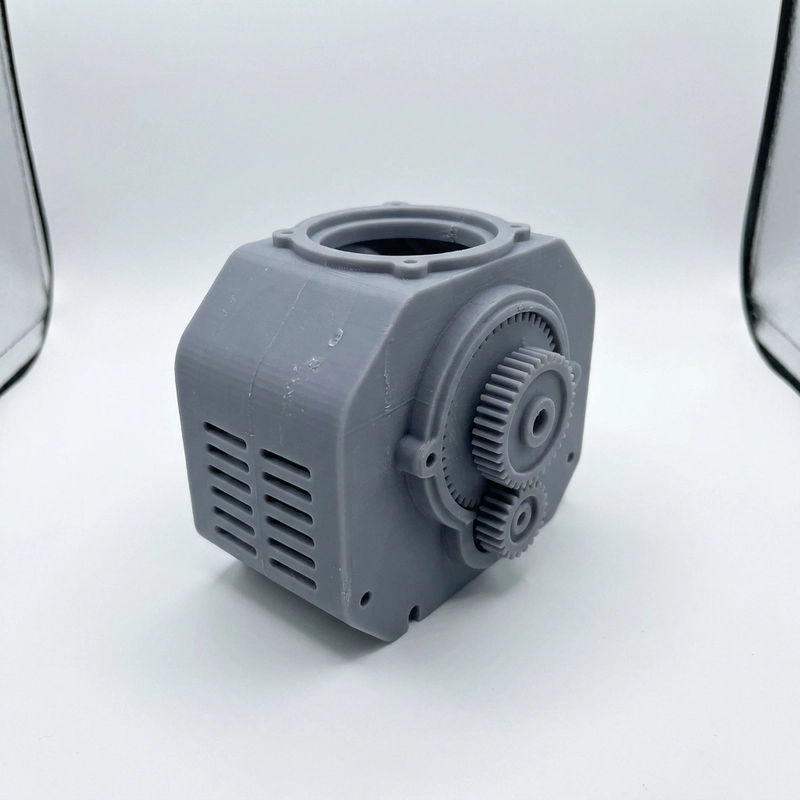
Where grey SLA resin earns its place
Grey SLA resin is useful when the prototype is being judged by appearance, fit, texture, and small design details. Consumer product housings, electronics shells, hand-held models, figurine masters, medical-style display models, small brackets, knobs, clips, and design review samples often benefit from the neutral surface. The material does not distract the eye with gloss or color, so the geometry gets the attention.
That is why I would choose it for a design meeting before I would choose a bright colored resin. It photographs cleanly, takes marker notes well, and lets a designer point to the actual problem: this corner is too sharp, this radius is too flat, this split line is visible, this support mark is in the wrong place. Those comments are more useful than a vague “the prototype looks fine”.
Compared with FDM, the visible layer lines are usually finer. Compared with rough powder-bed nylon, small engraved text and soft surface transitions are easier to inspect. If the buyer only needs a tough working part, grey SLA resin may not be the best route. If the buyer needs to see the product shape clearly before tooling, painting, or a sales review, it is often the practical choice.
For the larger process context, I would pair this article with the Zesmir overview on SLA resin 3D printing. The resin color matters, but the process choices around orientation, supports, washing, curing, and finishing decide whether the sample is actually useful.
Grey SLA resin is not a strength grade
This is the mistake I try to catch early. Grey SLA resin describes the color and finish family, not a mechanical promise. Some grey resins are standard photopolymers. Some are tougher. Some are formulated for higher heat resistance or smoother appearance. The part may look industrial because it is matte grey, but that does not mean it can survive repeated snap-fit testing, screw tightening, heat exposure, or drop impact.
If the prototype must bend, flex, take screws, hold clips, or sit near heat, I would not approve the material from the color name. I would ask for the actual resin grade, datasheet, post-cure condition, and intended test. For repeated flex or stronger functional checks, the related articles on high-strength SLA resin and heat-resistant SLA resin are better starting points.
There is also a handling issue. Thin walls can chip during support removal. Long flat panels can move if the orientation, support layout, or post-curing cycle is poor. Thick sections may cure differently from thin ribs. A beautiful grey surface does not cancel those process risks.
Grey SLA resin should be judged after cleaning and curing
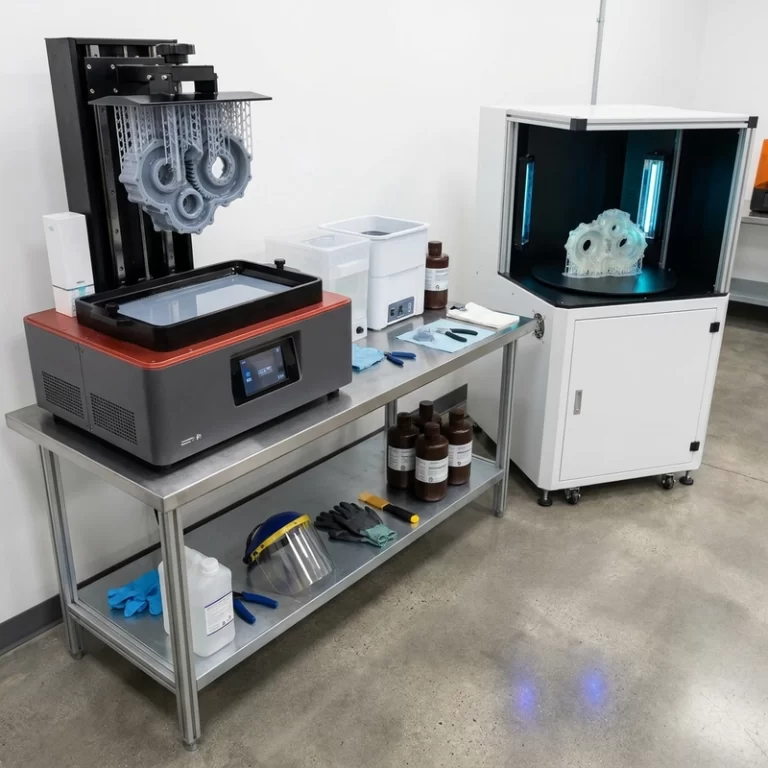
I do not trust a resin fit check before the part has gone through the real cleanup route. Washing removes uncured resin. Post-curing changes the final feel and can affect dimensional stability. Sanding removes material. Primer and paint add thickness. If the part is going into an assembly review, measure the critical areas after the same finishing route the final review sample will use.
Sticky surfaces, soft corners, or greasy residue usually point back to cleaning, resin condition, exposure, or post-curing. The article on SLA resin sticky surface goes into that problem more directly.
Grey SLA resin makes support scars easier to see
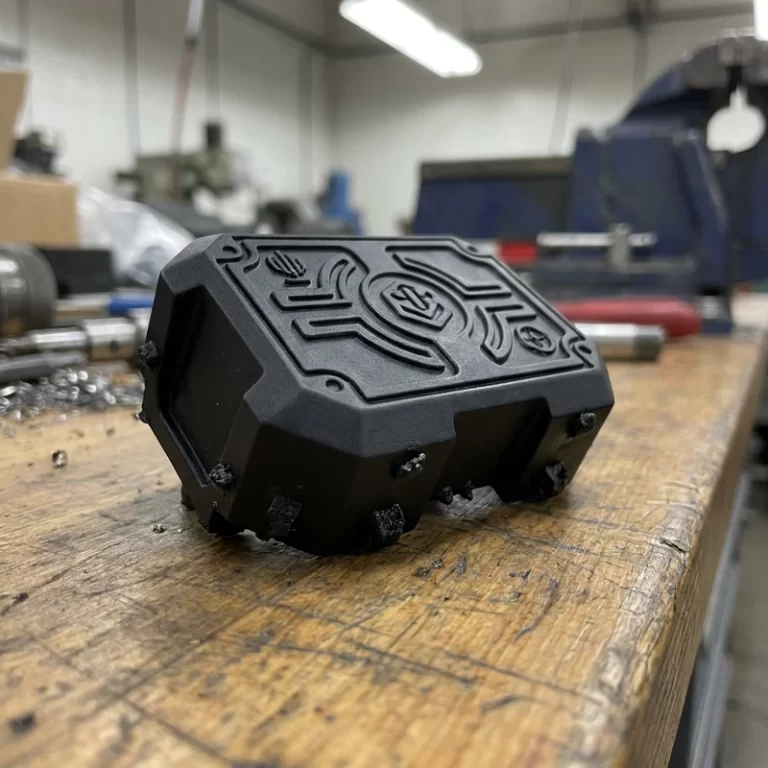
A grey prototype is honest about support marks. That is good, but it also means bad orientation becomes obvious. If the visible face is pointed into the support zone, the part may need extra sanding and primer. If a support contact lands on a logo, a fine rib, or a polished cosmetic face, it may never look clean without reprinting or repainting.
My usual check is to mark cosmetic faces before slicing, not after the part is printed. Front surfaces, touch surfaces, logo areas, thin decorative ribs, and mating edges should be protected as much as the geometry allows. The support side can often be hidden on the back, inside, or underside of the part. Not always, but it should be a deliberate choice.
Wet sanding can reduce support scars and layer marks. Primer can reveal scratches and fill small defects. Paint can make the sample look closer to the product target. It can also hide small dimensional problems until assembly. For that reason, I would check fit before finishing and again after primer or topcoat when clips, sliding surfaces, or tight gaps are involved. Zesmir’s article on resin print paint adhesion is useful when the sample must be painted rather than only reviewed raw.
What grey SLA resin can and cannot prove in a review
A grey model can prove that the shape reads well. It can help a team inspect proportions, draft-like surfaces, screw boss placement, hand feel, edge breaks, logo visibility, and assembly gaps. It can show whether a product looks too bulky or too fragile before the design moves into tooling or CNC work.
It cannot prove final plastic performance by itself. Injection-molded ABS, PC, nylon, POM, or elastomer parts will not behave like a standard photopolymer. Raw grey resin does not predict final pigment, gloss, texture, clear-coat behavior, UV stability, or long-term load. If the final part is painted, the painted sample is the color approval sample. The raw grey part is the geometry review sample.
I like using the wording from process standards carefully here. ISO/ASTM 52900 is helpful for additive manufacturing terminology, but it does not qualify a resin prototype for a final product use. The actual drawing, resin datasheet, finishing route, and test plan still decide what the sample means.
| Review goal | Grey SLA resin fit | What I would check |
|---|---|---|
| Appearance review | Very useful | Visible faces, split lines, texture, logo detail |
| Fit check | Useful for many small parts | Critical dimensions after curing and sanding |
| Painting master | Good base when prepared well | Primer adhesion, sanding marks, coating thickness |
| Snap-fit test | Depends on resin grade | Use tough resin or another process for repeated flex |
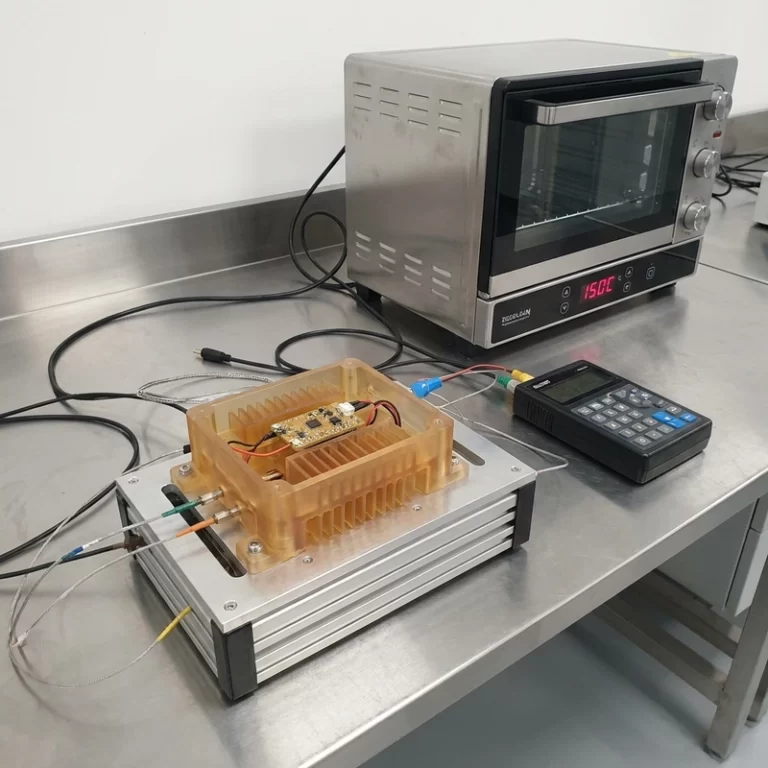
| Heat exposure | Limited unless a heat-resistant grade is selected | Check HDT, load, and actual test temperature |
How I would brief a grey SLA resin prototype
The RFQ does not need to be dramatic. Send the STEP or STL file, target scale, tolerance notes, quantity, and the reason for the prototype. Then mark the surfaces that must stay clean. If the part will be painted, say so. If it will be assembled, identify clips, screw bosses, sliding faces, holes, and cosmetic gaps. If only one side will be photographed, mark that side.
I would also state whether the part is for raw design review, primer inspection, painted approval, light handling, or functional testing. Those are different jobs. Grey SLA resin is excellent when the job is to make form, defects, and finishing work visible. It becomes the wrong shortcut when the team expects a neutral grey prototype to behave like the final production material.