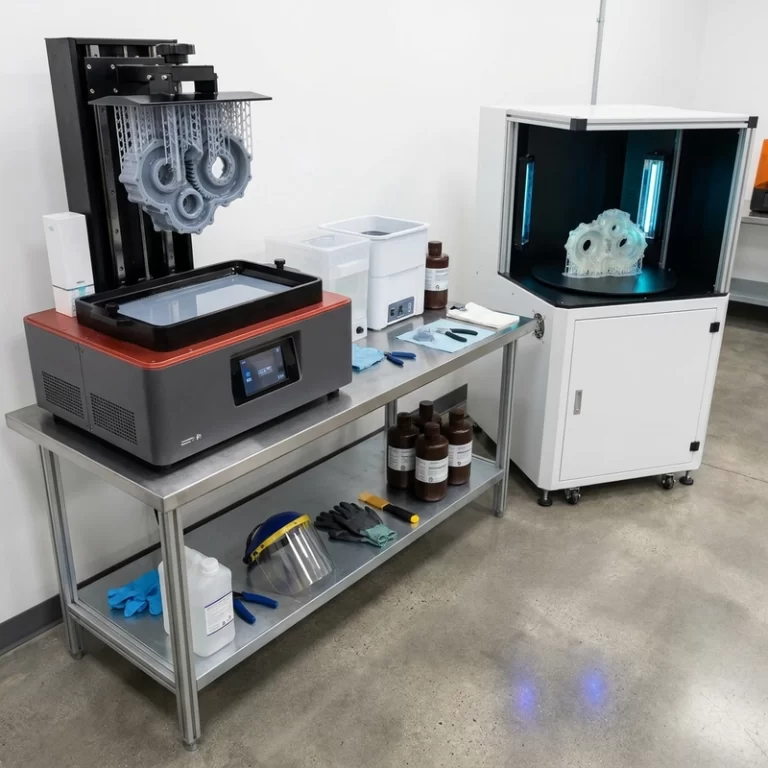
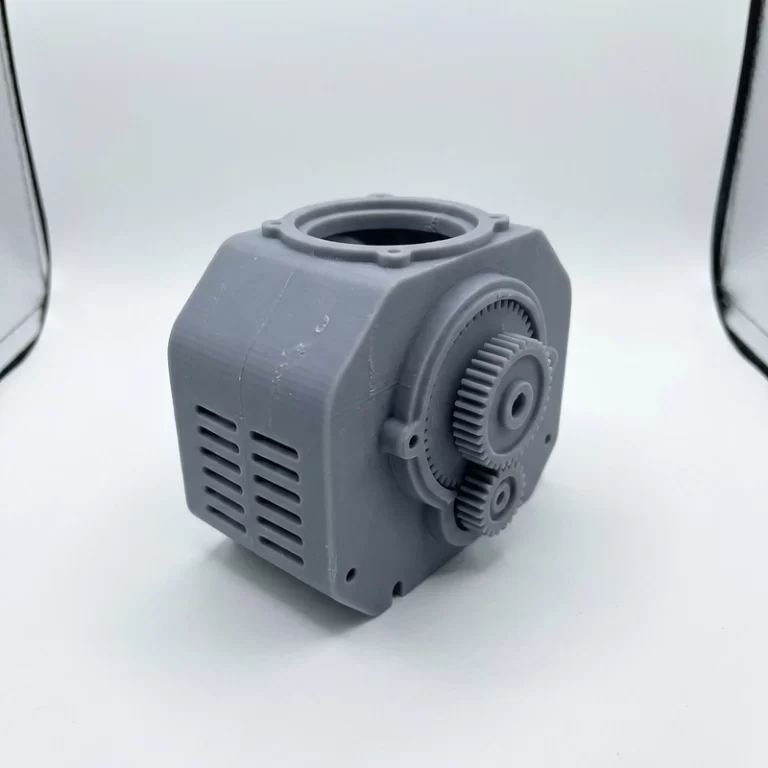
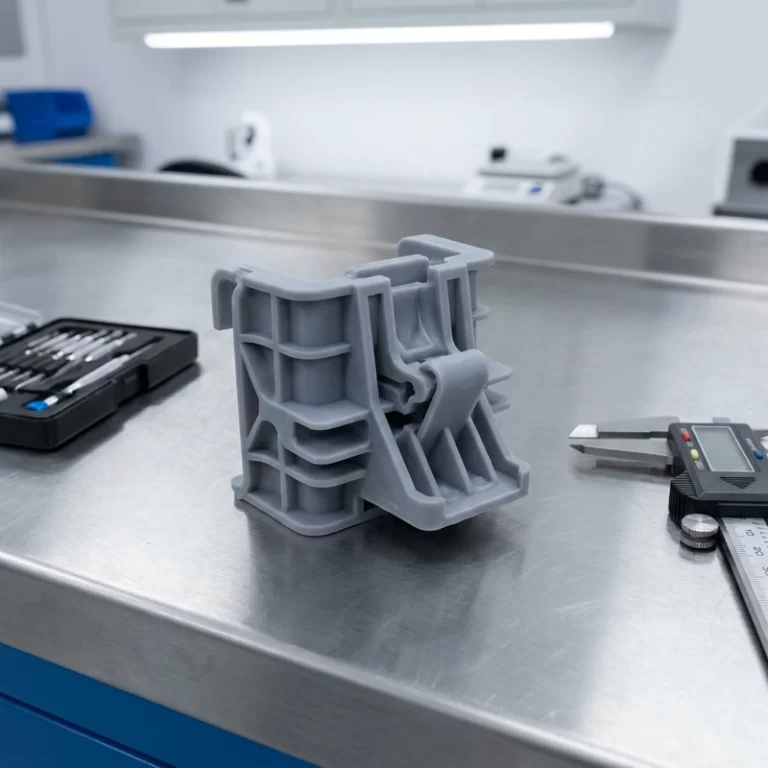
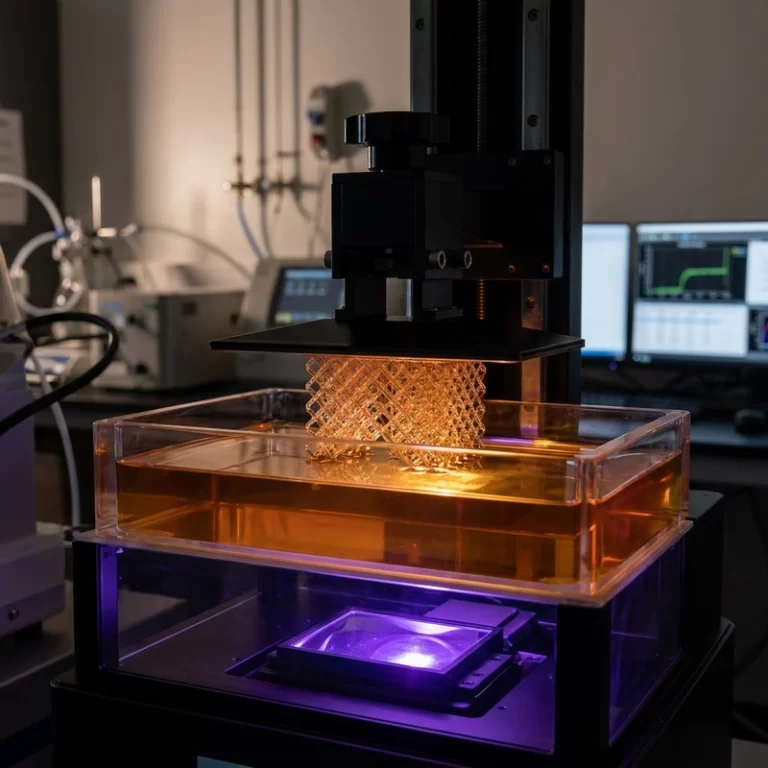
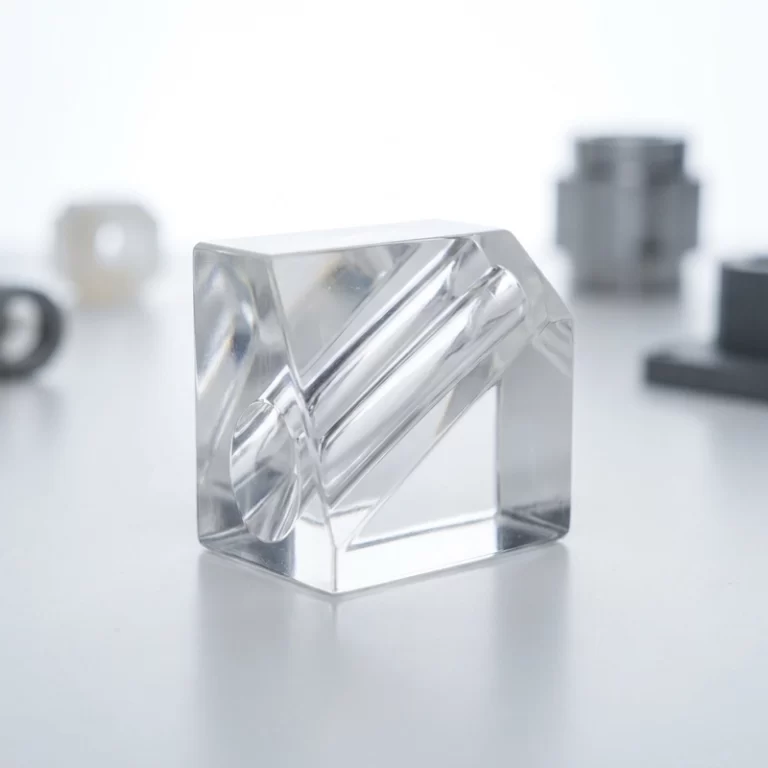
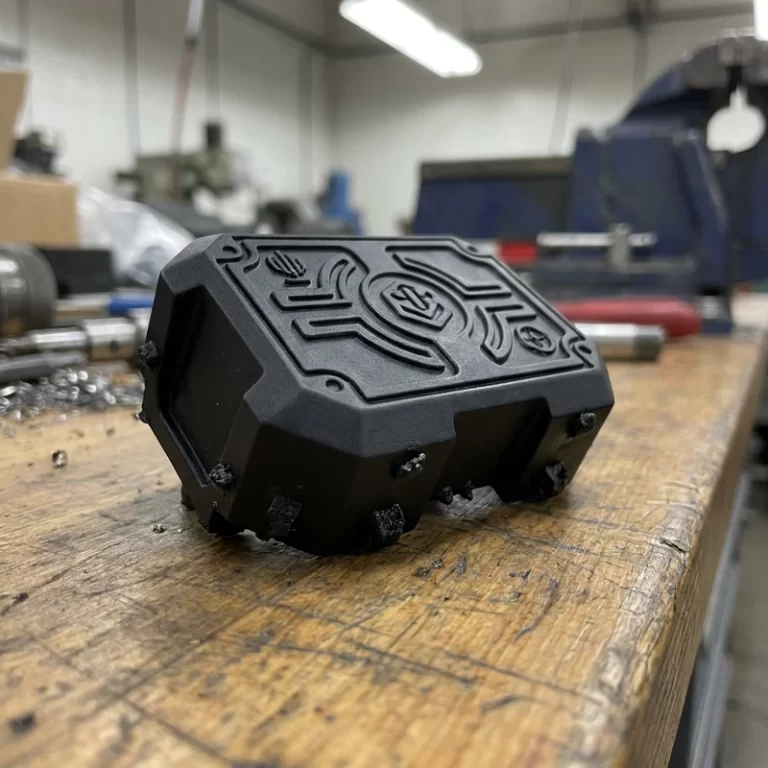
SLA resin sticky surface problems occur when photopolymer fails to cure completely at the surface or when uncured resin residue remains on the part before final UV exposure. The part may look dimensionally accurate leaving the printer, yet the surface feels tacky, attracts dust, smells strongly of resin, resists primer adhesion, or remains slightly oily after drying. Across industries — automotive lighting prototypes, medical surgical guides, aerospace ducting mockups, consumer electronics enclosures, robotics end-effectors and dental models — this defect compromises painting, bonding, dimensional inspection and customer approval. Resolving an SLA resin sticky surface requires diagnosing the root cause rather than simply extending UV exposure time.
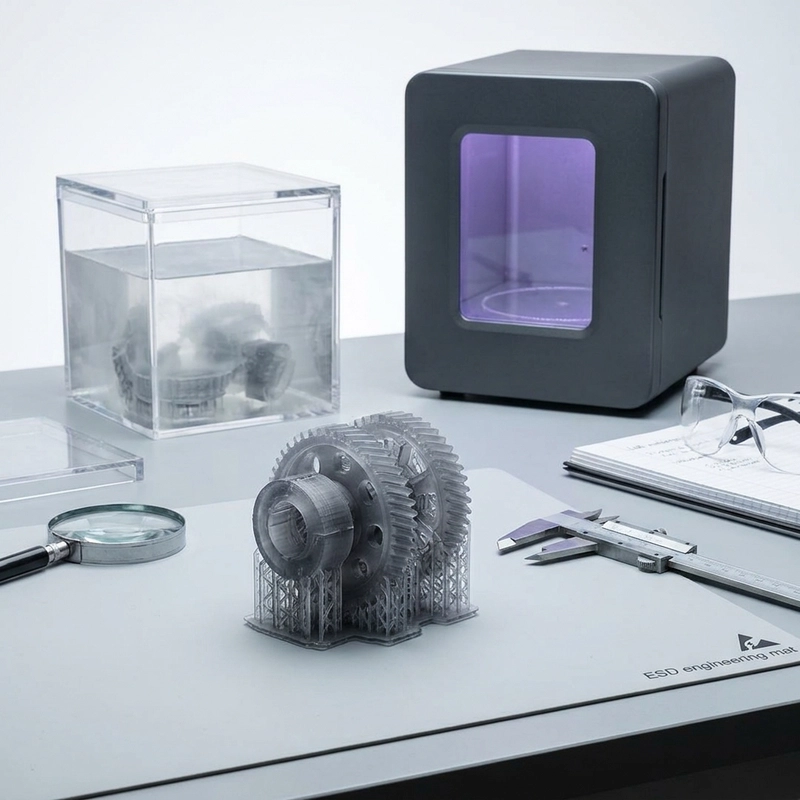
The common mistake is to fix surface tackiness only by adding more UV time. Sometimes that works. Often it makes the part brittle, yellowed, warped or over-shrunk while the sticky layer remains in recesses. A better workflow separates the causes: resin condition, exposure calibration, oxygen inhibition, washing chemistry, cleaning time, drying, post-curing intensity, part geometry and room humidity.
What Causes an SLA Resin Sticky Surface?
SLA, DLP and LCD resin printing all rely on photopolymerization. A liquid resin contains monomers or oligomers, photoinitiators and additives. Under UV light, the photoinitiator starts a chain reaction that links the liquid resin into a solid polymer network. If the surface receives too little effective UV energy, or if liquid resin remains on the surface, the part will feel sticky.
Oxygen inhibition is another major cause. Oxygen at the air-facing surface reacts with free radicals and slows polymerization. This is why a part may be adequately cured internally yet remain tacky on the outer skin. The effect is stronger on broad flat surfaces, complex grooves, internal cavities, deep textures and parts that were not cleaned fully before curing — a frequent issue for robotics gripper pads and aerospace ducting with internal channels.
Root Causes and Practical Checks
| Symptom | Likely cause | Quick diagnostic check | First correction |
|---|---|---|---|
| Whole part feels oily or tacky | Residual uncured resin after washing | Wipe with clean lint-free cloth; if residue transfers, washing was incomplete | Repeat staged wash, then dry completely before UV curing |
| Only recesses, grooves or internal cavities stay sticky | Solvent and resin trapped in low-flow areas | Inspect holes and texture under strong light after drying | Use brush assistance, syringe flushing or short ultrasonic cleaning |
| Surface stays sticky even after long UV curing | Oxygen inhibition, old resin or weak UV source | Test a small flat coupon with fresh resin and known curing settings | Check resin age, UV output, wavelength match and curing chamber airflow |
| Part becomes brittle or yellow but still tacky in pockets | Over-curing before resin residue was removed | Look for glossy residue in cavities and yellowing on exposed edges | Improve cleaning sequence; do not use UV curing as a cleaning substitute |
| Primer or paint peels easily | Surface contamination or insufficient final cure | Apply tape after primer cure; peeling indicates contamination or weak surface | Wash, fully dry, post-cure, then lightly sand before primer |
Resin Storage and Condition
Resin condition should be verified before adjusting any parameters. Photopolymer resin must be sealed, kept away from light and stored in a controlled environment. A practical storage range is 5–25 °C. Heat, sunlight and repeated air exposure can thicken the resin or partially initiate polymerization. Open bottles can also absorb moisture, which may reduce curing consistency and increase bubbles, layer separation or sticky surfaces.
Before printing, mix the resin gently for 2–3 minutes if pigments or fillers may have settled. Avoid aggressive shaking unless there is time for bubbles to escape. For higher-viscosity resins — common in automotive and aerospace engineering-grade materials — workflows perform better when the resin and room are around 25–30 °C. Below that range, resin flows slowly, refills poorly between layers and traps bubbles.
Exposure Settings: Too Little, Too Much, or Poorly Matched?
Underexposure leaves layers weak and surfaces under-polymerized. Overexposure enlarges features, blurs edges, increases surface roughness, makes support removal difficult and creates swollen-looking layer lines. The correct exposure depends on resin chemistry, wavelength, light intensity, layer thickness, pigment, temperature and printer optics.
For fine SLA resin parts, layer thickness of 0.02–0.05 mm is commonly used. General models often use 0.05–0.10 mm. Typical exposure windows are 8–12 seconds per normal layer for fine models, and 6–10 seconds for ordinary models, with bottom exposure around 30–60 seconds for fine settings or 20–40 seconds for general settings. Treat these as calibration starting points, not universal values, because resin and printer light output vary widely.
A practical calibration approach — covered in our STL file preparation guide — is to print small coupons or a 10 mm cylinder at different layer thicknesses, then compare tackiness, layer lines, edge growth and dimensional drift. If bottom layers fail to hold to the build platform, increase bottom exposure. If the part is hard to release, edges swell, or the surface shows raised bands, exposure may be too high or lift forces may be disturbing the layer.
Cleaning: Remove Resin Before You Cure It
Cleaning is the step most directly linked to sticky surfaces. For standard resins, 90–99.9% IPA is commonly used. A simple part may only need 3–5 minutes of immersion, while a complex model with intricate details — such as medical anatomical models or electronics connector housings with tight tolerances — may need 8–10 minutes. For small jewelry-like details or figurine features, a soft brush removes resin from corners that solvent circulation cannot reach.
For complex geometry, a short ultrasonic cycle can help: 30–50 W for 3–5 minutes. Exercise caution: extended ultrasonic cleaning can damage thin walls, delicate supports or fine surface details. For water-washable resin, use water or a low-concentration IPA-water mix, but contaminated water should never be poured directly into drains — it still contains uncured resin and must be handled according to local waste regulations.
When resolving an SLA resin sticky surface, drying is a critical checkpoint. Let parts air dry in a dark, well-ventilated space. For most solid parts, 30–60 minutes is sufficient; hollow parts or high-humidity environments may require 2–3 hours. Always perform a touch test — the surface should feel completely dry and not tacky — before UV curing. Rushing to post-cure while solvent remains on the surface is a direct cause of persistent tackiness that resists all subsequent correction attempts.
Post-Curing Time and UV Intensity
Post-curing improves final polymer conversion, hardness and surface stability. Many standard resin workflows use 10–15 minutes as a starting curing time, but thickness matters. A test method using 10 mm × 10 mm coupons at 1 mm, 3 mm and 5 mm thicknesses, increasing cure time every 2 minutes until the surface became dry and the coupon had stiffness without brittle fracture, found: 1 mm parts cured around 12 minutes, 3 mm parts around 16 minutes, and 5 mm parts around 20 minutes.
Complex models may need 30–50% more curing time because UV light reaches internal surfaces less directly. Thick sections may need 40–60% more time than thin sections. However, increasing time is not always the right correction. Higher UV intensity above ~100 mW/cm² may allow time reduction of 10–20%, while weaker systems below ~80 mW/cm² may require 20–30% more time. Equipment must also match the resin wavelength — commonly ~405 nm for desktop systems.
Large, thick or strength-critical parts — typical in automotive fixture prototyping and robotics structural components — benefit from staged curing: an initial cure at moderate UV intensity, a brief cool-down to allow thermal stress relaxation, then a second cure to maximize conversion. This approach reduces heat buildup and avoids a brittle outer skin with an under-cured interior.
Humidity, Airflow and Oxygen Inhibition
Room conditions matter more than many teams expect when diagnosing an SLA resin sticky surface. High humidity interferes with surface finish, especially when parts are not dried fully after washing. Poor airflow in a curing chamber leaves oxygen-rich stagnant air at the surface. Some workflows use a small low-speed fan inside the curing box to improve circulation and reduce oxygen concentration at the part surface. While the effect varies by geometry and resin type, improved airflow is a low-cost measure that can help reduce oxygen inhibition on exposed faces.
For optical molds, high-gloss prototypes and consumer electronics display bezels where surface quality is critical, inert-gas curing can reduce oxygen inhibition. Nitrogen blanketing is unnecessary for standard prototypes, but the principle holds: the less oxygen at the surface during curing, the lower the chance of a persistent tacky film. A practical alternative to inert gas is water-curing: fully submerge the dry part in a clear container of room-temperature water during UV post-curing. The water displaces oxygen from the surface, allowing the outer layer to cure nearly as hard as the interior. This technique is especially effective for standard and water-washable resins, which are most prone to oxygen inhibition.
Layer Lines, Delamination and Warping Are Related
Surface tackiness is often part of a wider process problem. Severe layer lines may indicate exposure mismatch, high resin viscosity, unstable lift motion or platform vibration. Delamination may stem from short exposure, excessive layer thickness, cold resin, aged resin or peel forces exceeding layer adhesion. Warping is often caused by curing shrinkage stress, weak supports, poor orientation or aggressive post-curing.
| Process control | Source range or example | Why it matters |
|---|---|---|
| Layer thickness | 0.02–0.05 mm for fine models; 0.05–0.10 mm for general models | Thinner layers reduce visible stepping but increase time and sensitivity to layer bonding |
| Lift speed | 30–60 mm/min general; 3–5 mm/min for delicate cases | Fast lift increases peel force and can tear soft layers or distort tall parts |
| Lift distance | 2–5 mm general range | Allows resin to refill under the part before the next exposure |
| Room and resin temperature | 25–30 °C for stable resin flow | Reduces viscosity, improves refill and lowers bubble risk |
| Support density | 25–40% for warp-prone SLA parts | Supports restrain shrinkage and reduce edge curl, but excessive support damages surface |
| Thin-wall guideline | At least ~0.8 mm | Very thin walls deform more easily during peeling, washing and curing |
A Practical Troubleshooting Sequence
- Print a small coupon with fresh, well-mixed resin at normal room temperature.
- Wash it in clean IPA using a two-stage wash, then dry it completely.
- Post-cure using the resin supplier’s baseline time, then check tackiness, hardness and color.
- If still sticky, increase curing time in small steps, such as 2-minute increments, instead of jumping to a long cure.
- If the surface stays sticky after reasonable curing, check UV intensity, wavelength, resin age and oxygen inhibition.
- If only recesses are sticky, improve washing flow and drying rather than increasing whole-part UV time.
- If the part turns brittle or yellow, reduce cure energy and review washing before curing.
When the Part Will Be Painted or Used as a Master Pattern
Sticky resin surfaces are especially risky for painting, silicone mold making and master patterns — as discussed in our 3D printing design guidelines. Primer may fisheye, peel or remain soft if resin residue is left underneath. This is particularly critical for dental model duplication and medical device prototyping where surface integrity directly impacts downstream accuracy. After washing and post-curing, lightly sand the surface, remove dust, and apply primer only when the surface is fully dry and odor has decreased. For display figurines, prototypes with fine text, and small production masters, preserving detail is more important than aggressive sanding — the cleaning and curing process should do most of the work before abrasives are used.
Engineering Data to Prepare Before Production
For repeatable SLA resin production, record: resin brand and batch, storage age, layer thickness, normal exposure, bottom exposure, lift speed, lift distance, room temperature, wash solvent, wash time, drying method, post-curing time and UV device specifications. For parts requiring painting, bonding, sealing or casting, add surface acceptance criteria: no tackiness, no visible solvent stains, no uncured resin in cavities and successful primer adhesion after tape testing.
Conclusion
An SLA resin sticky surface is not merely a cosmetic flaw — it is evidence that cleaning, curing or material control is incomplete. For foundational background on stereolithography, refer to the Stereolithography article on Wikipedia. The reliable fix follows a disciplined sequence: use fresh resin, stabilize temperature, calibrate exposure, wash in clean solvent, dry thoroughly, post-cure according to thickness and geometry, then validate the surface before painting or assembly. More UV time helps only after uncured resin has been removed. Without that step, curing can lock the defect into the part permanently.
Need expert guidance on SLA resin post-processing for your industry? Visit our custom 3D printing service page for application-specific SLA process optimization. From automotive lighting prototypes and medical surgical guides to aerospace ducting and consumer electronics housings, Zesmir provides application-specific SLA process optimization. Contact us at [email protected] to discuss your workflow requirements.