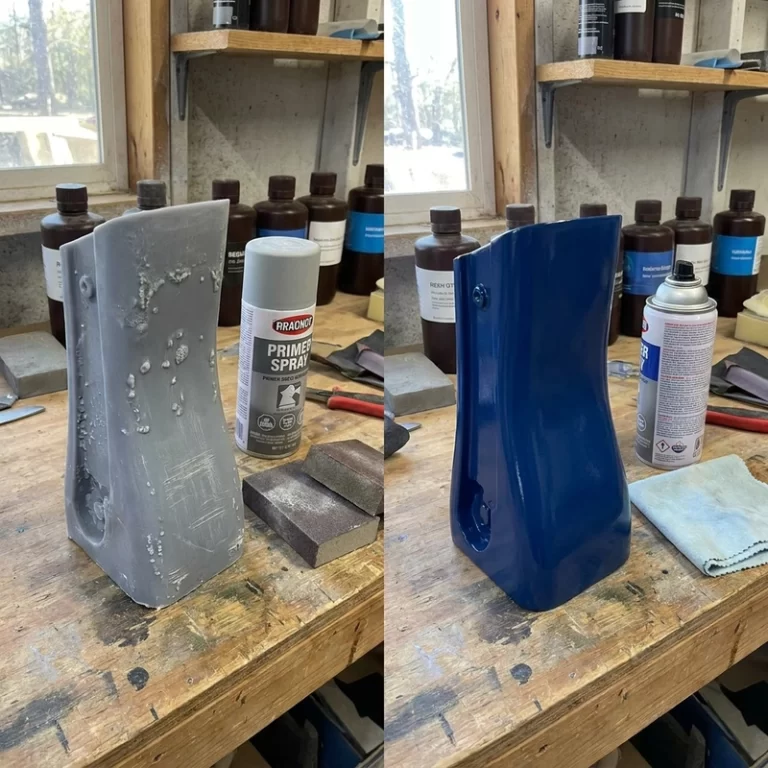
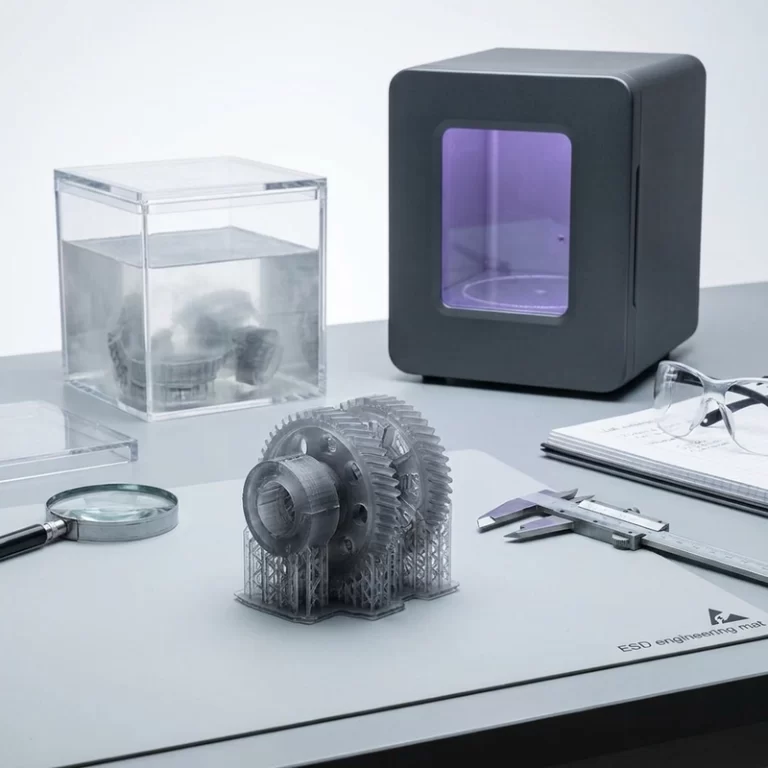
SLA printing failures usually start with something small: one corner lifting, a thin wall tearing during peel, a support tip leaving a crater, or a glossy uncured patch that should not be there. I do not like fixing these problems by changing five slicer settings at once. It hides the real cause. SLA printing failures need to be read from the failed part, the resin vat, the supports, and the first few layers.
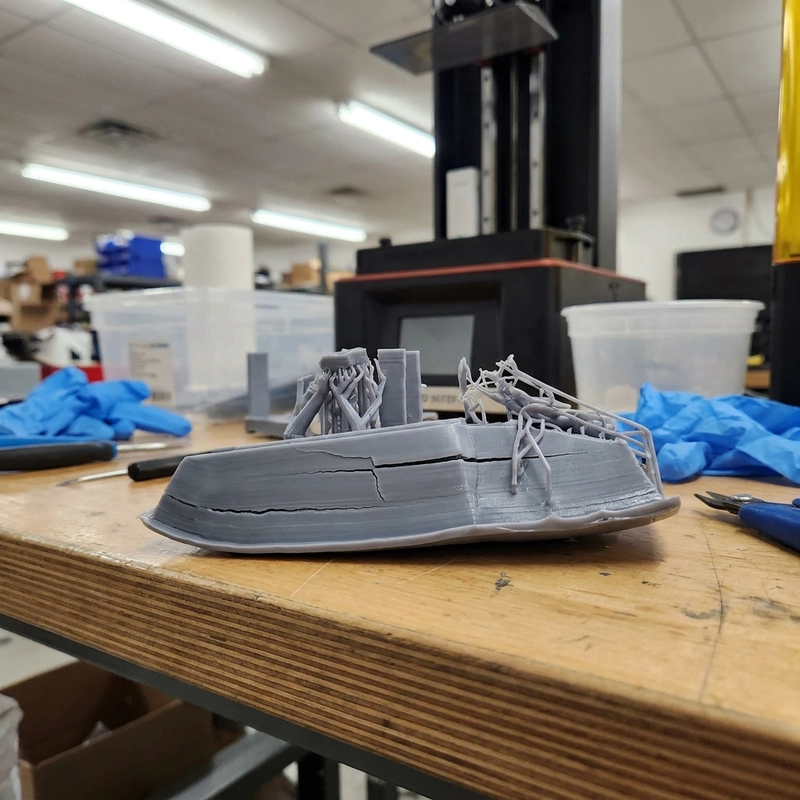
The usual mistake is blaming the resin first. Resin condition matters, but a clean bottle of resin will still fail if the exposure is short, the part is too flat against the film, the support contact is too weak, or the room temperature makes the resin thick. I normally start with the failure surface. A clean straight split says something different from a gummy torn surface. A part that prints the raft but loses the model points toward supports and orientation. A model that never bonds to the build plate points back to the base layers, plate surface, leveling, or contamination.
Reading SLA printing failures before changing exposure
Exposure is the setting people reach for first, and sometimes that is correct. Underexposure can leave weak layers, soft edges, support breakage, and poor raft bonding. Overexposure can blur small details, close holes, thicken support tips, and make removal damage worse. The source notes small exposure changes around 5-10% as a safer adjustment range. That is how I would test it too: one change, one coupon, same resin, same room, same orientation.
Layer height also changes the exposure window. A 0.05 mm layer and a 0.08 mm layer do not ask the resin to cure through the same depth. If the part was sliced at a different layer height from the last successful job, the old exposure may no longer be a fair comparison. Dark resin, black resin, filled resin, and thicker specialty resin usually need more careful exposure checks than a standard gray material.
The bottom layers deserve separate attention. The source material mentions bottom exposure often 50-100% higher than normal layer exposure, with an example range of 12-16 seconds compared with 8 seconds normal exposure. Treat those as machine and resin dependent, not a recipe. The useful point is that raft adhesion and model detail are controlled by different parts of the exposure setup.
Resin condition behind SLA printing failures
Cold resin moves badly. Below about 15 C, many resins become viscous enough that recoating and peel behavior get unstable. A more practical working environment is often around 25-30 C when the resin supplier allows it. I would not heat resin blindly with a random heater. Check the datasheet, warm the bottle evenly, and avoid hot spots that change the material before printing.
Old resin, poorly mixed resin, and contaminated resin create failures that look random. Pigments and fillers settle. Small cured flakes in the vat can scratch the film or block a layer. A cloudy vat film can reduce light transmission and create weak zones. Before blaming the CAD model, I check whether the resin was shaken or rolled properly, whether the vat has debris, and whether the same resin has printed a small test coupon cleanly.
Cleaning can create its own defects. The source gives a common cleaning window of 5-10 minutes, but the real time depends on resin and part geometry. Overwashing can soften details. Underwashing leaves oily residue that later affects paint or assembly. If the part has deep pockets, a quick surface rinse is not the same as removing uncured resin from inside the feature.
Support and orientation checks for SLA printing failures
Support failure is often a geometry problem wearing a parameter mask. A part placed flat can create high peel force. A hollow part with poor drain holes can pull like a suction cup. A tall feature with only light contacts may print halfway and then tear loose. The source suggests orienting many resin parts around 10-15 degrees instead of forcing the largest face parallel to the film. That angle is not magic, but it often reduces sudden peel load.
Support density in the 25-35% range, with local zones around 40% for demanding areas, is a useful starting reference from the source. Contact points below about 0.5 mm can be too weak for heavier or long parts. The trick is not to cover the whole part with heavy supports. Put stronger supports at the first contact points, hidden surfaces, and heavy overhangs. Use lighter supports where scars matter.
For a broader support discussion, I would pair this with Zesmir’s article on 3D printing support design. If the failure is mostly resin process and surface appearance, the SLA resin 3D printing guide is the better companion page.
Thin walls, holes, and post-curing traps
SLA can print fine detail, but thin walls still need enough cured cross-section to survive peel, cleaning, and handling. The source flags walls below about 0.8 mm and unsupported spans over 50 mm as risky. Holes also shrink or close because light bleed, overcure, and resin residue all push against the CAD size. Hole allowance around 0.1-0.2 mm and shaft clearance around 0.05-0.1 mm may be needed in some small assemblies, but the final value depends on machine calibration and cleanup.
Post-curing is another quiet cause of rework. Under-cured resin can feel tacky and weak. Over-cured resin can become brittle or warped, especially in thin sections. The source mentions 20-40 minutes for many parts, with thick or dark parts sometimes needing 60 minutes or more, and 40-60 C assisted curing when the resin supplier supports it. I treat that as a controlled process, not a drying step. Rotate parts, avoid uneven heat, and test a coupon when the resin is new.
For terminology and process families, the NIST additive manufacturing page is a useful neutral reference. It will not fix a failed print, but it helps keep resin process discussions from turning into loose shop vocabulary.
A practical SLA failure note for RFQ files
When I review an SLA file, I want the failure risk written down before quoting: target resin, minimum wall, cosmetic faces, holes that must fit pins, paint requirement, and whether the part is display-only or handled often. For a failed job, keep the failed part photo, slicer screenshot, resin name, layer height, exposure, support view, room temperature, and post-cure time. SLA printing failures become much easier to solve when those notes travel with the file instead of staying in somebody’s memory.