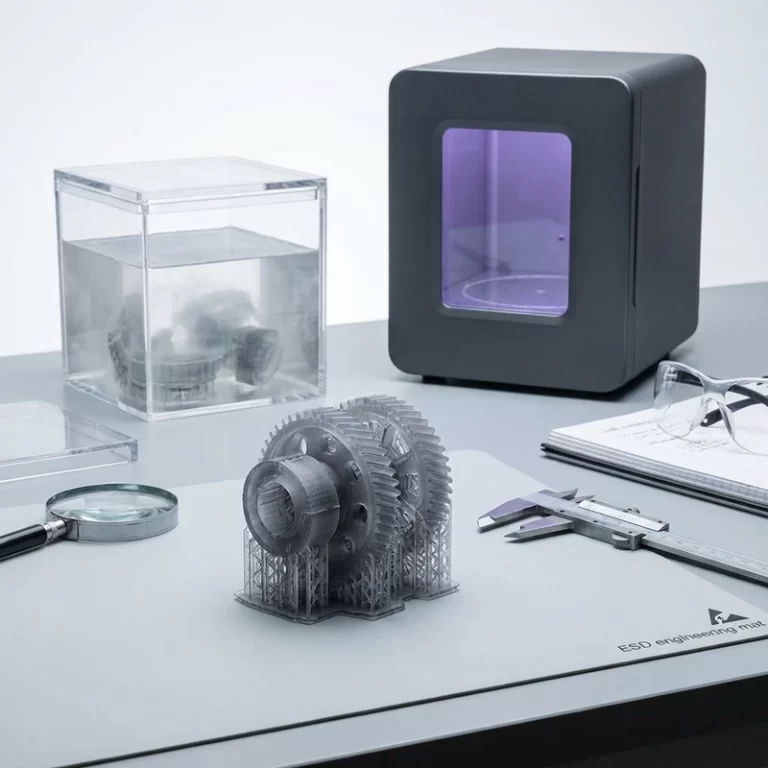
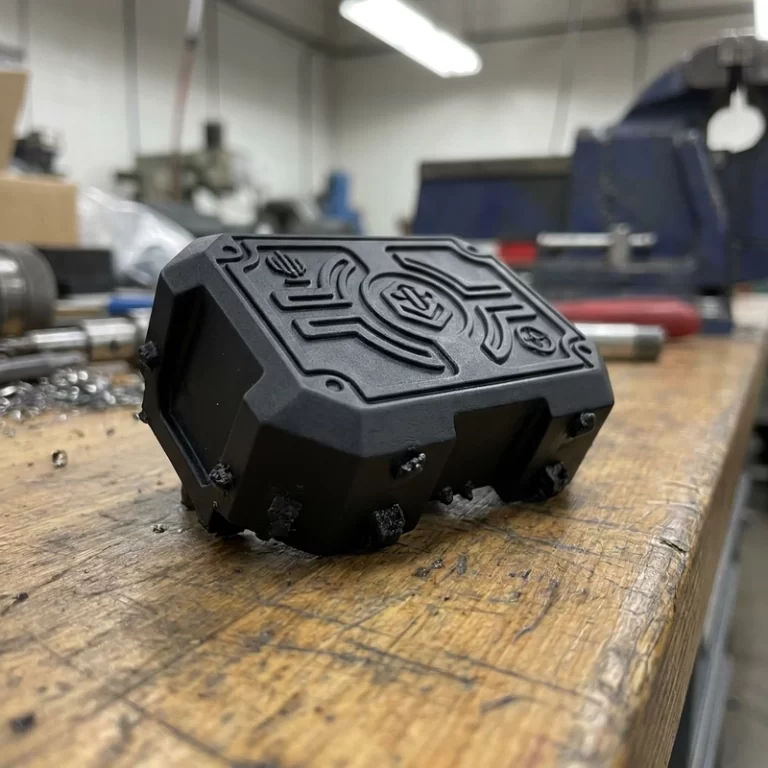
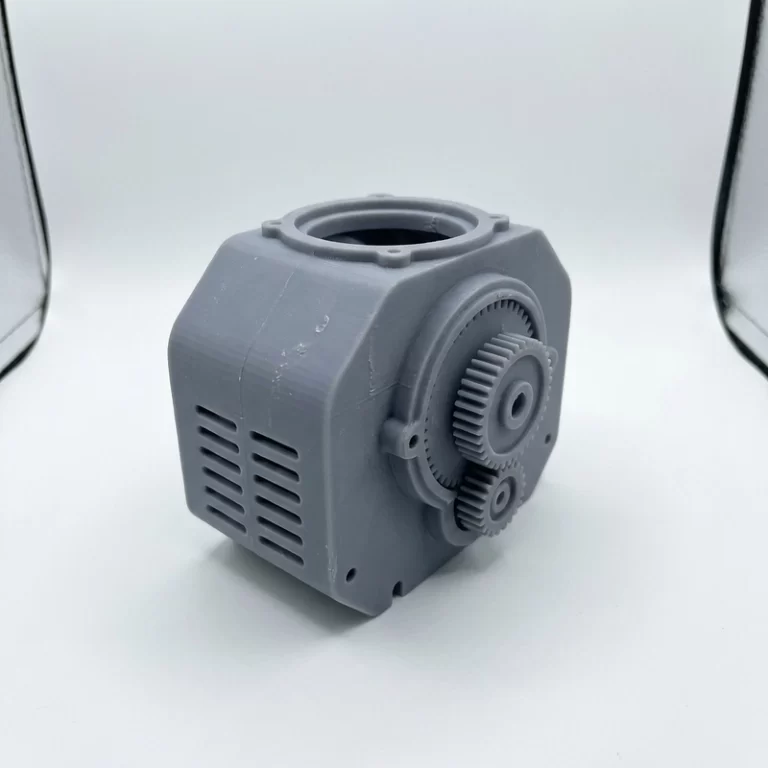
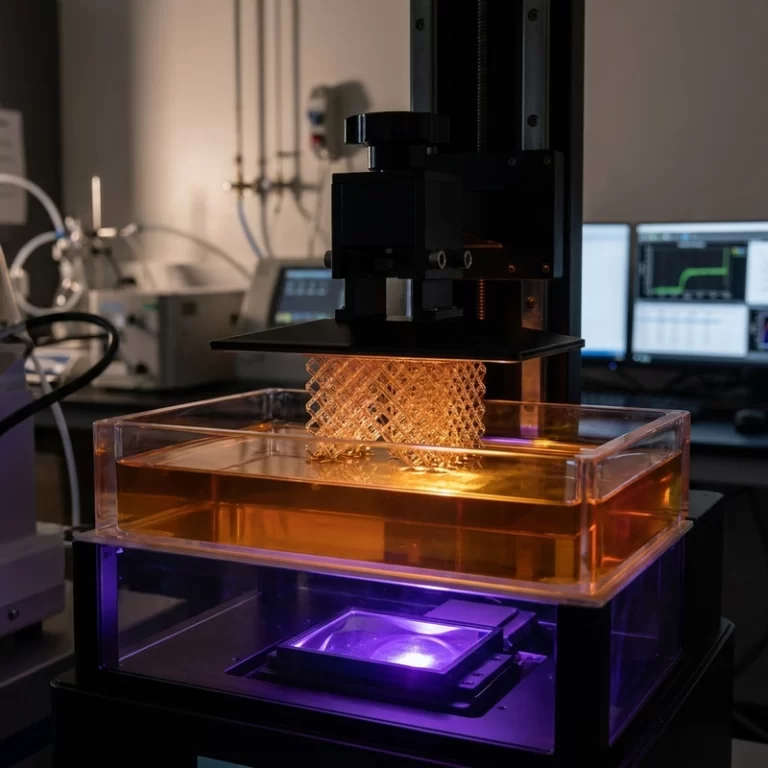
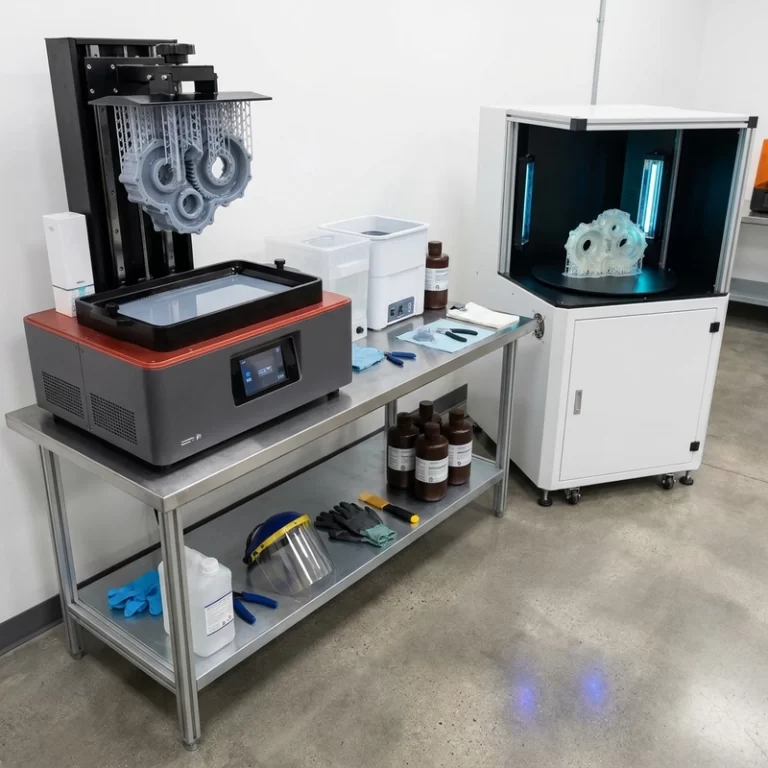
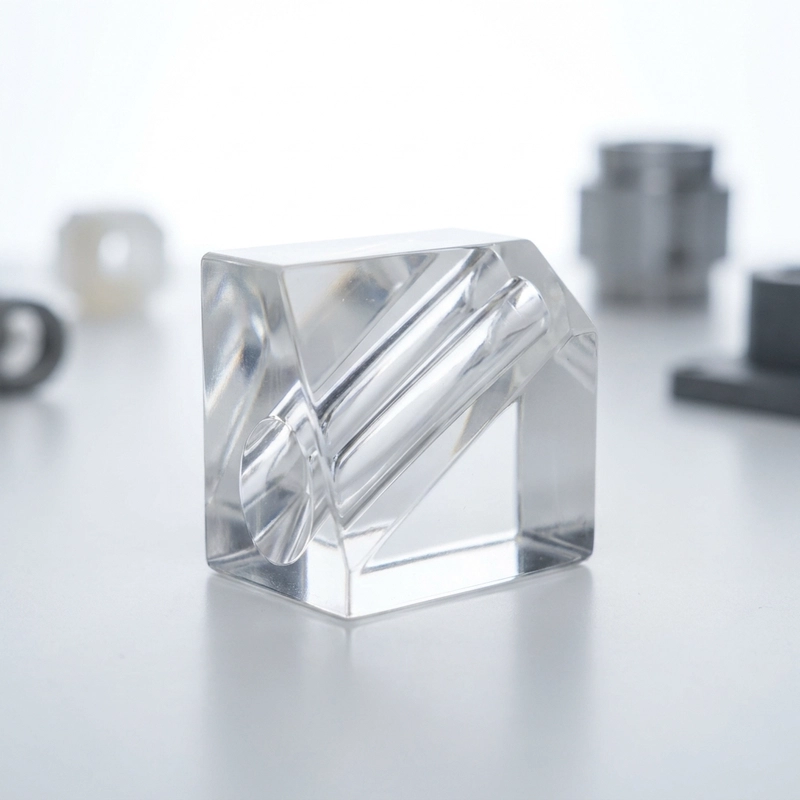
A transparent SLA part rarely looks like injection-molded acrylic straight from the build plate. Clarity depends on layer orientation, support placement, washing, curing, sanding, polishing or clear coating, and the length of the optical path. Define whether the requirement is translucent, presentation-clear or optically functional before selecting the workflow.
1. Why Transparent SLA Resin Parts Come Out Cloudy
Cloudiness usually comes from surface roughness, visible layer steps, trapped uncured resin, bubbles, cure-related yellowing or geometry that blocks polishing access. The pattern of haze should be identified before changing material. Printer, resin and orientation can all contribute, so compare controlled samples rather than assuming the resin is defective.
Each SLA layer boundary can scatter light through surface texture and refractive-index variation. A smaller layer height may reduce visible stepping, but it also increases build time and can change peel forces. The benefit is geometry-dependent, so compare representative samples at the planned thickness and orientation instead of applying a universal percentage improvement.
Part Orientation for Optical Clarity
Keep the primary viewing face free of supports whenever geometry allows. Flat windows, curved covers and cylindrical light pipes each need a different compromise between visible layer bands, support scars and build reliability. Document the chosen viewing direction and support side in the quote or drawing so the buyer understands where finishing marks may remain.
2. Exposure and Post-Curing Balance for Transparent SLA Resin
Exposure control is tighter for clear resin because overexposure can appear as yellowing as well as dimensional growth. Use supplier-recommended calibration parts for a new resin batch, and check thin walls separately from thick optical sections. Under-cure, over-cure and retained monomer can all reduce clarity, so exposure changes should be recorded and validated before the production part.
Post-curing temperature and duration must follow the instructions for the specific resin and curing unit. Use a staged cycle only where the material instructions permit it. Allow the part to stabilize before inspection, and support any transmission or haze requirement with an agreed measurement. Formlabs Clear Resin documentation is a material-specific reference, not a shared profile for all clear photopolymers.
3. Cleaning and Drying Transparent SLA Resin Parts Before Polishing
Select the wash chemical, equipment and cycle specified for the exact resin. Cleaner condition and access to channels affect residue removal, so inspect the geometry rather than relying on one universal bath time or solvent concentration. Do not put flammable solvent into an ordinary ultrasonic cleaner; use only an explicitly approved chemical–equipment procedure. Review the cleaning and curing checkpoints before polishing or coating a tacky part.
Complete the approved draining and drying procedure before curing or coating. Inspect recesses for retained liquid and follow the resin and cleaner SDS for handling. Odor alone is not a dryness or safety test; do not improvise compressed-air solvent spraying.
4. Troubleshooting Transparent SLA Resin Clarity Issues
| Problem | Common Root Cause | Check to review |
|---|---|---|
| Milky surface haze | Layer roughness or skipped sanding grits | Trial a material-compatible sanding and polishing sequence; inspect scratch removal and dimensional change |
| Yellow tint throughout | Over-curing temperature or aged resin batch | Check resin identity, condition and the specified cure profile; do not add unapproved additives |
| Cloudy internal pockets | Trapped uncured resin in hollow sections without adequate drains | Review drainage and cleaning access for each cavity under the material instructions |
| Support scar haze on viewing face | Supports placed on the optical face | Review orientation and support contact placement against the viewing and dimensional requirements |
| Visible layer bands on curved surfaces | Orientation, surface stepping and geometry may contribute | Compare supported orientations or layer settings on representative geometry; no fixed angle guarantees clarity |
5. Polishing and Clear Coating Options for Transparent SLA Resin Parts
For planar faces, wet-sand on a flat reference surface and remove the scratch pattern from each grit before moving finer. Curved surfaces usually need conformable abrasive pads. After fine sanding, use a plastic-compatible compound at low speed and control surface temperature; excessive polishing heat can soften the resin and create swirl marks. Record the finish level in the quote because manual polishing adds labor and can change dimensions.
A compatible clear coat may help a display surface where polishing access is limited, but coating chemistry, handling precautions and dimensional effects require review. Test the proposed route on the actual resin. A visually clear print is not automatically a qualified lens, pressure vessel, food-contact part or chemically resistant flow component. Specify the functional optical requirement and test method separately from a presentation-clear appearance.
6. Design Rules for Transparent SLA Resin 3D Printed Parts
- Mark the primary viewing faces and support-sensitive zones on the model or drawing; review unavoidable tradeoffs before production.
- Design a reviewed path for drainage, cleaning, drying and required curing access for every hollow region.
- State the intended optical path and viewing direction; assess clarity on representative thickness and geometry.
- Provide finishing-tool access where function permits and verify that sanding or polishing will not remove critical geometry.
- Specify the clarity requirement at quotation: translucent, polished-clear, clear-coated or optically functional. Each tier requires different finishing and inspection, so added time and cost must be confirmed for the actual geometry.
7. Agree on the Clear-Part Approval Workflow
Keep the resin, orientation, supports, cleaning, cure and finish route with the approved sample record. Agree on viewing conditions and any dimensional or optical tests before approving a batch. A photograph can support appearance review, but it cannot establish all functional requirements.
For a clear SLA enquiry, send the CAD file, marked viewing faces, quantity and clarity requirement. Zesmir can review the proposed route; any test coupon, physical sample or inspection scope must be agreed for the project.
What Changes the Quote for a Clear SLA Prototype?
A water-bottle-sized envelope does not determine a reliable clear SLA price. A hollow cover, a thick solid model and a part with inaccessible internal viewing surfaces can need very different amounts of resin and finishing work. Define the viewing faces and acceptable clarity first: seeing whether a component is present is a different requirement from judging fine detail through a presentation window.
Ask the supplier to separate raw translucent printing from external sanding and polishing, clear coating, dimensional checks and protective packing. An internal cavity that cannot be reached cannot be assumed to receive the same polishing as the outside. If the model is hollowed, drain and cleaning access must be reviewed; hollowing is not a saving when retained resin or a weak wall makes the sample unusable.
Compare quotations for the same file revision, named resin or proposed material, quantity, viewing requirement, finish and shipping destination. State whether the part is only a visual prototype or must contain fluid, tolerate chemicals or work as an optical component. These functions need separate review and testing; clear appearance does not prove them.
For Zesmir’s SLA service review, attach the best available model and mark the clear faces. The quote preparation checklist covers the rest of the file package. A project-specific quote is more useful than a generic price range that excludes the finish you need.