

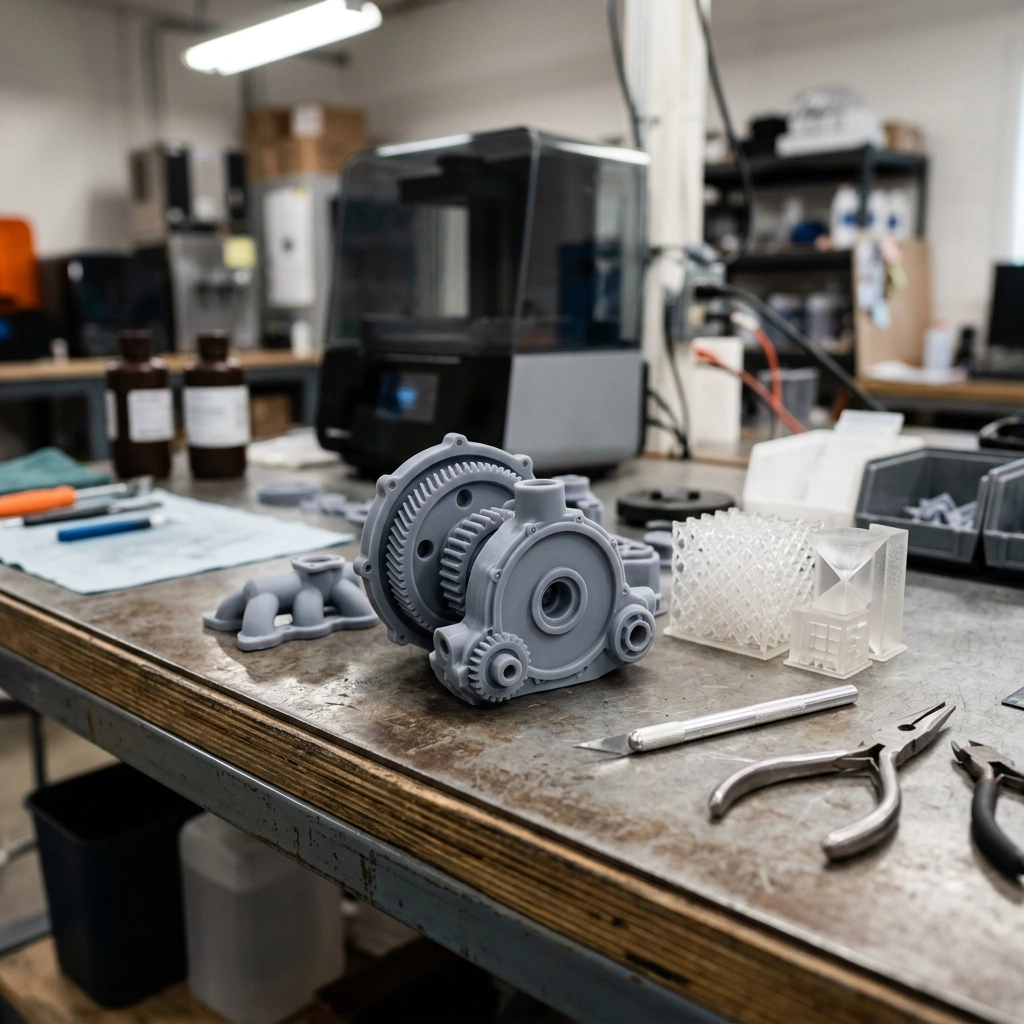
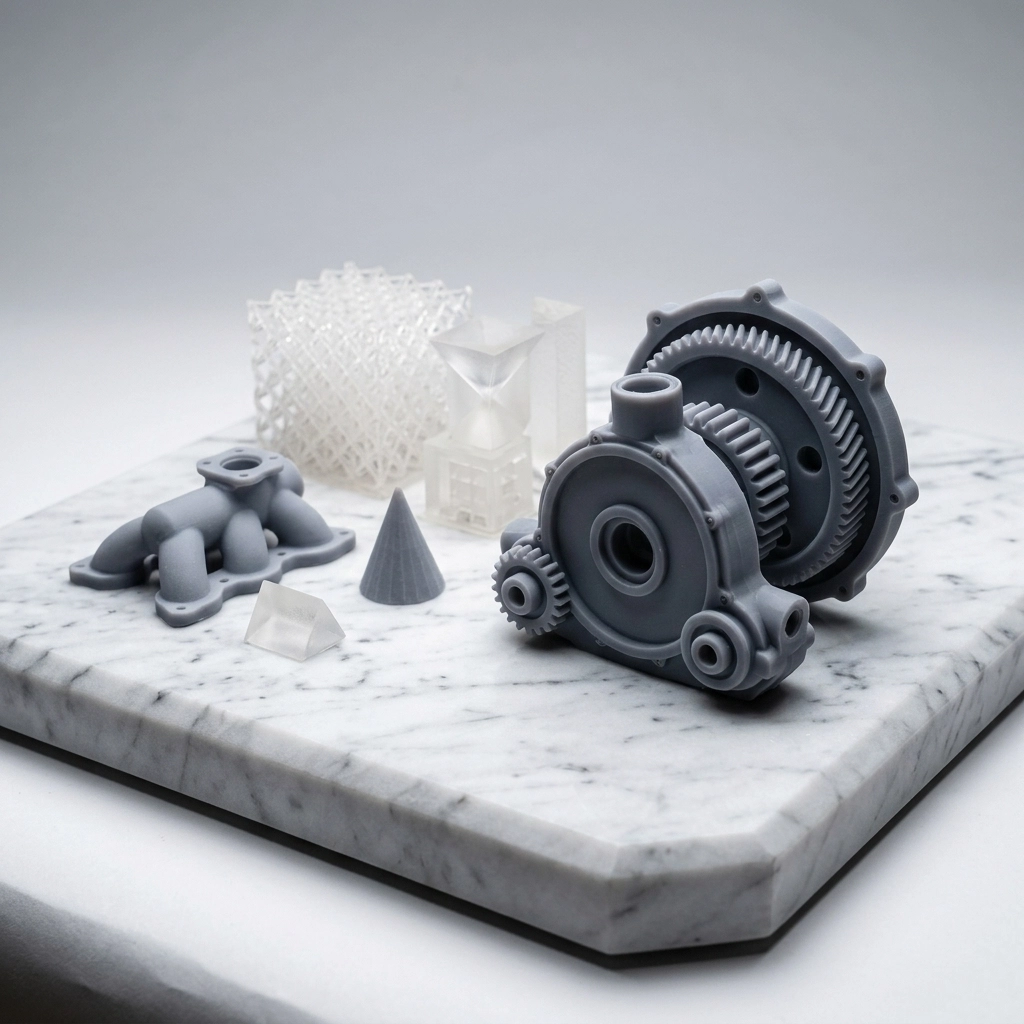
SLA Resin 3D Printing Service
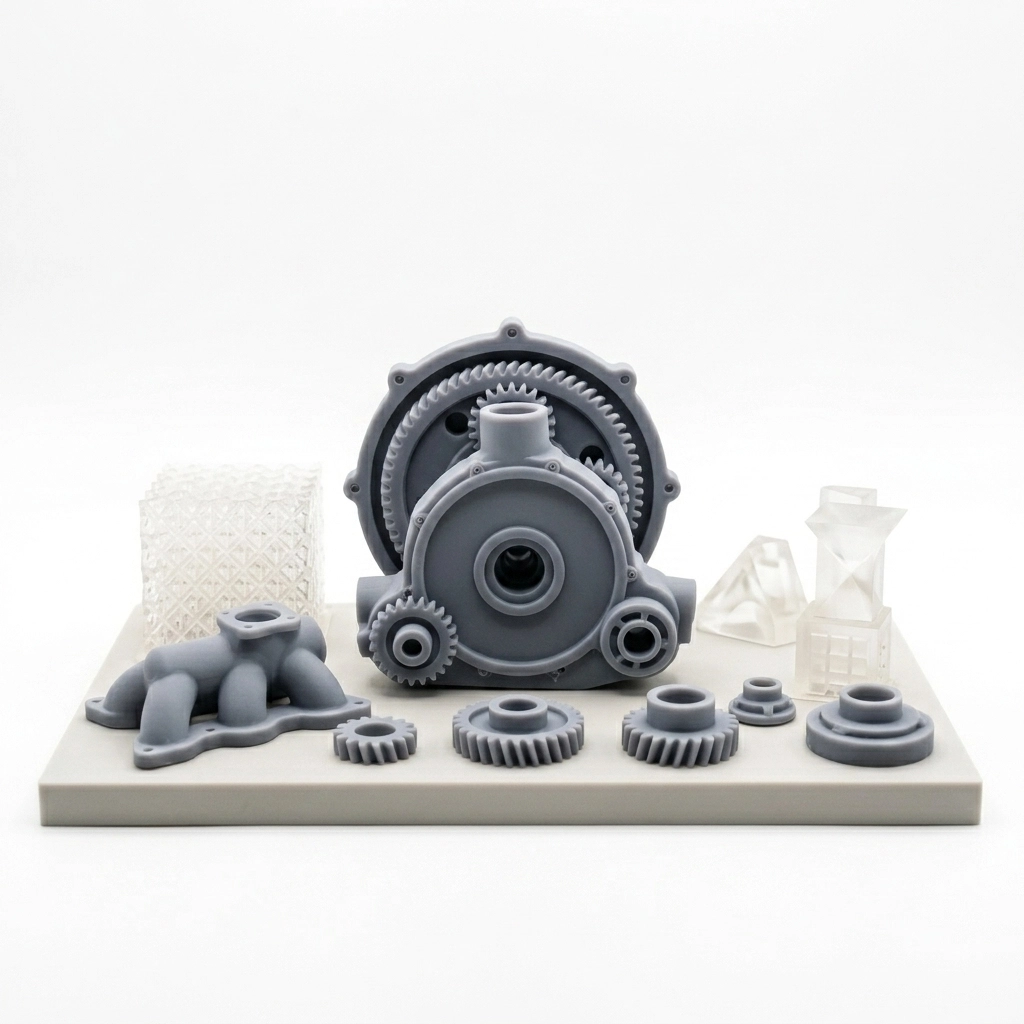
Use SLA resin 3D printing for detailed appearance prototypes, figurines, master patterns and paint-ready models. Upload STL, STEP or OBJ files for a manual review of resin choice, orientation, support marks, hollowing, tolerance and finishing scope. One-off prototypes and low-volume batches are supported.
Description
SLA resin 3D printing service is usually the right route when fine detail, a clean visual surface and predictable preparation for paint matter more than impact resistance or outdoor durability. We review the model before quoting because resin choice, build direction, support contact, hollow sections and finishing work can change both the result and the cost.
Send an STL, STEP or OBJ file with quantity, final dimensions and the surfaces that matter most. A STEP file is especially useful when critical dimensions need to be checked against the original CAD geometry. For figurines or appearance models, include reference images and a note describing the expected finish: raw, sanded, primed, painted or fully assembled.
Where SLA Resin 3D Printing Service Works Well
SLA is a vat photopolymerization process. Light cures liquid resin layer by layer, allowing small features and curved surfaces to be reproduced with less visible stepping than many extrusion processes. That makes it useful for:
- appearance prototypes and presentation models;
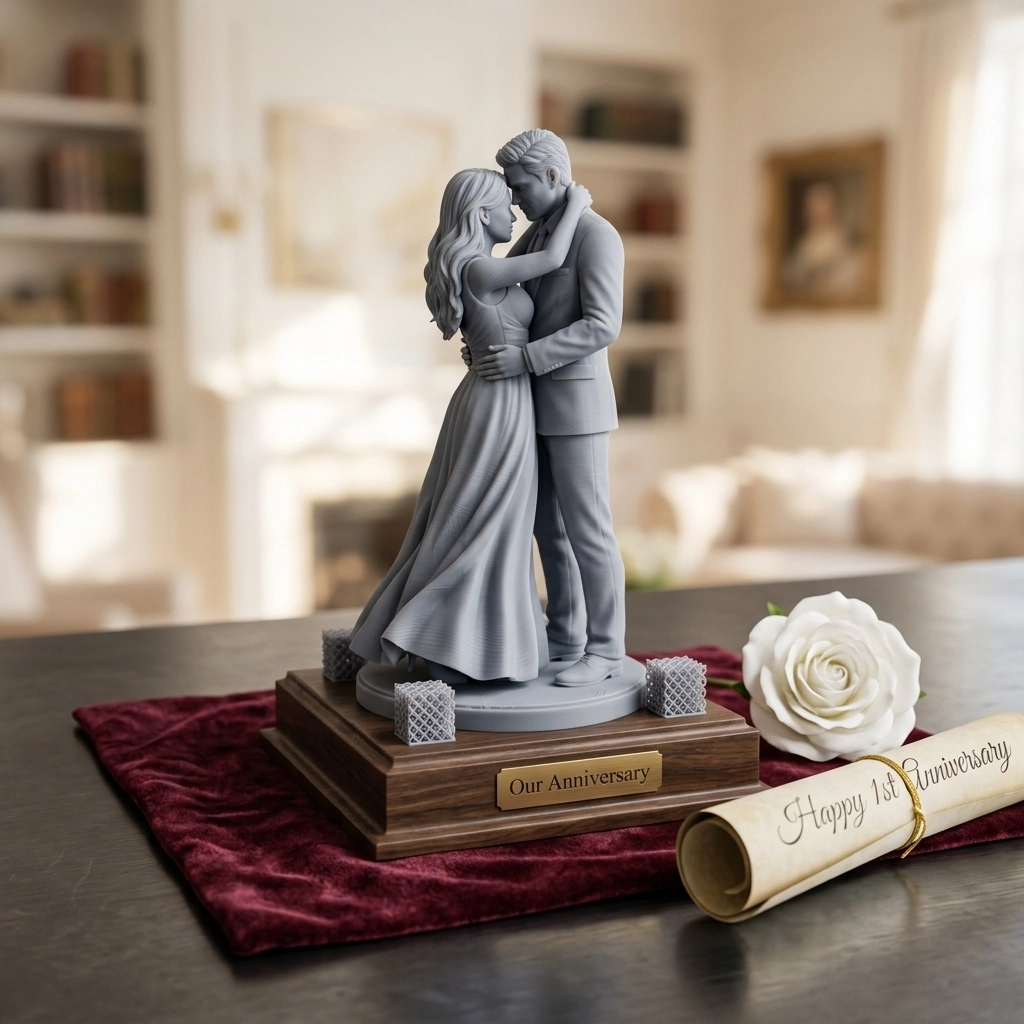
- figurines, miniatures and detailed display parts;
- small housings, buttons, knobs and interface mockups;
- master patterns for silicone molding or casting workflows;
- parts that will be sanded, primed or painted after printing.
It is not automatically the best choice for snap fits, repeated impact, prolonged outdoor exposure or parts operating near a heat source. Those requirements should be stated before material selection rather than assumed from the word “resin.”
Seven Checks We Make Before an SLA Quote
1. Resin behavior must match the job
General-purpose modeling resin is useful for visual parts, but it should not be treated as an engineering plastic by default. Tough, durable, heat-resistant, clear and castable resin families behave differently during printing and after cure. A material name alone is not enough; tell us whether the part will be handled, screwed together, exposed to heat, used as a mold master or kept mainly for display. Where certification, biocompatibility or food contact matters, the exact material documentation and the complete production route must be reviewed separately.
2. Orientation decides where support marks appear
SLA parts normally need supports. Rotating a model can protect a presentation face, but it can also increase build height, support count or the risk of distortion on another feature. Mark cosmetic A-surfaces, sealing faces and mating areas in the RFQ. We can then plan support contact around the real priority instead of choosing orientation from the STL preview alone.
3. Hollow parts need drainage and cleaning access
Hollowing can reduce resin use, but a sealed cavity may trap uncured resin and cleaning liquid. Drain holes need enough access for emptying, washing and inspection, and their position should not create a visible defect on the finished part. A decorative shell and a pressure-tight enclosure are different design problems. Do not remove internal volume only to lower the quote without checking how the cavity will be processed.
4. Thin walls and large flat panels carry different risks
A small detailed wall may print cleanly while a much larger panel of the same thickness bows during printing, washing or post-cure. Wall length, unsupported span, resin stiffness and geometry all matter. Ribs, gradual transitions and a better build direction often help more than applying one universal minimum-wall number to every model. Our 3D printing design guidelines explain how wall thickness should be reviewed together with scale and loading.
5. Tolerance cannot be separated from finishing
Machine condition, part size, orientation, resin shrinkage, post-cure and measurement method all influence the final dimension. Sanding removes material; primer and paint add it. For assemblies, identify the critical dimensions and intended fit rather than requesting one tight tolerance across the entire model. If a bore, boss or mating face truly controls function, we may recommend a test piece, machining allowance or a secondary operation.
6. Threads and inserts need an assembly plan
Large printed threads can work for light-duty prototypes, but small repeated-use threads are vulnerable to wear and chipping. Pilot holes for tapping, heat-set or bonded inserts, captive nuts and post-machined holes are common alternatives. The correct route depends on load, service cycles, wall thickness and access for installation.
7. Surface finish must be defined before production
“Smooth” can mean a cleaned raw print, support removal with local sanding, a uniform primer coat or a fully painted display finish. These are different scopes of work. Color matching, masking, gloss level, decals and assembly should be specified with reference images where possible. This avoids quoting a raw prototype when the buyer expects a retail-ready presentation model.
SLA Post-Processing Is Part of the Manufacturing Route
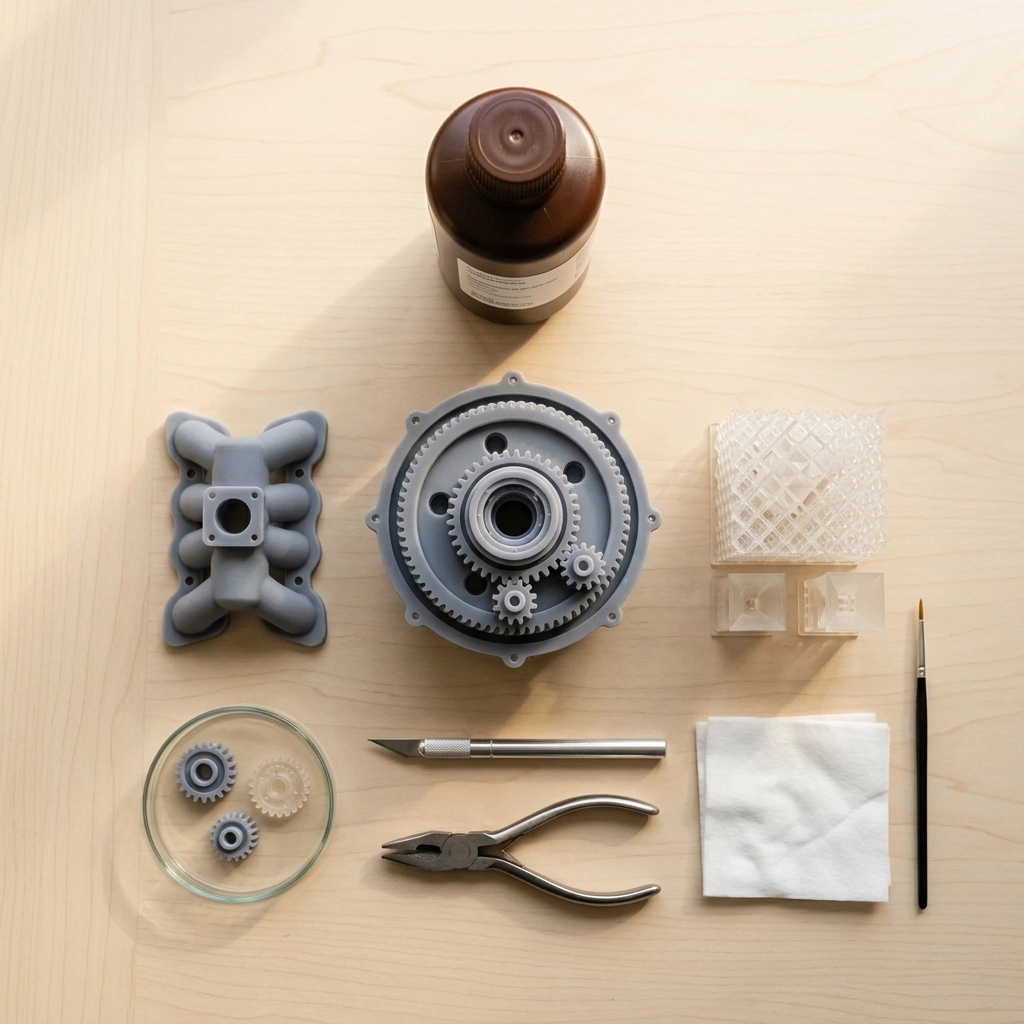
A printed SLA part is not finished when it leaves the build platform. Excess resin has to be removed, the part is washed, supports are taken off and the material may require controlled post-curing. The sequence depends on the resin and the required surface.
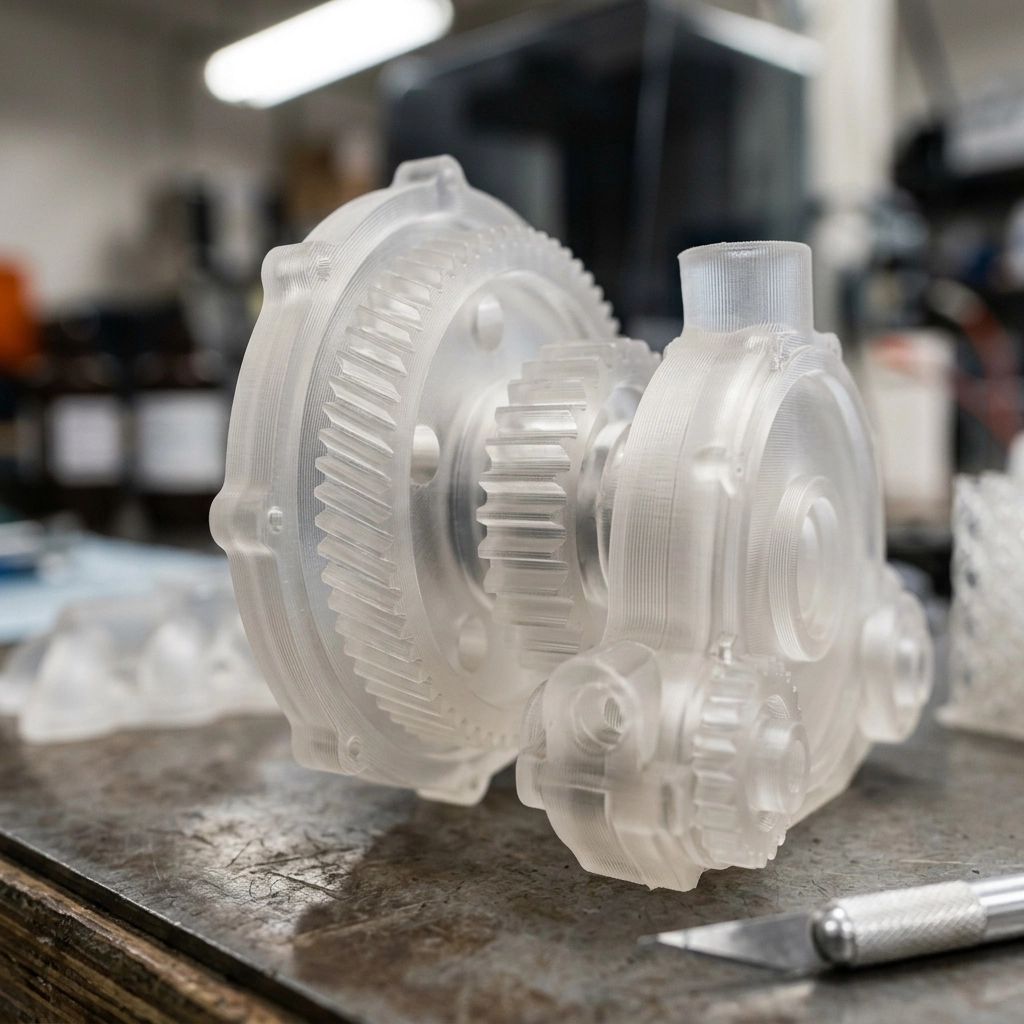
Support removal before or after cure changes how easily contact points can be trimmed. Aggressive sanding can soften edges and erase fine texture. Clear parts need a different finishing plan from opaque painted models, and a transparent resin print should not be assumed to look optically clear straight from the machine.
For industry terminology and qualification context, refer to the ASTM additive manufacturing standards. Project acceptance criteria should still be written for the actual part, material and end use.
What to Send for an Accurate SLA Resin 3D Printing Service RFQ
- Geometry: STL, STEP or OBJ file, with units confirmed.
- Quantity: prototype quantity and any expected repeat batch.
- End use: visual model, assembly check, master pattern, fixture or finished display item.
- Critical features: mating faces, holes, threads, sealing areas and cosmetic surfaces.
- Finish: raw, support-removed, sanded, primed, painted, plated or assembled.
- Inspection: dimensions or appearance criteria that must be checked before shipment.
For a broader process comparison, start with our custom 3D printing service page. The technical SLA resin 3D printing guide covers the process in more depth, while the 3D printing RFQ checklist helps organize quote data.
SLA Service Questions
Can you quote from an STL file only?
Yes, an STL is often enough for visual parts. Add the intended units and finished size. If dimensional fit is important, include the STEP file or a drawing with critical dimensions so mesh approximation is not the only reference.
Can SLA parts be painted?
Yes. Support cleanup, sanding, primer compatibility, masking and topcoat selection all affect the result. State the required color, gloss and protected surfaces before quoting.
Is SLA suitable for low-volume production?
It can be suitable when the volume is modest and tooling would be difficult to justify, particularly for detailed or frequently revised parts. For repeated functional use, resin durability and batch consistency need to be evaluated. Vacuum casting, SLS, MJF or molded production may be a better route at other quantities.