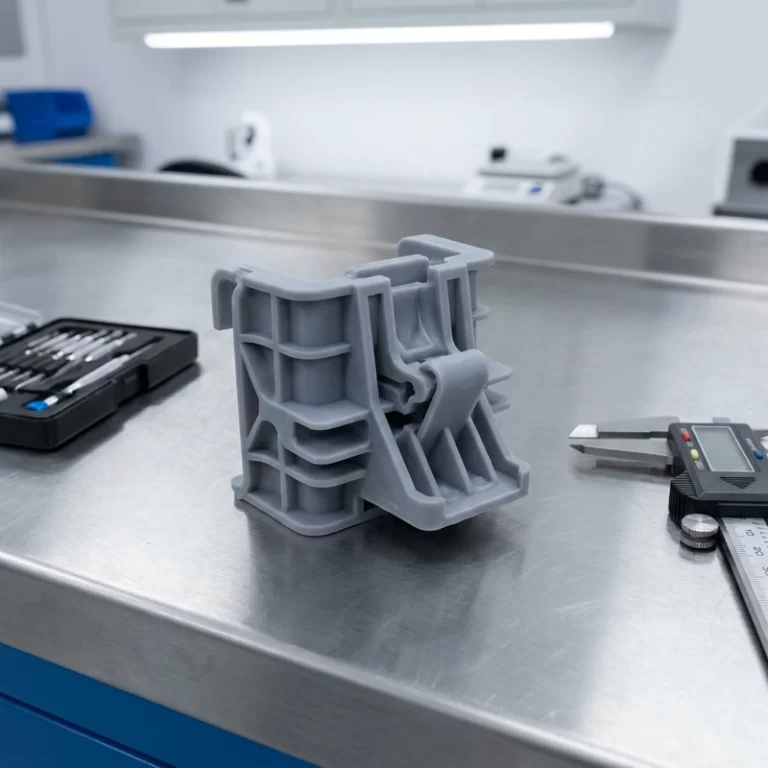
Black SLA resin 3D printing is not only a color selection. Black pigment changes light absorption, curing depth, detail visibility, and the way support marks show under side light. A part can look close to a molded black housing, or it can come out gray-blue, tacky in pockets, glossy in patches, or stressed white around trimmed supports.
I choose black resin when the surface appearance is part of the design review. I avoid it when the real question is strength, heat, or repeated flexing.
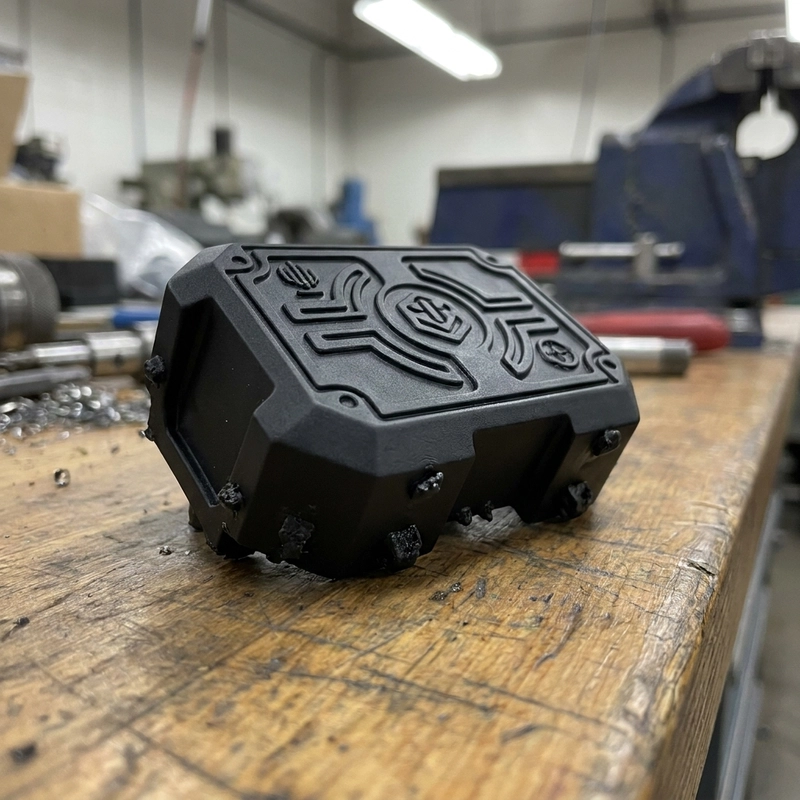
Black SLA resin 3D printing needs its own exposure check
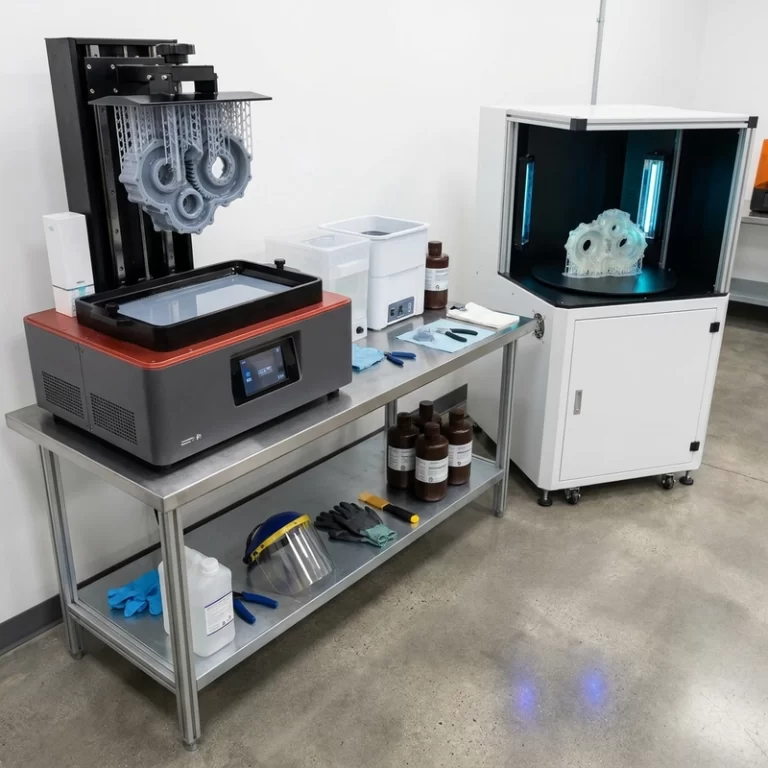
Many resin systems cure under ultraviolet or near-UV light, often around 405 nm in common systems. Black pigment absorbs and scatters light differently from gray, white, or clear resin. That can make cure depth shallower. Low exposure may leave weak ribs or tacky hidden corners. High exposure may swell features, soften edges, or close small holes.
I do not copy a gray-resin profile into a black-resin job without a small test. A useful coupon includes pins, holes, vertical walls, small text, supported areas, and a surface patch that will be inspected after washing and post-curing. The goal is a stable cure window, not the darkest possible part.
Black SLA resin 3D printing shows finishing mistakes differently
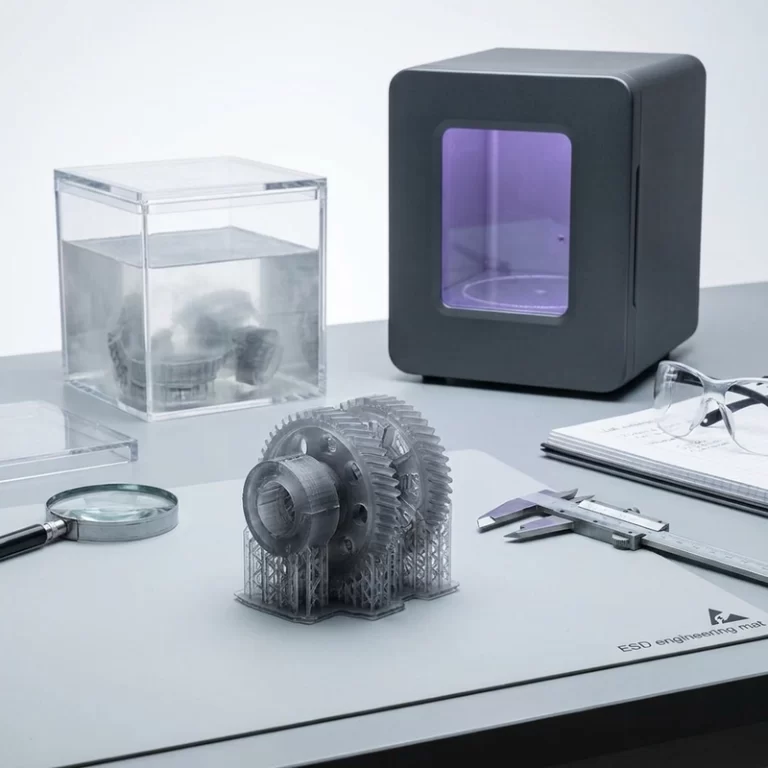
Matte black surfaces hide some geometry and reveal other defects. Low-angle light can expose support ghosts, sanding direction, dust, and uneven gloss. Stress whitening around supports is common when supports are twisted off instead of cut. Hidden uncured resin is harder to spot in black pockets, so hollow parts need drain holes and patient cleaning.
Native black resin can reduce primer and paint thickness for appearance prototypes. That is useful for electronics housings, model bases, wearable shells, buttons, camera accessories, and small display parts. Less coating means small engravings and sharp corners are less likely to be filled. It also gives designers a better read on silhouette when the final product will be black.
| Problem | Likely cause | Practical check |
|---|---|---|
| Gray or blue-black look | Pigment load, batch variation, surface gloss | Compare under daylight and neutral shop light |
| Uneven matte patches | Residue, sanding, or local cure variation | Inspect after full drying |
| Stress whitening | Brittle resin or rough support removal | Cut supports and sand stubs |
| Closed holes | Overexposure or aggressive post-cure | Hole coupon before production geometry |
| Tacky pockets | Trapped resin or poor wash access | Add drain holes and inspect hidden zones |
Do not use black resin to avoid material selection
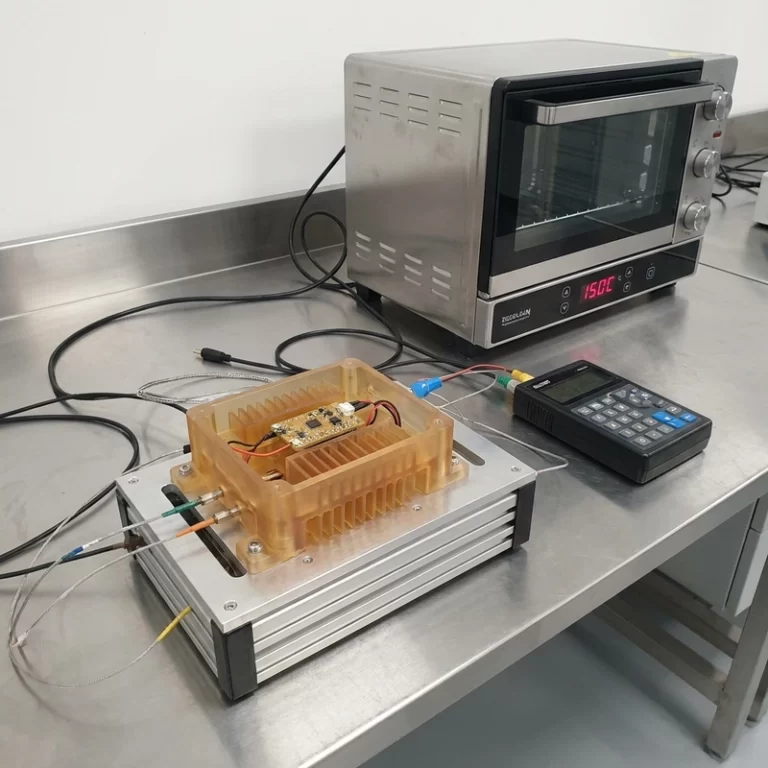
Most SLA resins are still photopolymers. Some are tougher than others, but many remain more brittle than nylon, ABS-like thermoplastics, CNC plastics, or molded production materials. Black resin is often useful for fit checks, appearance studies, presentation models, and static brackets. It is usually the wrong shortcut for snap-fit endurance, outdoor UV exposure, impact loads, or hot environments unless the specific resin is validated for that job.
Support removal should be slow. Cut the support, leave a small nub, then sand. For display parts, 400 to 800 grit may be used before primer depending on scar depth, followed by finer finishing if needed. Cleaning must be complete before coating; uncured resin and skin oils are common reasons primer fails.
Black SLA resin 3D printing RFQ notes
Send the file, quantity, visible surface zones, finish target, color expectation, handling condition, heat exposure, and assembly clearances. For broader resin process planning, see SLA resin 3D printing. For surface and support decisions, 3D printing support design matters more than most people expect.
For neutral process terminology, ISO/ASTM 52900 is a useful outside reference. My practical rule: use black SLA resin 3D printing when native dark appearance and fine visible detail matter, then validate mechanical behavior separately.
For approval, I like to compare the black resin sample under neutral daylight, office light, and low-angle inspection light. Those three views catch different problems. Daylight shows color. Office light shows how the product may look in normal use. Low-angle light shows scratches, sanding marks, support ghosts, and uneven gloss. A black part that looks fine in one photo can be disappointing in hand.
I also check hidden pockets more carefully than on gray resin. Uncured resin, solvent residue, and poor post-cure can be harder to see in black cavities. If the part is hollow, drain holes and curing access are not optional details. Black SLA resin 3D printing works best when the cleaning and finishing plan is designed into the model before the first print.
For batch work, color consistency should be approved with a physical reference, not a screen image. Black resin shade can shift with resin batch, cure level, surface texture, and coating. If the part must match another black plastic component, I would rather compare parts under the same light than trust a file note that simply says “matte black.”
A small signed color sample prevents many arguments later.
It also anchors the finish discussion.
Simple, but useful.