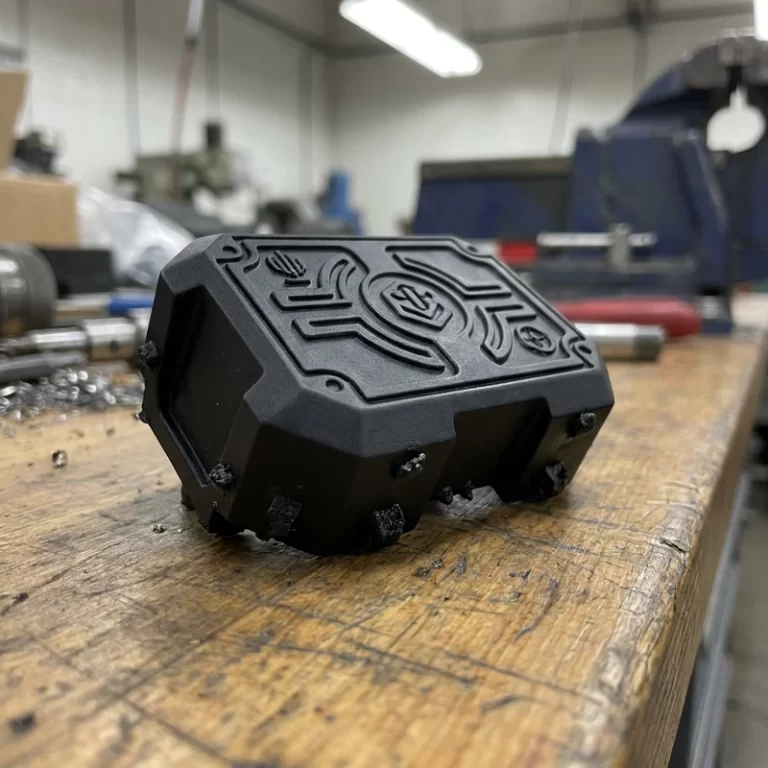
I’ve broken more high-strength SLA resin prototypes than I care to count. Not because the materials are bad — but because I kept trusting datasheet headlines without asking which load condition they were measured under, and whether my part geometry had any chance of reproducing those numbers. After hundreds of broken parts, dozens of client callbacks, and one particularly memorable enclosure that shattered falling onto carpet, here is what I wish someone had told me before my first engineering SLA build.
Truth #1: “High-Strength” Is Not the Same as “Tough” — and That Gap Is Where Parts Die
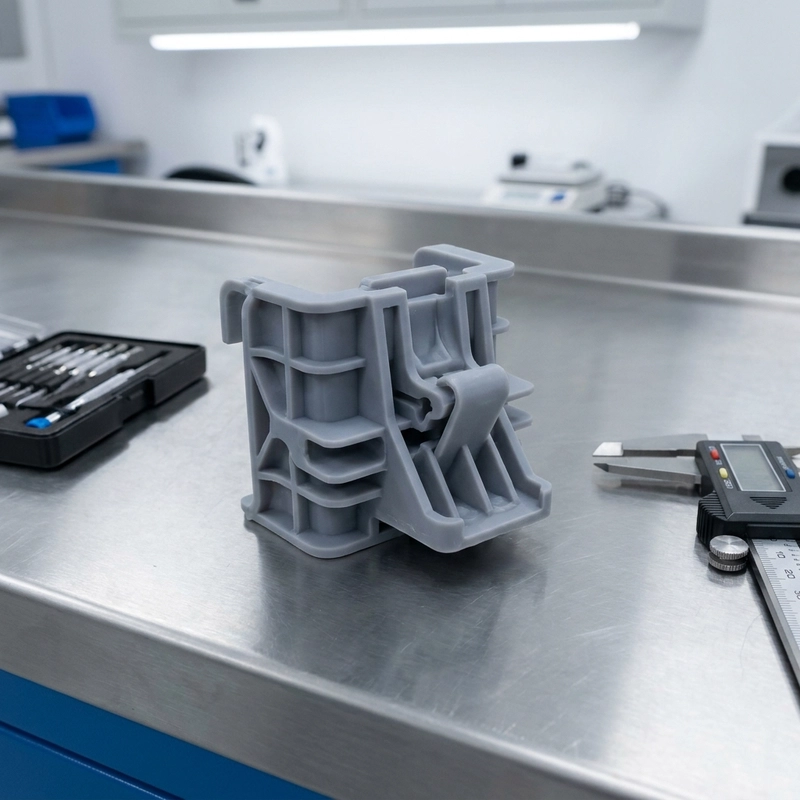
“High-strength SLA resin” usually refers to elevated tensile strength, flexural modulus or impact performance under a stated test method. Those values can be useful for screening, but they do not remove stress concentrations in snap fits, latches and thin walls. Compare supplier data with the actual load case, orientation, cure condition and expected cycle count before treating an SLA material as a substitute for molded ABS or nylon.
Truth #2: The Datasheet Was Measured on a Dogbone — Your Part Has Support Scars and a Rushed IPA Wash
Datasheet specimens are printed, washed and post-cured under controlled conditions. A real part adds support marks, wall transitions, orientation effects and variable cleaning access. Heated post-curing may improve conversion and reduce directional differences when the supplier permits it, but the exact result depends on resin and geometry. For a critical part, print representative coupons or a first article in the planned orientation and test that condition.
Truth #3: Snap Fits Fail at the Fillet Root, Not Because the Resin Is Weak
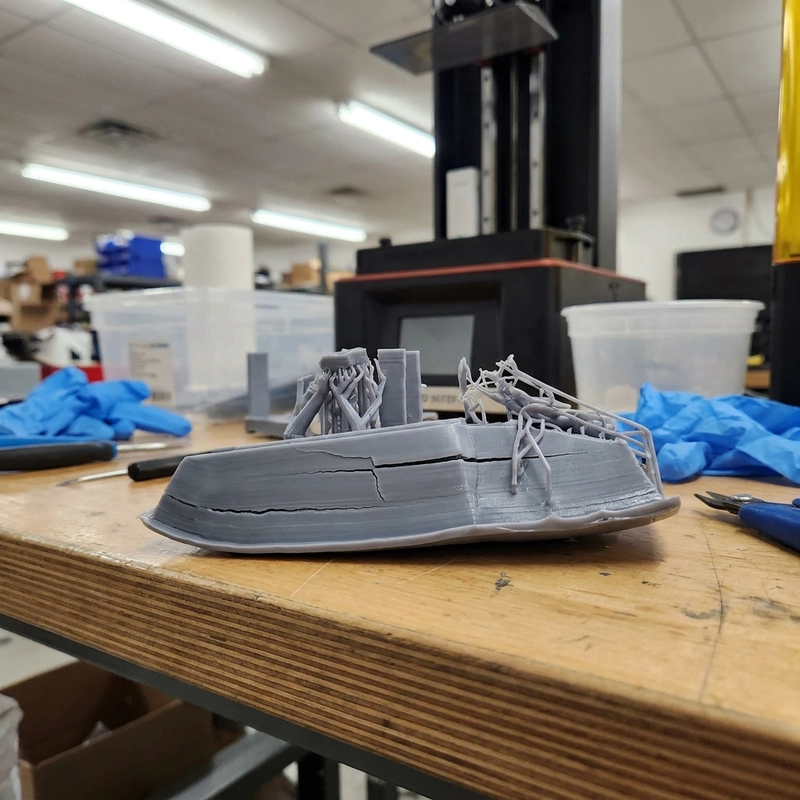
Snap fits fail at the root when a small effective fillet or mesh approximation creates much higher local strain than the nominal CAD calculation suggests. Use a radius-accurate mesh, a generous root fillet and the actual engagement deflection in analysis. Even when nominal strain is below the tensile elongation of a resin, bending, surface condition and layer orientation can still make the local feature brittle.
The fix took three iterations: thickened the beam from 2.5 mm to 3.5 mm, added a 2.5 mm fillet radius at the root, and shortened engagement depth by 0.5 mm. The revised latch survived 50 insertion cycles with zero cracking. The part feels slightly deader than production ABS — less spring-back — but it validates the geometry and the assembly sequence, which is exactly what SLA prototypes are for. For snap features that must survive more than 20 cycles in actual use, I now route almost every inquiry to SLS or MJF nylon, which handles cyclic bending orders of magnitude better than any photopolymer. Treat SLA snaps as geometry proof, not durability proof.
Truth #4: Post-Curing Is the Material Spec — Not an Afterthought
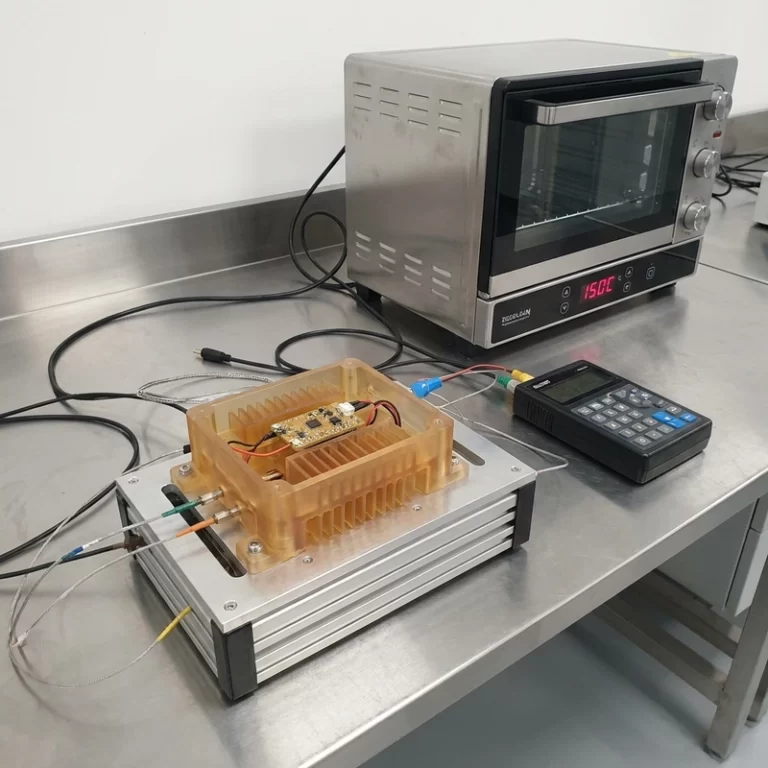
Undercured high-strength SLA resin parts feel soft, creep under sustained load, and leave sticky residue. Overcured parts go brittle — I once shattered an enclosure dropping it from knee height onto carpet because the UV cure ran 45 minutes past the manufacturer’s maximum, and the polymer cross-linked itself into glass. Conchoidal fracture surface. Beautiful in a materials-science textbook. Useless as a prototype. The sweet spot depends on resin chemistry, part cross-section, and your curing unit’s actual wavelength output — not the timer. LED-based UV chambers drift as they age, and spectra shift. I now log cure time plus chamber temperature for every functional batch, alongside print parameters. Two-stage curing — a short room-temperature dimensional set followed by a heated performance cure at 60°C — has eliminated the brittleness vs. softness guessing game on tough engineering resins.
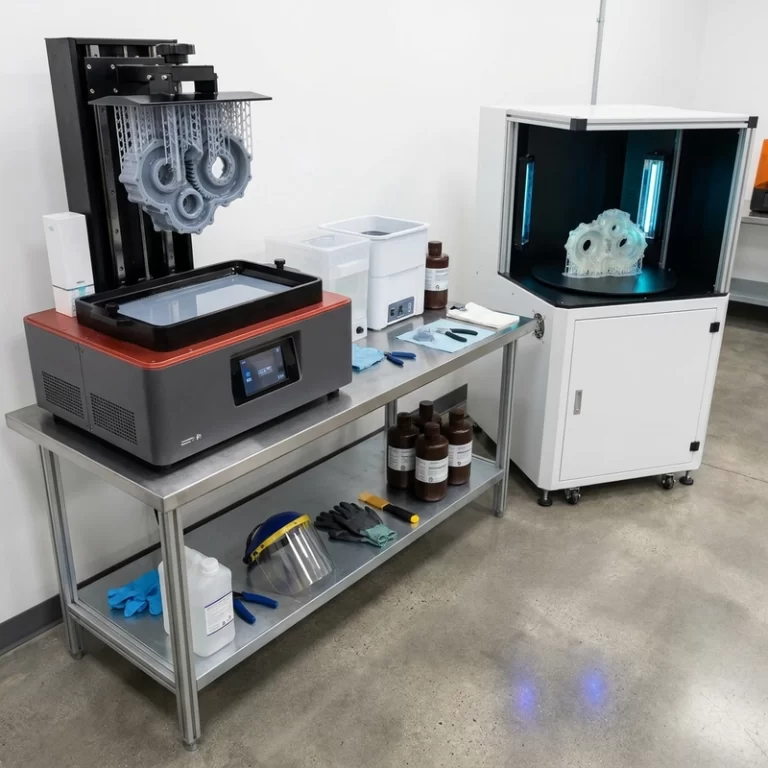
Cleaning is equally critical. Parts that feel tacky after washing have either saturated IPA or unflushed blind features. Residual uncured resin in snap windows, screw bosses, and support nibs destroys assembly feel, blocks threads, and kills paint adhesion. I flush every blind hole with a syringe of clean solvent, then compressed air, then cure. Two extra minutes per part. It eliminated the “why does this prototype feel gummy” discussion from every client review I’ve done since.
For engineering SLA materials, post-cure protocols are part of the material specification. I treat them the way an injection molder treats barrel temperature and mold cooling. Document, control, and never skip just because you’re in a hurry.
Truth #5: Geometry Beats Chemistry — Every Single Time
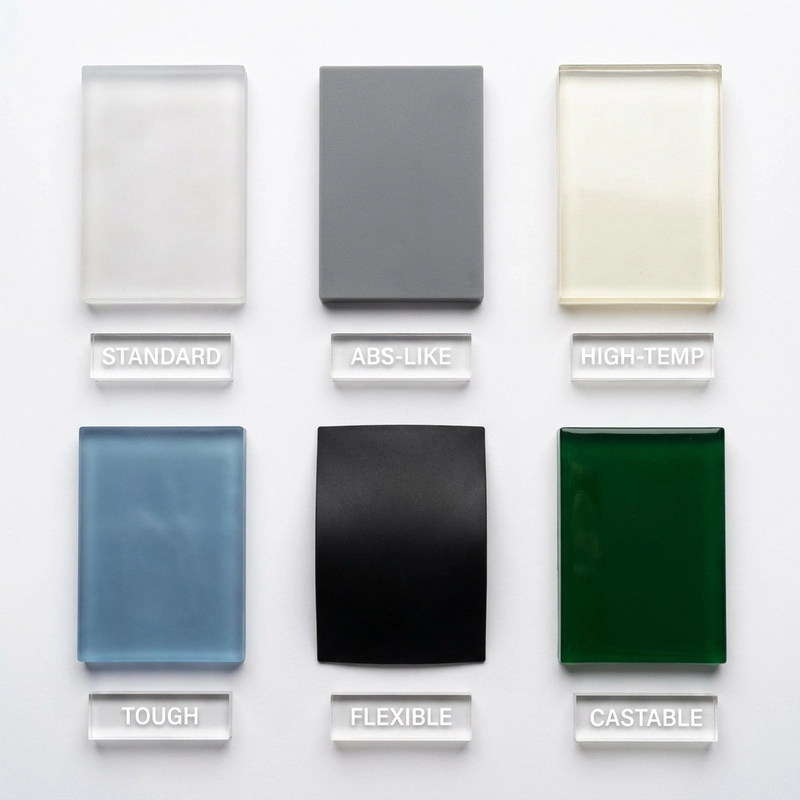
I wasted a year believing the fix was always a better resin. Standard to tough, tough to ceramic-filled rigid. Spend more, get stronger parts. That logic is expensive and regularly wrong. A sharp internal corner in Formlabs Rigid 10K — flexural modulus around 10 GPa — cracks just as fast as the same corner in the cheapest grey resin. Usually faster, because stiffer materials concentrate stress more aggressively at discontinuities. Adding a 2 mm fillet to a screw boss buys more load capacity than upgrading from an $80 resin to a $200 ceramic-filled formulation. I’ve proved this to myself on enough builds that geometry auditing is now a mandatory 20-minute step before any material upgrade budget gets approved.
Wall thickness consistency often matters more than absolute thickness. A sudden jump from 1.5 mm to 4 mm creates differential cure rates: the thick section shrinks more during polymerization, pulling the thin section across the transition zone. Cracks nucleate right at that boundary. If you must vary thickness, taper over at least three times the difference. For 1.5 mm to 4 mm, that’s a 7.5 mm transition — not a step. Orientation is the cheapest strength lever you have. An L-bracket printed flat, with layer lines perpendicular to bending load, tests 30–40% stronger than the same bracket standing up. For functional builds, pick one: the cosmetic face, or the load-carrying face. You cannot optimize both in one orientation. When I’m unsure, I print two — one each way — and test both. Fifteen dollars of resin and two hours is the best insurance a prototype budget can buy.
Truth #6: High-Strength SLA Resin Is Excellent — for the Right Job
I do not hate SLA. High-strength SLA resin is genuinely the best tool for a specific set of jobs. Ergonomic housings that must survive handling, light drops, and repeated assembly during design review. Alignment fixtures and drilling jigs where dimensional accuracy matters more than impact toughness — the 50-micron resolution and smooth finish are real industrial advantages. Assembly check prototypes verifying fit across multiple injection-molded parts. Short-run functional testing in the 5–20 cycle range. Master patterns for silicone molding and vacuum casting, where surface finish directly affects mold quality.
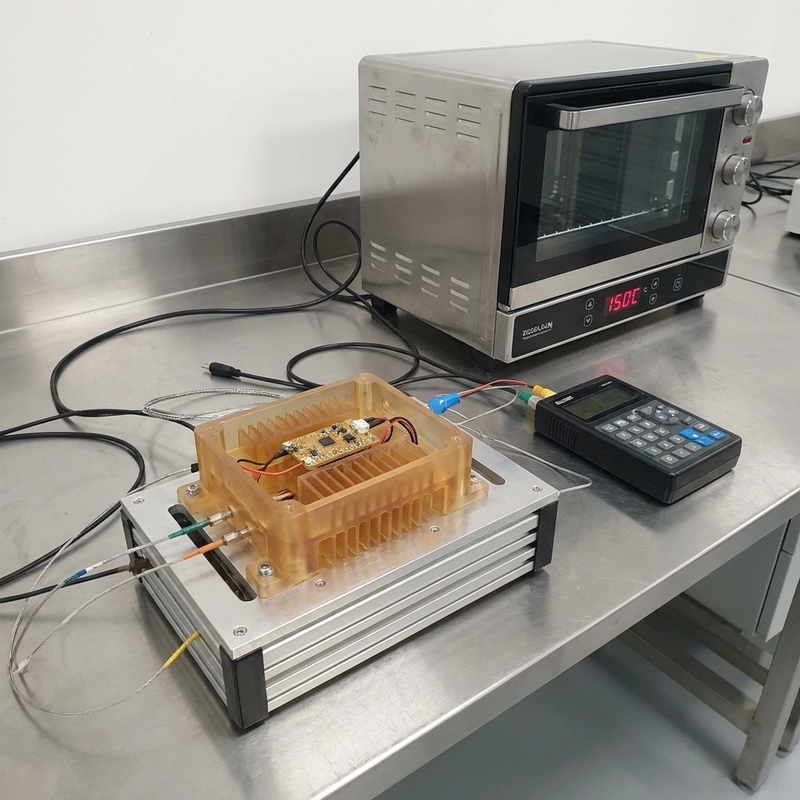
It is the wrong tool for living hinges (any design). For snap mechanisms exceeding 20 engagement cycles without design relief. For parts under sustained load above 60°C — most tough SLA formulations lose meaningful stiffness there, with Tough 1500’s HDT sitting around 56°C at 0.45 MPa and Blu V2 reaching 74°C. For anything where testing failure could be dangerous. In those cases, SLS nylon, MJF PA12, CNC-machined Delrin, or aluminum prototypes are the right call. Roughly 30% of inbound SLA requests get rerouted to SLS or machining after a five-minute conversation about actual loading conditions. Have that conversation before printing — not after the part breaks in front of stakeholders.
Truth #7: Six Things I Check Before Every Functional High-Strength SLA Resin Build
- Primary load direction: Orient so layer lines run parallel to tensile and bending loads. Accept a 10–20% Z-axis penalty with proper heated post-cure, or design around it.
- Snap fits and clips: Calculate bending strain at the actual fillet radius from your mesh — not the idealized CAD value. If it exceeds what the resin can handle in bending (not tension), thicken the beam, increase the fillet radius, or switch to inserts.
- Blind holes and enclosed volumes: Verify drain hole size and position. Plan the solvent flush: syringe plus compressed air. Dunk-and-swirl doesn’t clean blind features.
- Post-cure protocol: Log cure time, chamber temperature, and UV source. Heated curing at the manufacturer’s recommended temperature makes a measurable difference in Z-axis properties.
- Internal corners on load-bearing features: Add fillets with radius at least half the local wall thickness. This single change outperforms any resin upgrade I’ve ever tested.
- Stakeholder expectations: This is a functional prototype, not a production part. Agree on cycle count, load range, and acceptable failure modes before the first part hits the build plate. Write it down. It prevents the conversation where “it broke” becomes a material defect instead of a communicated limit.
High-strength SLA resin closes the gap between “looks like the real part” and “acts kind of like the real part.” It doesn’t close it completely, and assuming otherwise costs weeks and credibility. The engineers who deliver the best results aren’t buying the priciest resin — they’re treating orientation, geometry decisions, post-curing, and cleaning as inseparable from the material spec. Print test coupons. Measure the XY-to-Z spread on your actual setup. Log cure cycles. And read the datasheet footnotes, not just the headlines.