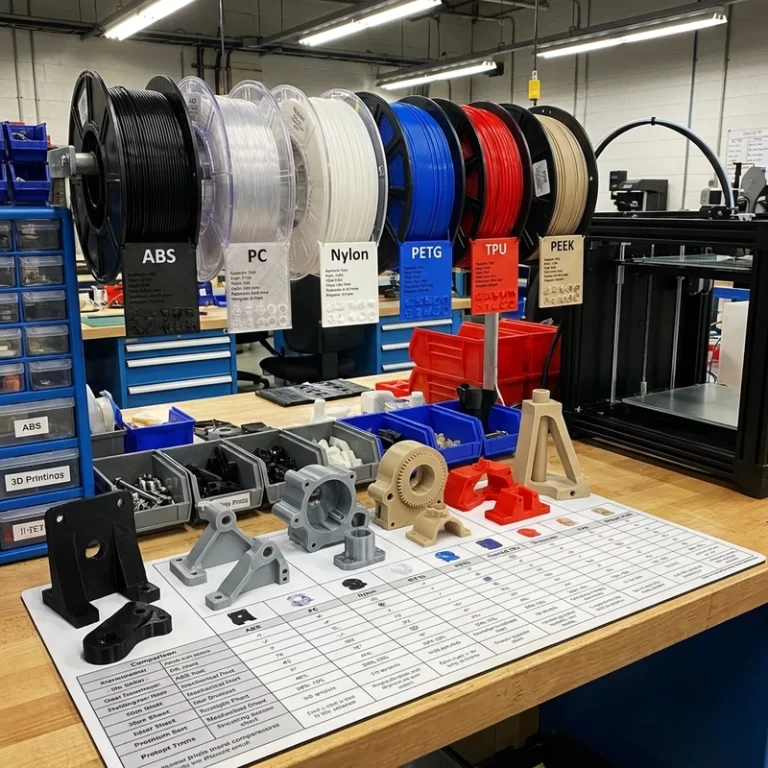
Engineering plastic 3D printing cost is not just the price of filament or nylon powder. The real number includes machine time, failed builds, drying, support removal, sanding, coating, inserts, inspection, packing, and the cost of changing the design after the first sample. When people compare 3D printing with injection molding, they often compare the wrong line items.
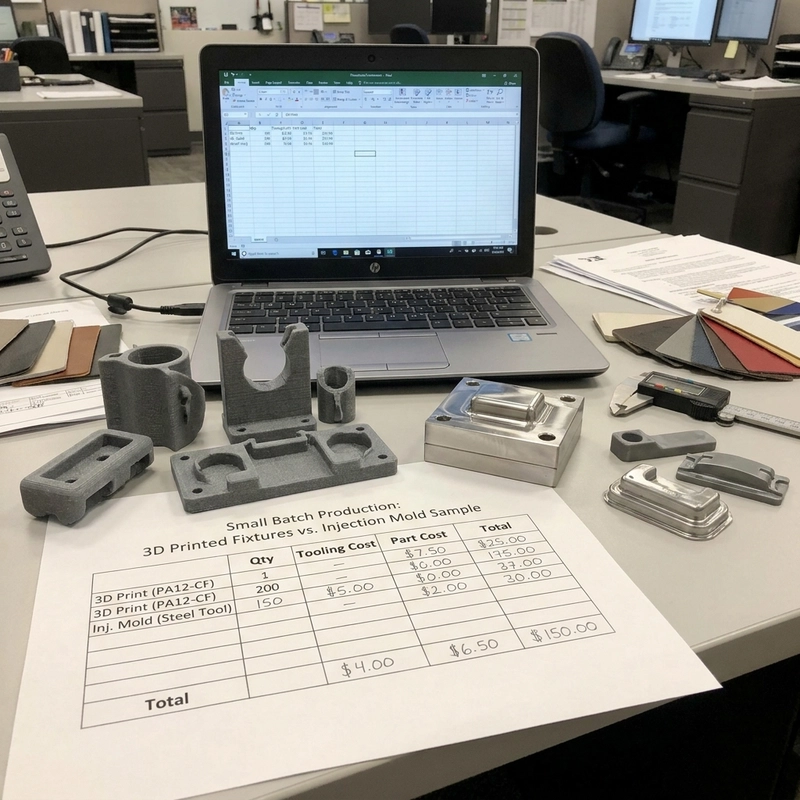
I do not treat printing as automatically cheaper. It is cheaper when the batch is small, the design is still changing, tooling would be slow, or the geometry is not friendly to molding. It becomes expensive when the part is large, dense, heavily finished, tightly toleranced, or repeated often enough that tooling cost can be spread across many units.
Engineering plastic 3D printing cost versus mold cost
For a simple comparison, write total molding cost as tooling cost plus quantity multiplied by molded-part unit cost. Write total printing cost as setup cost plus quantity multiplied by finished printed-part unit cost. If both unit prices are approximately constant and printing has the higher unit price, the mathematical break-even quantity is (tooling cost − printing setup cost) ÷ (printed unit cost − molded unit cost). Use like-for-like quotes and round up to a whole part.
This model is only a first comparison. Mold complexity, resin grade, finish, tolerance, inspection, shipping and design changes can alter the cost curve. If either process uses volume price breaks or added tooling, calculate the totals for each quoted quantity instead of extending one unit price indefinitely.
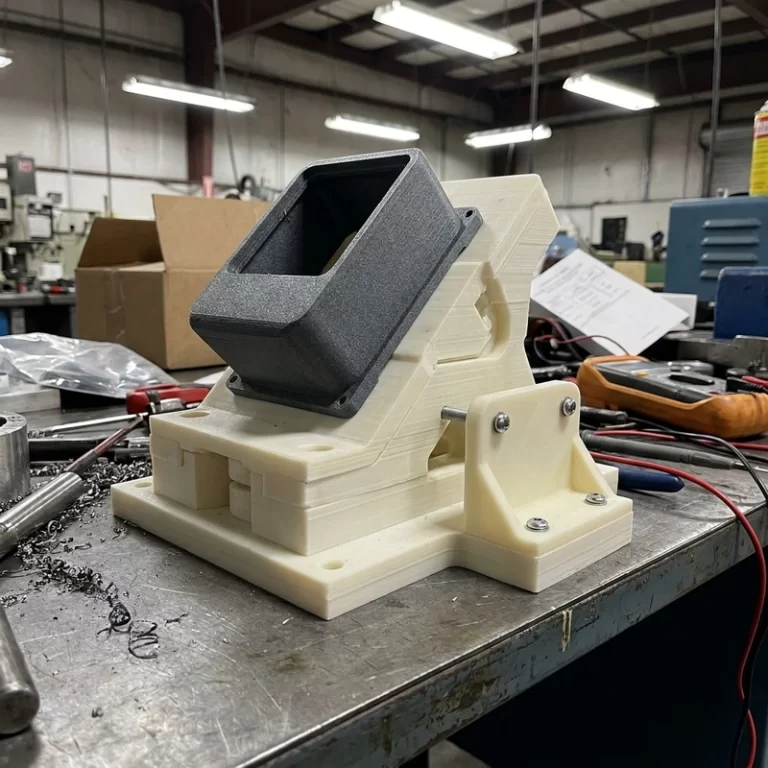
If the design is not frozen, I would be careful with early tooling. A printed batch of 20 or 50 may cost more per piece, but it can catch mounting errors, user-fit problems, heat issues, and assembly mistakes before money is locked into steel or aluminum tooling. That learning has value, even though it does not show up as material cost.
What drives engineering plastic 3D printing cost
Material cost is visible, but build time is often worse. A large solid PETG part ties up a printer for many hours. A nylon powder-bed batch needs nesting, cooling, depowdering, powder refresh control, and cleanup. High-temperature plastics may require drying, enclosed machines, slow printing, and more failed attempts before the process is stable.
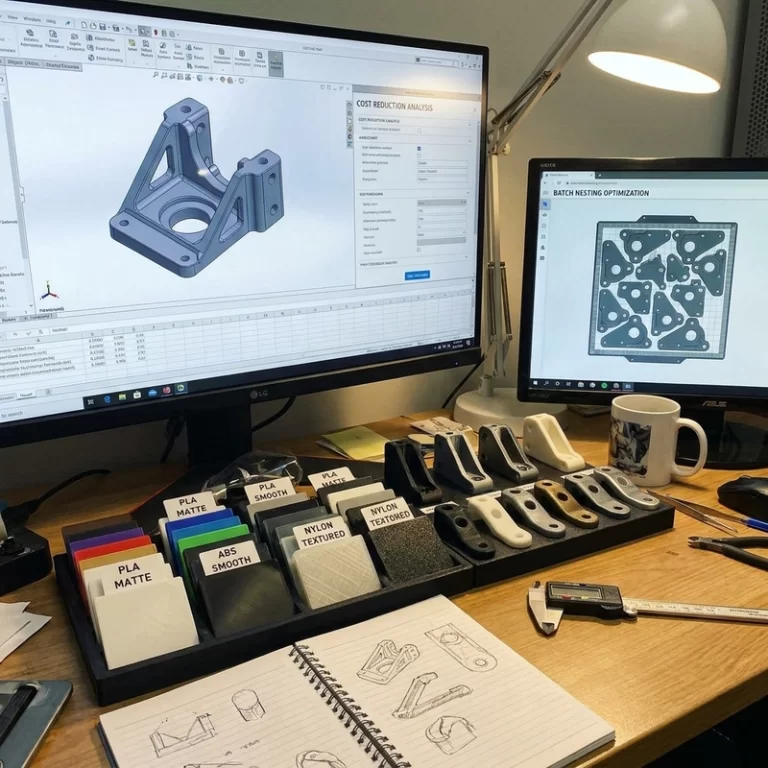
Cost shares change with the job. A raw fixture may need little finishing, while a painted enclosure can require substantial sanding, filling, primer and color-control labor. Ask for material, machine/setup, finishing, inspection and packing costs separately when those items affect the comparison.
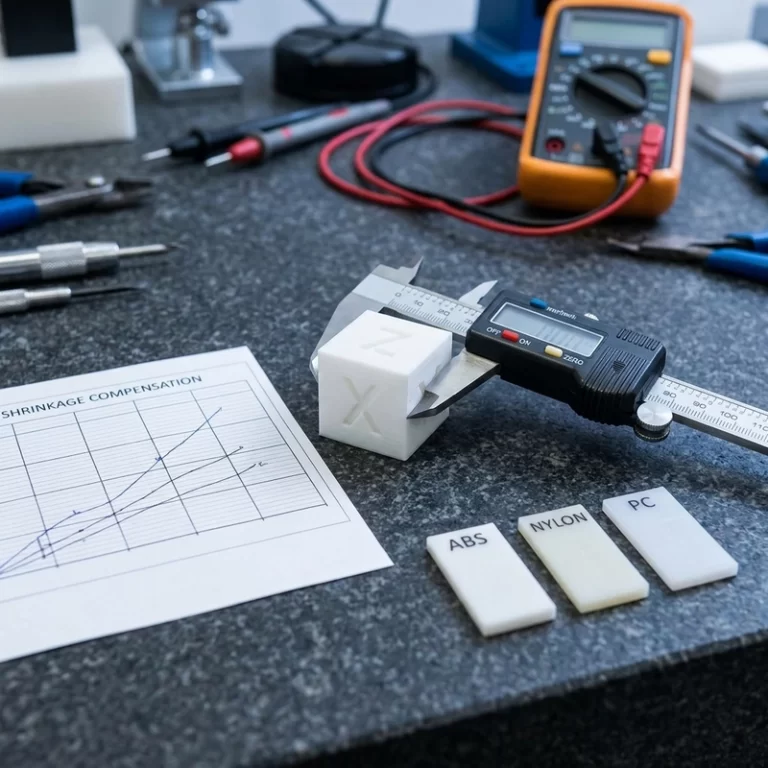
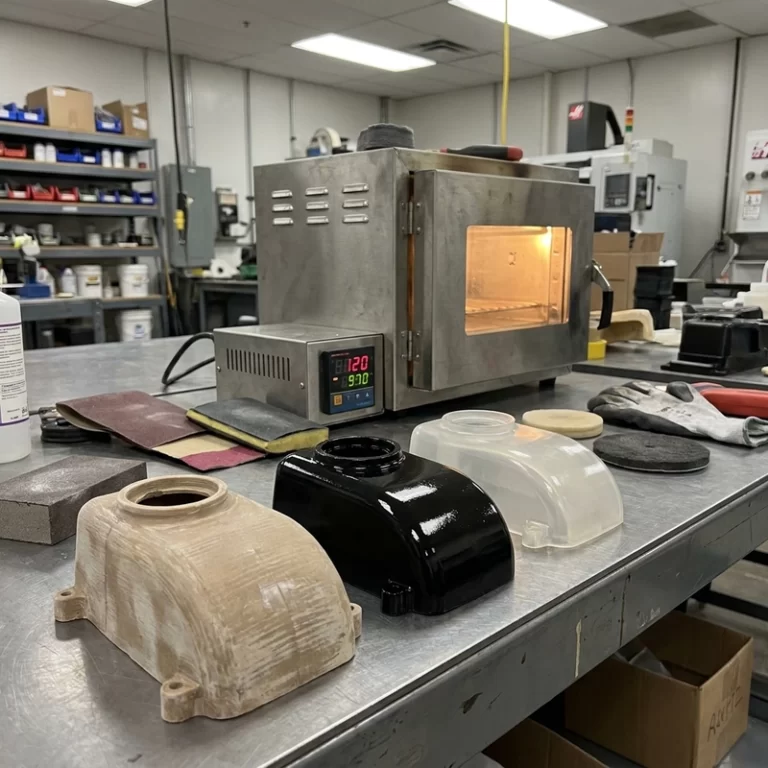
Post-processing is where cheap quotes can become expensive. Heat-set inserts, tapping, drilling, vapor smoothing, sanding, coating, annealing, dyeing, and inspection each add time. If a quote ignores those steps, the printed blank may be cheap and the finished usable part may not be.
Design choices that lower engineering plastic 3D printing cost
Cost reduction usually starts in CAD. Hollow thick blocks where strength allows it. Replace solid masses with ribs. Avoid huge flat panels that warp and require reprints. Split large models when segmentation reduces support, failure risk, or shipping damage. Open trapped cavities so powder or support can be removed. Mark only truly critical dimensions for post-machining instead of demanding tight tolerance everywhere.
The Zesmir article on 3D printing cost reduction goes deeper into design, material, batch quantity, and finishing choices. If the comparison is really between printed plastic and urethane or silicone-cast parts, the vacuum casting vs 3D printing article is the more relevant decision page.
Material choice also changes cost. A lower-cost plastic that meets the temperature and load requirement is better than an impressive material that creates drying problems, failed builds, or slow post-processing. The material selection logic in engineering plastic 3D printing material selection should come before the cost estimate, not after.
Small batch cost is also a risk question
Prototype quantity alone does not choose the process. Compare the first order and the expected lifetime quantity, including design-change risk and tooling amortization. Printing, molding, vacuum casting, CNC and hybrid routes can overlap economically; request alternatives that meet the same geometry, material and delivered-finish requirement.
Risk changes the curve. If the part is a fixture used inside a factory, appearance may not matter and printing can stay cheap. If the part is a consumer-facing enclosure, finishing and consistency may dominate. If the part has threaded inserts and tight assembly, the cost of rework can exceed the print cost. If the part needs food, medical, flame, or safety compliance, do not treat a printed sample as production-qualified without the required documentation.
Shipping can also move the final number. Large printed plastic parts may need segmentation, bonding, foam protection, or separate packing to avoid edge damage. A quote that looks cheap at the print stage may become less attractive if every part needs hand wrapping and repair after transit.
For process vocabulary and a neutral view of additive manufacturing families, the NIST additive manufacturing page is a useful external reference. It helps keep cost discussions grounded when comparing extrusion, powder-bed fusion, and other routes.
RFQ notes for a realistic cost estimate
Send the quantity range, target material, finish level, critical dimensions, insert or thread needs, expected load, heat exposure, and whether the design is frozen. If you are comparing against molding, include the expected lifetime quantity, not only the first order. Engineering plastic 3D printing cost can be very attractive, but only when the quote covers the finished part and the real batch plan.