Engineering plastic 3D printing finishing is where many functional prints either become usable or get ruined. Sanding can improve fit, coating can protect or beautify, annealing can stabilize some materials, and vapor smoothing can reduce visible layer lines. Each step also changes dimensions, surface energy, strength, or risk. Finishing is not makeup. It is part of the manufacturing process.
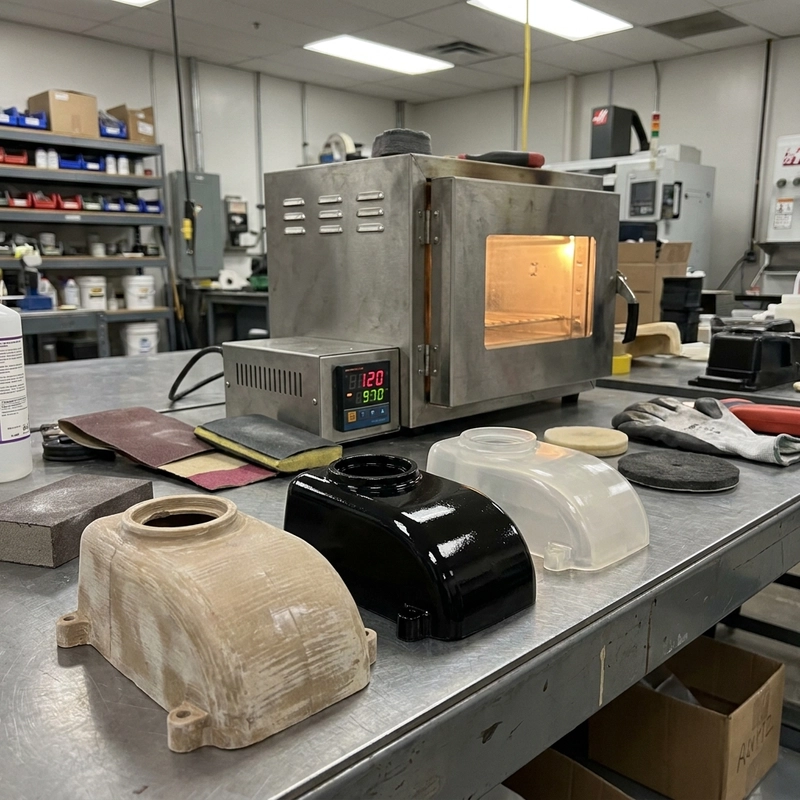
I normally ask what the finish must do before choosing the method. Does the part need to look smooth, fit an assembly, resist moisture, survive heat, take paint, or reduce roughness for handling? A fixture hidden in a factory does not need the same finish as a product appearance prototype. Engineering plastic 3D printing finishing should follow the use, not a fixed checklist.
Engineering plastic 3D printing finishing by purpose
Sanding is the most common starting point. It removes support marks, high layer ridges, elephant foot, and small assembly interference. The risk is over-sanding datums or rounding sharp edges. If a hole or slot matters, I prefer measuring before and after sanding. A part can feel smoother while moving out of tolerance.
Coating adds another layer of decisions: primer, paint, sealant, clear coat, or protective film. ABS and some resin parts are easier to paint than nylon, but surface preparation decides adhesion. Powder-bed nylon may need sealing or dyeing before the final appearance is acceptable. If the part will be handled often, test coating adhesion on a coupon or hidden surface before approving the batch.
For surface texture and inspection language, the related Zesmir article on 3D printing surface roughness is a useful companion. If the base part is resin and the coating issue is support scars or primer failure, read resin print paint adhesion instead.
The fastest way to choose the wrong finish is to ask only for “smooth.” Smooth for a handheld demo part may mean sanded primer and color coat. Smooth for a sliding guide may mean controlled roughness and no sticky coating. Smooth for a dyed nylon display model may mean tumbling plus sealing. I try to write the function of the finish in the RFQ, not only the visual adjective.
Annealing, vapor smoothing, and dimensional change
Annealing can improve heat resistance or relieve stress in some plastics, but it can also warp the part. The source gives example ranges: ABS around 80-90 C for 1-2 hours and nylon around 120-130 C for 2-3 hours in some workflows. These values depend on grade, printer, geometry, and supplier guidance. I would always test a sample, support the part during heating, and cool it slowly.
Vapor smoothing is most associated with ABS and acetone. Source guidance mentions short exposure examples around 10-30 seconds in some setups. The effect can reduce visible layer texture and may move roughness from around Ra 25 micrometers toward below Ra 6.3 in controlled workflows. It can also soften edges, close small holes, make surfaces glossy, and create safety risks. Acetone is flammable and needs proper controls; the NIOSH acetone page is a good reminder that solvent handling is not a casual bench trick.
Chemical smoothing should not be used to hide a bad design. If the part has tight bosses, small text, snap hooks, or sealing edges, smoothing may remove the detail that made the part work. Test the worst feature, not the easiest flat wall.
Engineering plastic 3D printing finishing and tolerance
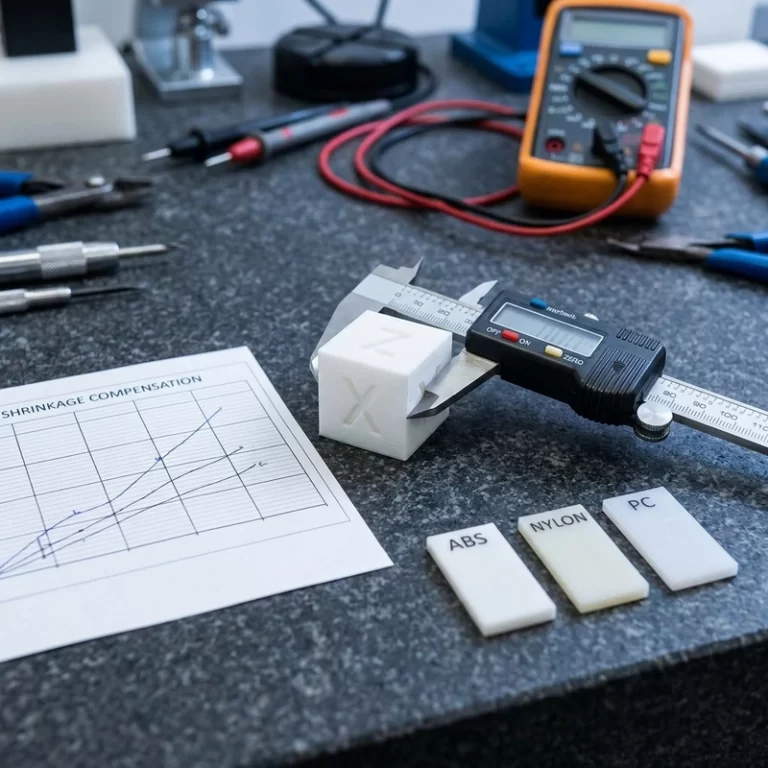
Every finishing method changes dimensions. Sanding removes material. Primer and paint add material. Vapor smoothing can flow the outer surface. Annealing can shrink or relax the part. Dyeing or sealing can change surface feel. If a printed housing must fit another component, the finish stack belongs in the CAD allowance.
I like measuring one part raw, after cleanup, after finishing, and after any heat step. That simple sequence shows where the size moved. It also prevents a common argument: the print team says the raw part passed, the assembly team says the finished part failed, and nobody knows which step changed the dimension.
Masking and assembly features should be protected before finishing. Paint in a screw boss, primer on a snap hook, or vapor smoothing on a press-fit rib can turn a good printed part into a bad assembly. When the part has cosmetic and functional zones, I mark them separately: finish this face, do not build coating on that datum, keep this hole clean.
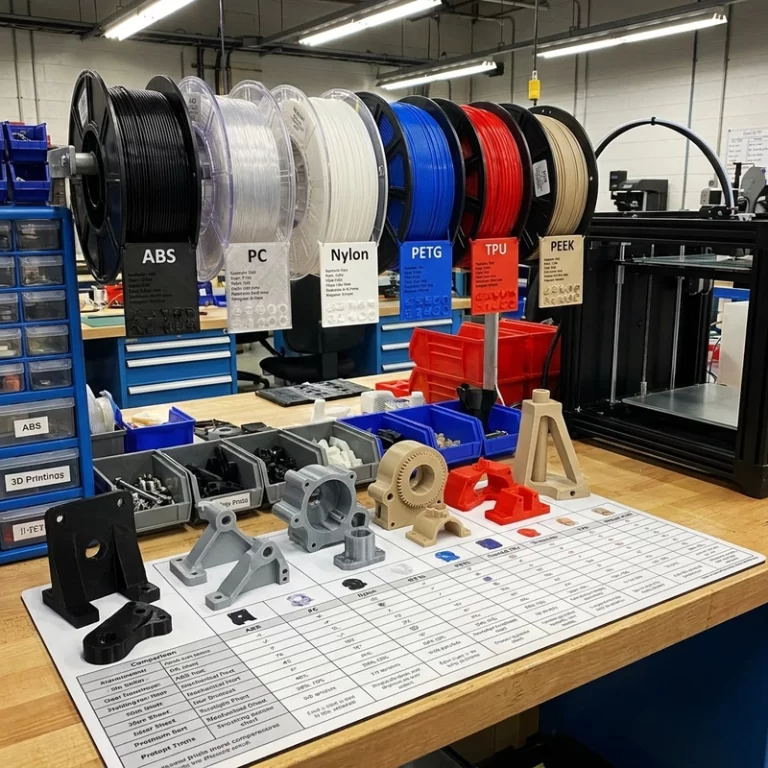
Finish choices by material
| Material | Common finishing route | Main caution |
|---|---|---|
| ABS | Sanding, primer, paint, vapor smoothing | Warping, solvent safety, dimensional change |
| PC | Sanding, coating, careful annealing | Heat history and stress cracking |
| Nylon | Dyeing, sealing, tumbling, coating with preparation | Moisture, powder texture, coating adhesion |
| PETG | Sanding, light coating, mechanical cleanup | Stringing marks and heat sensitivity |
| TPU | Trimming and light surface cleanup | Flexible surfaces are harder to sand and coat |
For a finishing-sensitive RFQ, send the desired surface, color, gloss level, cosmetic faces, tolerance faces, and whether the part will be painted, handled, washed, assembled, or exposed to heat. Engineering plastic 3D printing finishing works best when it is planned before printing. Waiting until after the part is built usually leaves fewer options and more rework.
For repeat batches, keep one approved finished sample and one raw sample if possible. The raw sample helps separate printing drift from finishing drift. The finished sample sets the real visual target. Engineering plastic 3D printing finishing becomes much easier to repeat when the approved surface is physical, not only described in an email.