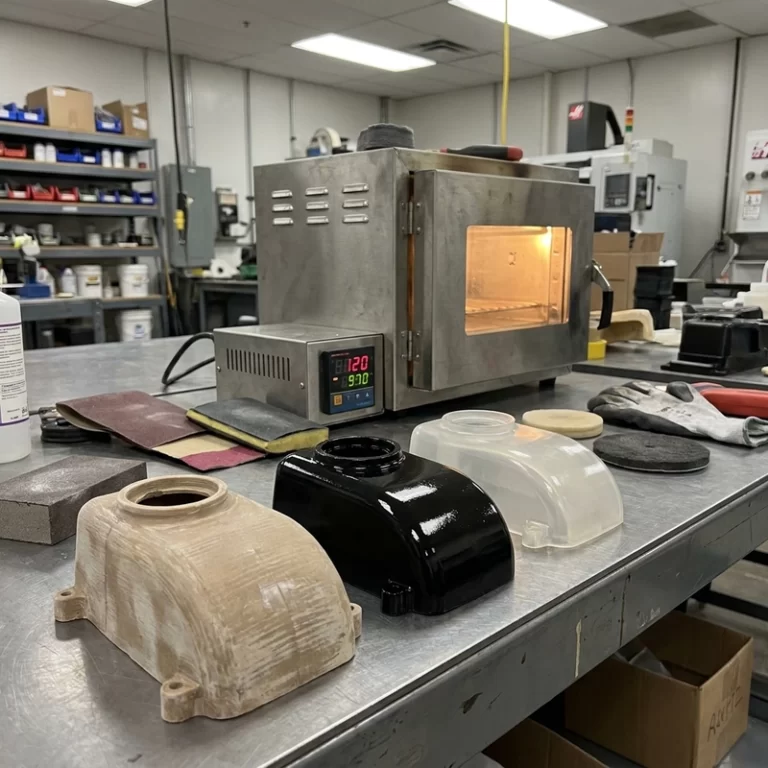
Engineering plastic 3D printing dimensional accuracy is not one number. A supplier may quote a tolerance, but the finished part still depends on material shrinkage, machine calibration, part orientation, wall thickness, cooling, moisture, and measurement method. I normally ask which dimensions actually need to fit before trying to make the whole print “high accuracy.”
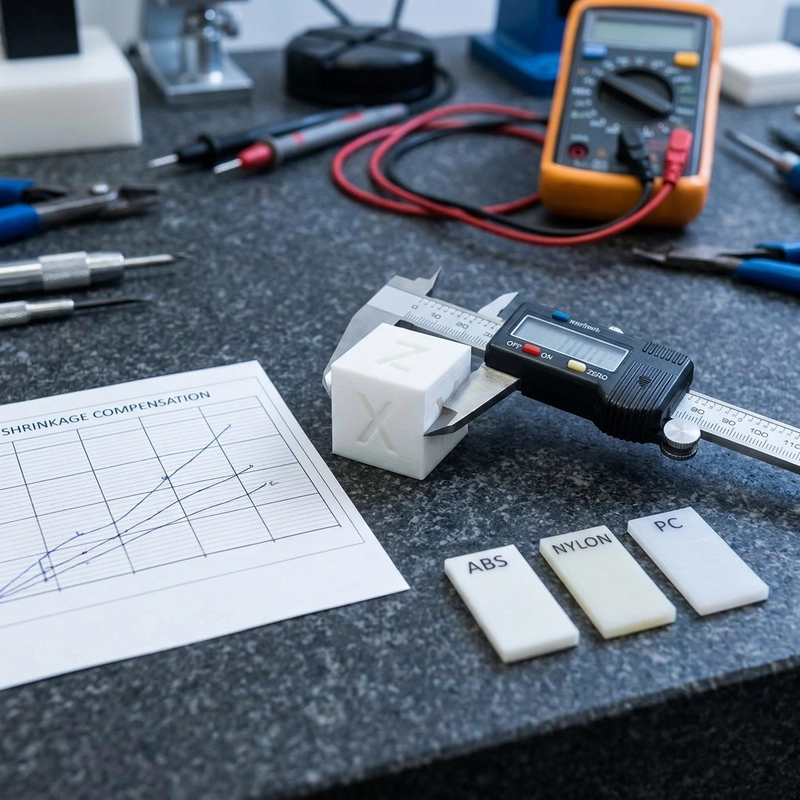
A plastic bracket can be strong enough and still miss the hole pattern. A housing can look good and still pinch a PCB. A nylon fixture can pass the first check, then move after moisture exposure. Engineering plastic 3D printing dimensional accuracy has to be controlled through design allowance, process setup, and inspection, not only by picking a better material.
Engineering plastic 3D printing dimensional accuracy starts with shrinkage
Shrinkage and dimensional compensation depend on the material grade, geometry and process. As a hypothetical calculation, a nominal 50 mm feature measured at 49.6 mm has a size error of 0.8%. That observation alone does not identify the cause: calibration, local distortion, extrusion and measurement conditions must be separated before applying a scale correction to a larger housing.
Shrinkage is not always uniform. Long thin panels curl. Thick corners hold heat. Holes print undersized because the bead path, thermal contraction, and slicer compensation all push inward. A belt or step calibration issue can make one axis different from another. I separate these problems during inspection: uniform scale error, local warping, hole error, and axis-specific machine error are not fixed the same way.
The broader measurement logic overlaps with Zesmir’s article on 3D printing accuracy parameters. For material choice before accuracy tuning, pair this article with engineering plastic 3D printing material selection.
Calibration, moisture, and heat control
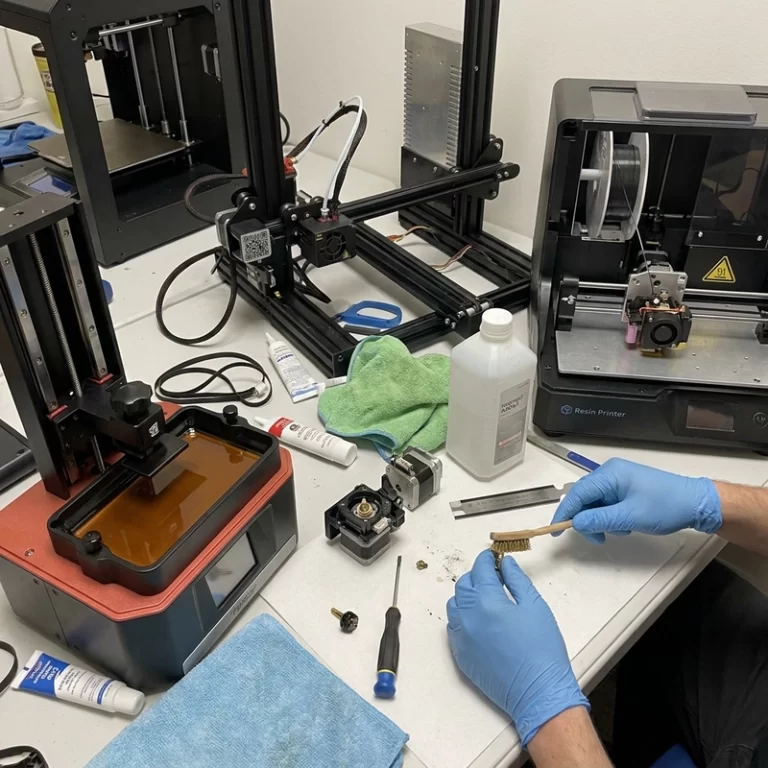
Extrusion flow, motion calibration, belts, nozzle condition, bed setup and thermal control can change part size. A setup that works for PLA may not be suitable for ABS or PC. Use the current material profile and printer limits, and investigate uneven cooling or local distortion before treating a temperature increase as a dimensional correction.
Moisture can affect nylon and PC extrusion quality and repeatability. Check the grade’s drying and storage instructions before blaming the CAD model. Prusa’s filament drying guidance distinguishes material and spool limits; filament instructions should not be transferred to powder. Recheck calibration after maintenance, consumable changes or an unexpected dimensional result rather than using an unsupported fixed print-hour interval.
Measurement should wait until the part is stable. A hot part coming off the bed is still moving. A nylon part may continue changing as it absorbs moisture. For functional assemblies, measure after cooling and after any required finishing, annealing, coating, or insert installation. The caliper reading before finishing may not be the size that reaches the customer.
Hole design and engineering plastic 3D printing dimensional accuracy
Holes are usually less accurate than outside dimensions. Small printed holes often need allowance, drilling, tapping, reaming, or heat-set inserts. If a shaft must rotate, do not design the CAD gap equal to the desired physical gap. A CAD gap is not the final physical gap. It will be affected by material, printer, orientation, cleanup, and finish.
Slot dimensions need the same caution. A slot that looks open in CAD may close slightly after shrinkage, while a thin wall beside the slot can curl outward. When the fit matters, I prefer printing a short tolerance strip with the same wall and slot geometry. It is cheaper than discovering after a full enclosure print that the clip, PCB, or rail will not seat.
For screw bosses, the safest route is often to print a pilot hole and machine or tap it afterward. For high-wear threaded assemblies, heat-set inserts or metal inserts may be better than printed threads. Critical datums can also be left with machining allowance. Hybrid printing plus CNC finishing may cost more per piece, but it can save a project where only two or three surfaces truly need tight tolerance.
Design choices that make accuracy easier
- Separate cosmetic faces from tolerance faces in the RFQ notes.
- Use ribs instead of thick solid blocks where warping is a risk.
- Avoid long unsupported flat panels when the material shrinks strongly.
- Add datum features that can be measured repeatably.
- Plan drilling, tapping, or CNC finishing for precision holes.
For neutral background on surface and dimensional measurement language, the NIST surface metrology project is a useful reference. It is not a 3D printing tolerance chart, but it helps keep inspection terms grounded.
What to send with an accuracy-sensitive RFQ
Send the STEP file if possible, not only STL. Mark critical dimensions, mating parts, hole functions, target quantity, material preference, and whether post-machining is acceptable. If you already printed a failed sample, include photos and measured values. Engineering plastic 3D printing dimensional accuracy improves when the supplier knows which dimensions matter and which dimensions can follow normal printed-part tolerance.
A good note does not need to be fancy. “These four holes fit an aluminum plate, this face is cosmetic, this rib can move a little” is already better than a silent STL. Engineering plastic 3D printing dimensional accuracy becomes a manageable manufacturing problem when the tolerance map is visible.