A 3D printer maintenance plan is where a lot of print quality problems should have been solved before they became “mystery settings.” A partly blocked nozzle, loose belt, cloudy resin film, dirty optics or powder contamination can look like a slicer problem. I do not like changing profiles until the machine has earned trust mechanically.
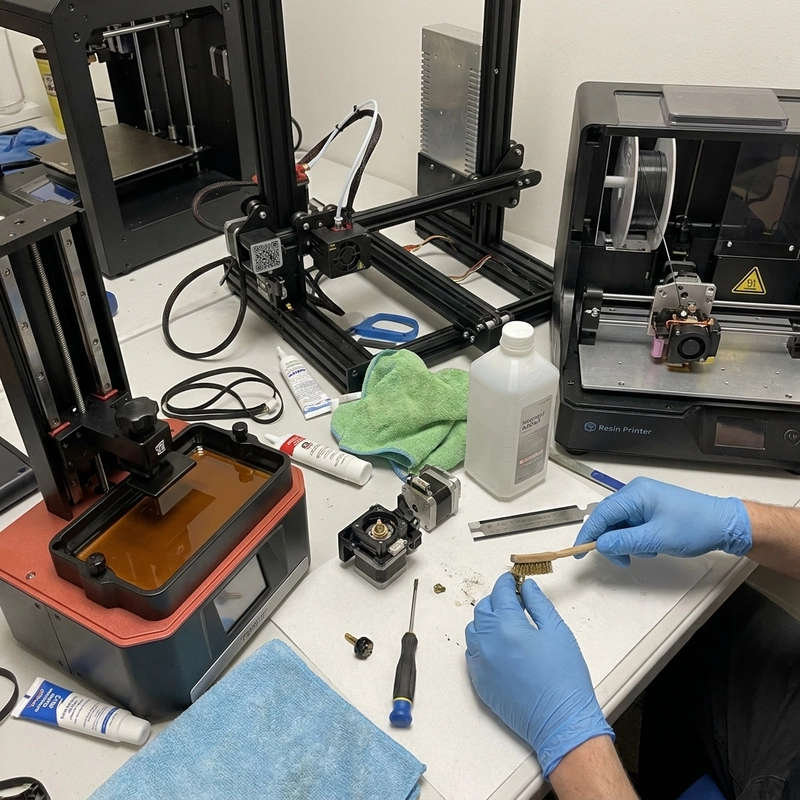
The plan does not need to be fancy. It needs to be repeated. Keep the material path clean, keep motion smooth, keep calibration stable, keep optics and sensors clean, and record what changed. A desktop FDM printer, a resin machine and an SLS system need different checklists, but the maintenance logic is the same: prevent drift before it turns into scrap.
3D Printer Maintenance Plan for Daily Checks
Daily checks start with debris. On FDM machines, clean the build platform, nozzle area and loose filament dust. A dirty bed hurts adhesion. Plastic stuck near the nozzle can drag through the next print. On resin printers, inspect the vat film and remove cured flakes before a critical job. A small resin chip can ruin a layer or scratch the film.
Listen to the machine. Clicking from an extruder, grinding from a belt, a fan that sounds tired or a Z-axis that suddenly sounds rough is not background noise. It is an early warning. Also check the displayed material profile before starting a long build. A wrong temperature profile can create weak layers before the failure becomes visible.
Resin machines need the same boring discipline. Look for cloudy release film, resin skins on the vat edge, dust on the screen, loose build-plate screws and cured fragments hiding in corners. A cloudy film can make exposure inconsistent across the vat. A tilted build plate can make one side fail while the other side looks fine. Those failures waste time because they tempt people into changing exposure when the hardware was dirty.
If failures are resin-specific, compare with SLA printing failures. If powder-bed reliability is the issue, SLS nylon 3D printing guide gives the process context.
Nozzles, Motion and Calibration
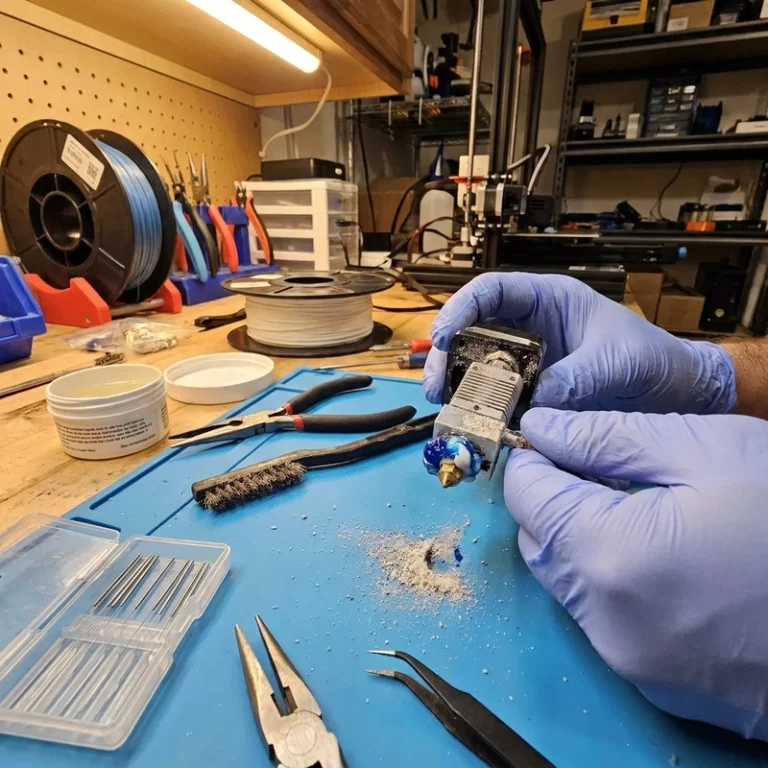
Nozzle trouble shows as under-extrusion, rough walls, missing infill, blobs, stringing or extruder clicking. Heat the nozzle correctly before clearing it. Do not force a cold nozzle. For PLA, the source notes a cold-pull routine around 70-80 C after heating and cooling, but the exact feel depends on material and printer. Abrasive filaments wear brass nozzles; when the hole grows, extrusion can look heavy even with the right slicer settings.
Motion drift is slower and sneakier. Monthly checks should include belts, pulleys, lead screws, rails, couplings and carriage play. The source mentions reviewing belt tension when mid-span deflection is more than about 5 mm under a normal finger check, depending on machine design. Too loose causes ringing and lost motion. Too tight overloads bearings and motors.
Lubrication is not just “add oil.” Linear rails, lead screws and bearings need the lubricant the machine maker specifies. Too little lubrication creates chatter and wear. Too much attracts dust, powder or filament debris. If the machine prints nylon, carbon-filled filament or dusty composite materials, clean the motion system more often. Abrasive particles travel farther than people expect.
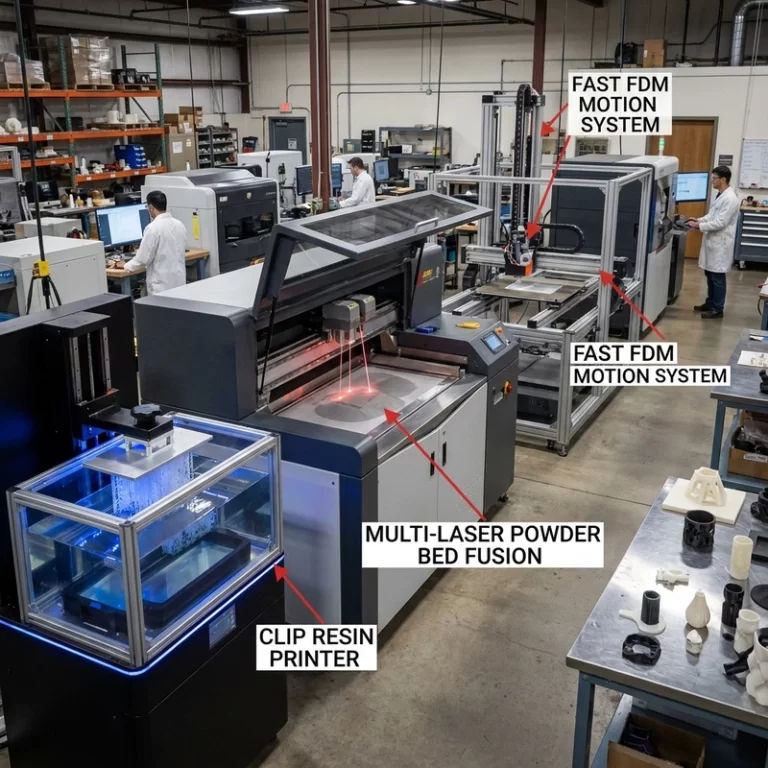
Powder-bed systems add another layer. Recoater condition, powder refresh ratio, sieve cleanliness, chamber seals, laser optics and powder storage all affect reliability. A scratched recoater can drag across a build. Damp powder can spread poorly. Mixed powder history can change part behavior. Maintenance notes should follow the powder, not only the machine.
Calibration Belongs in a 3D Printer Maintenance Plan
Calibration is not only for new machines. Recheck platform leveling, nozzle height, Z offset, coordinate scaling and test-cube dimensions after nozzle replacement, bed surface change, belt adjustment, firmware update or crash. A simple cube is not enough for functional work. Include holes, thin walls and mating features when accuracy matters.
Firmware and slicer updates should be recorded. They can change acceleration, pressure advance, exposure compensation or material profiles. If a machine is stable, test updates on non-critical parts before using them for repeat work. A production shop should know which machine, firmware, nozzle and material profile made the approved sample.
I like maintenance logs that include the symptom, the action and the next print result. “Cleaned nozzle” is less useful than “cold pull removed black debris; test wall recovered normal extrusion.” That kind of record prevents the same failure from being rediscovered every month. It also helps when several operators use the same printer and nobody remembers who changed the nozzle last.
A 3D printer maintenance plan should also name consumables: nozzles, filters, vat films, screens, wipers, gloves, sieves, powder containers and calibration tools. When consumables are treated as invisible, quality problems look random. When they are logged, drift becomes easier to spot.
The NIOSH 3D printing topic page is useful for safety context around emissions and materials. For maintenance, still follow the specific printer manual and material safety data sheets. The RFQ-side lesson is plain: a critical nylon batch should not start after unknown powder handling, and a dimension-critical FDM fixture should not start after a nozzle crash without recalibration. A 3D printer maintenance plan is not paperwork; it is how the process stays predictable.