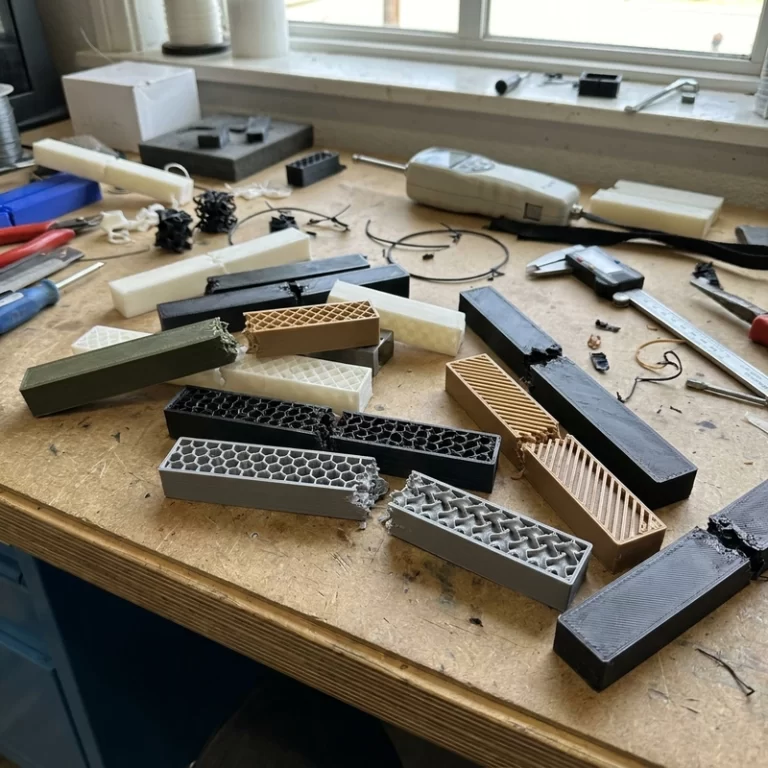
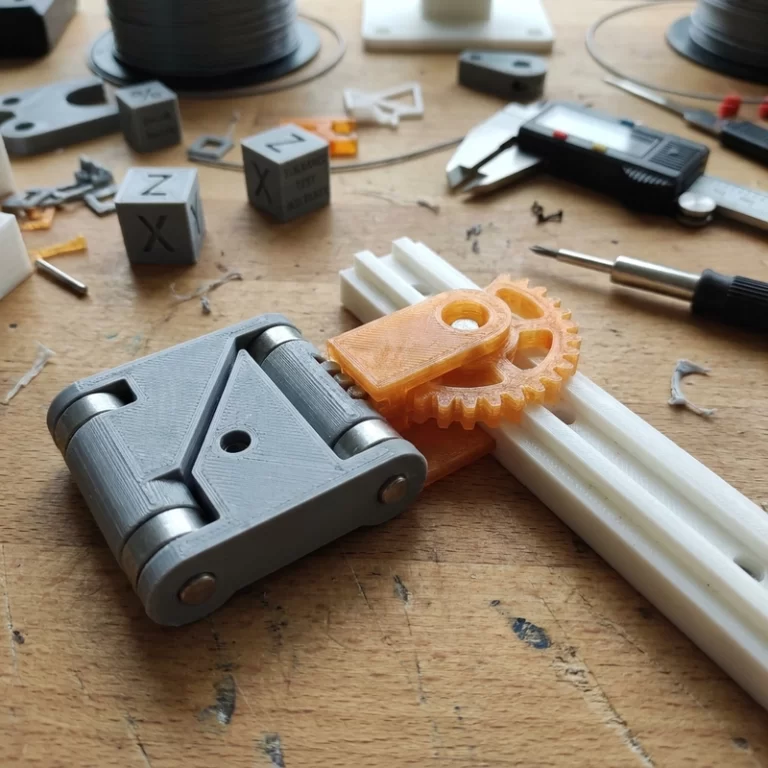
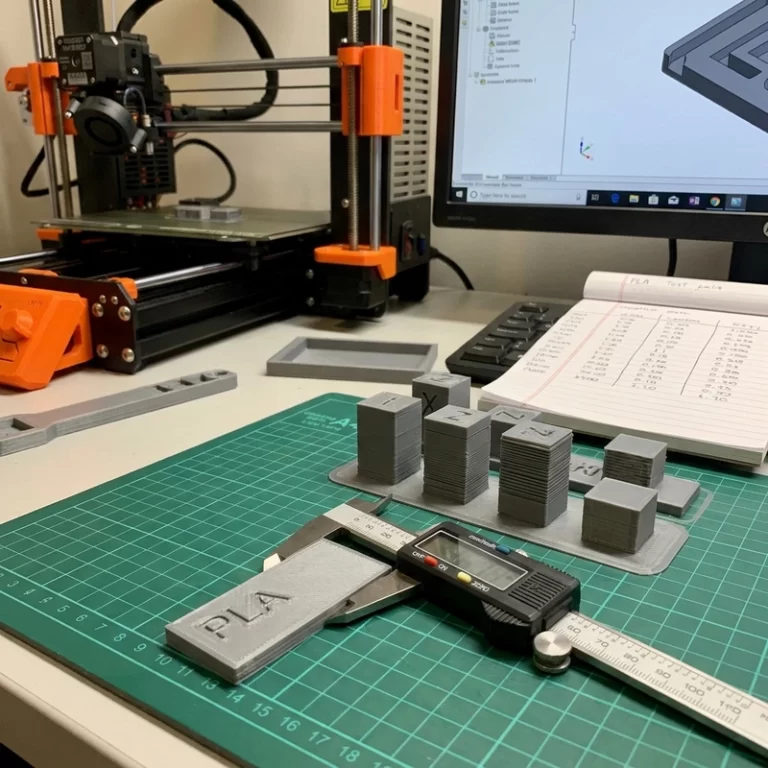
3D printing cost reduction is not the same as pushing a supplier for a lower unit price. Real cost comes from material, machine time, support removal, powder handling, finishing, machining, inspection, failed samples, packaging, and unclear requirements. A small design note can save more than a long negotiation.
When I review a quote that feels too high, I do not start by deleting quality checks. I ask what the part is actually for. A visual model, fit-check sample, functional prototype, and sellable batch part should not carry the same material, tolerance, and finish requirements.
3D printing cost reduction starts with the job of the part
Over-specification is common. A design review model may not need high-temperature resin. A fit-check housing may not need paint. A simple fixture may not need cosmetic sanding. A metal-looking prototype may not need real metal if it is only being photographed. Matching material to the test stage is the first cost control step.
Under-specification costs money too. If the part needs a tight shaft fit but the RFQ does not mark the hole, the first sample may fail and the second sample becomes the real cost. That is why 3D printing file preparation matters before the quote is sent.
Design changes can cut cost without cutting quality
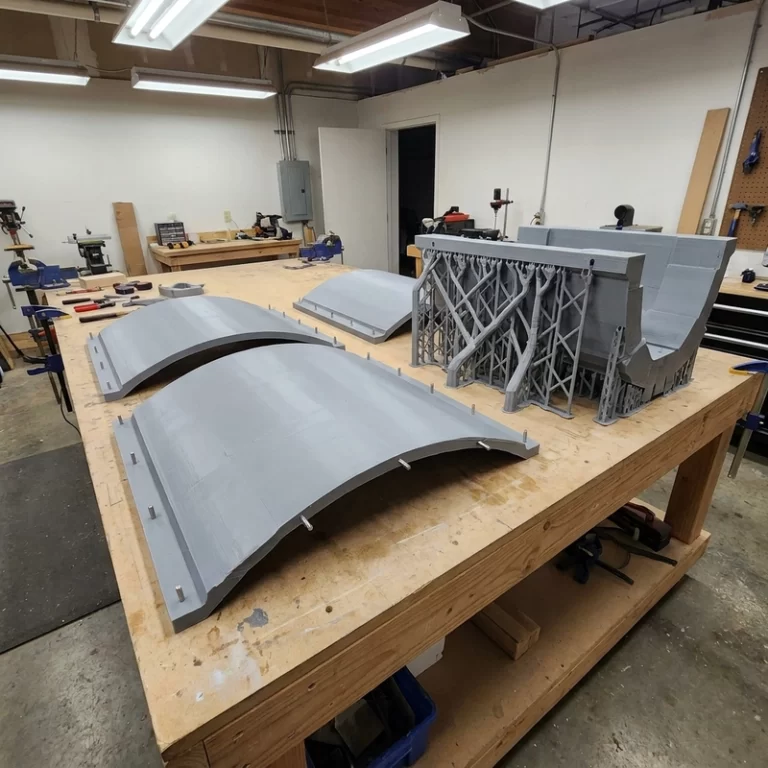
Support-heavy geometry costs more because supports use material and need removal. Solid blocks cost more because they use material and hold heat. Tiny fragile details cost more when they slow the process or break during cleanup. Tight tolerance on every surface costs more when only two holes actually matter.
Cost-aware design uses the right wall thickness, fillets, hollowing, drain holes, powder escape holes, machining allowance, and support-friendly orientation. I do not mean making the part weak. I mean removing the features that create labor without helping the part do its job.
3D printing cost reduction can come from batching
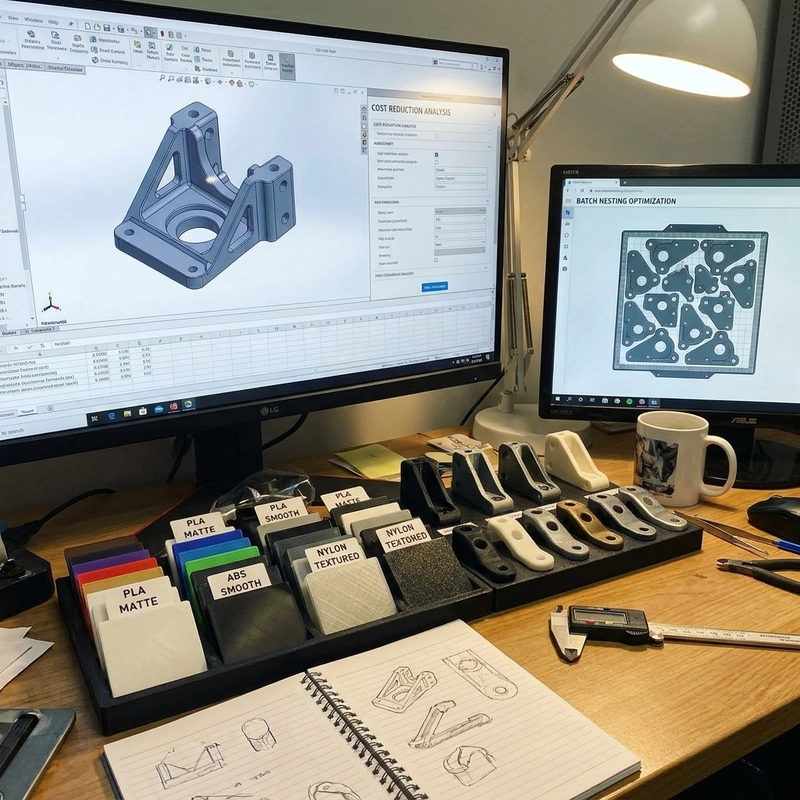
SLS and MJF can become cheaper per part when many parts share the powder bed. Resin parts can sometimes be arranged to reduce setup labor. Metal builds may benefit from planned batches, but support removal, heat treatment, and inspection still matter. Bigger quantity is not always cheaper if the batch increases risk or finishing labor.
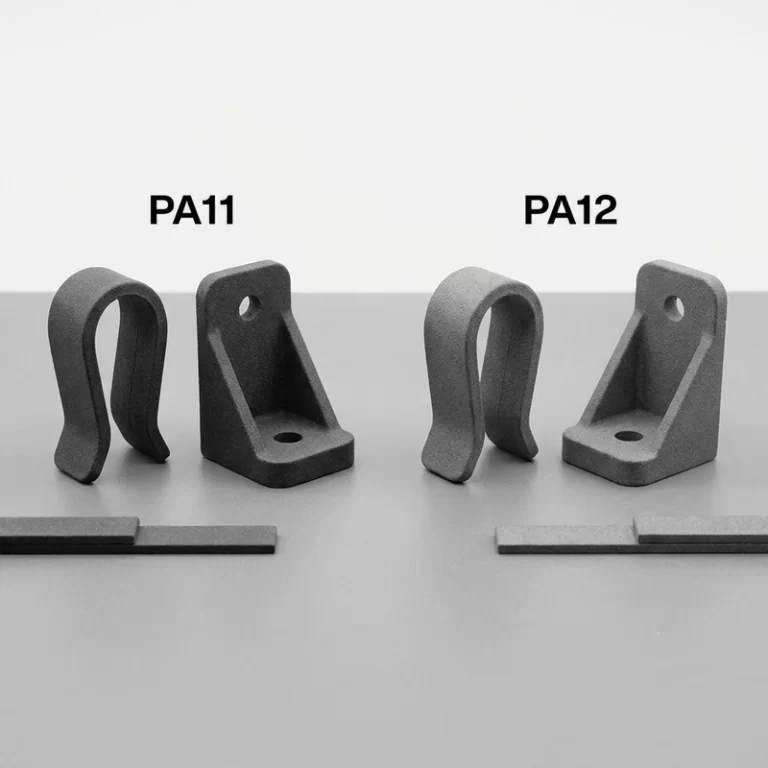
For nylon parts, surface finish can quietly dominate cost. Raw, dyed, tumbled, sealed, painted, and machined parts should not be compared as if they are the same item. The finishing article on SLS nylon surface finishing is a good example.
| Cost lever | Useful move | Risk if pushed too far |
|---|---|---|
| Material | Match material to test stage | Weak or misleading sample |
| Wall thickness | Remove unnecessary mass | Warping or breakage |
| Supports | Change orientation or split part | Visible scars or failure |
| Batching | Group repeat parts | Thermal or finish variation |
| Finishing | Finish only where needed | Poor cosmetic review |
Sometimes the cheapest route is hybrid: print the complex shape, then machine only the holes, threads, or sealing faces. See CNC machining after 3D printing for that decision. ISO/ASTM 52900 can help with process terminology, but 3D printing cost reduction comes from clear function, clean files, and not paying for precision or finish where the part does not need it.
Where I would not cut cost
I would not cut the sample step before a batch when the part has moving clips, mating holes, cosmetic finish, or a new material. I would not remove inspection from a part that controls assembly. I would not choose a brittle resin just because it is cheaper if the prototype will be flexed in a meeting.
Good 3D printing cost reduction protects the purpose of the part. It removes waste, not the evidence needed to approve the job. If a buyer needs a painted sales sample, raw white resin is not cheaper if it forces another round. If a nylon batch needs black dyeing, quote it that way from the start.
I also separate sample pricing from batch pricing. A first sample may carry more review and setup time. A batch may save cost through nesting, repeat setup, or grouped finishing. Mixing the two numbers too early makes the project look cheaper or more expensive than it really is.
A useful quote asks for options instead of one vague cheaper version. For example: raw print only, dyed finish, machined holes, painted sample, or batch with inspection. Once those are separated, the buyer can decide which cost belongs to function and which cost belongs to appearance.
3D printing cost reduction also comes from reducing iteration loops. A clean STEP file, marked critical surfaces, and a realistic material choice can prevent a second sample. The cheapest part is not the one with the lowest first quote; it is the one that reaches approval with the fewest avoidable corrections.
For overseas buyers, packaging and export handling should be included when the part is fragile, painted, or cosmetic. A low print price does not help if parts rub during shipping and need refinishing after arrival.
My simple rule: cut cost from waste, not from the requirement that makes the part useful. 3D printing cost reduction should make approval smoother, not create a cheaper sample that nobody can trust.