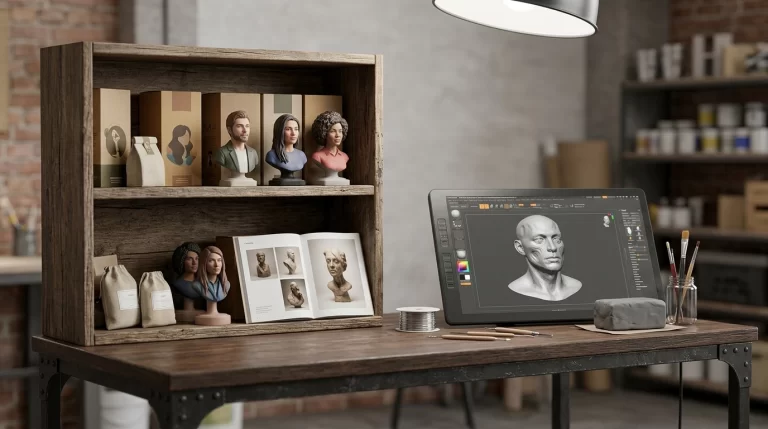
Resin choice affects nearly every downstream risk in an OEM figurine project: shipping damage, paint adhesion, color shift, thin-feature breakage and final QC acceptance. The selection should be tied to detail level, feature thickness, display environment, handling and packaging rather than the default material from a supplier alone.
The White Model Gate: Catch Geometry Problems Before Painting
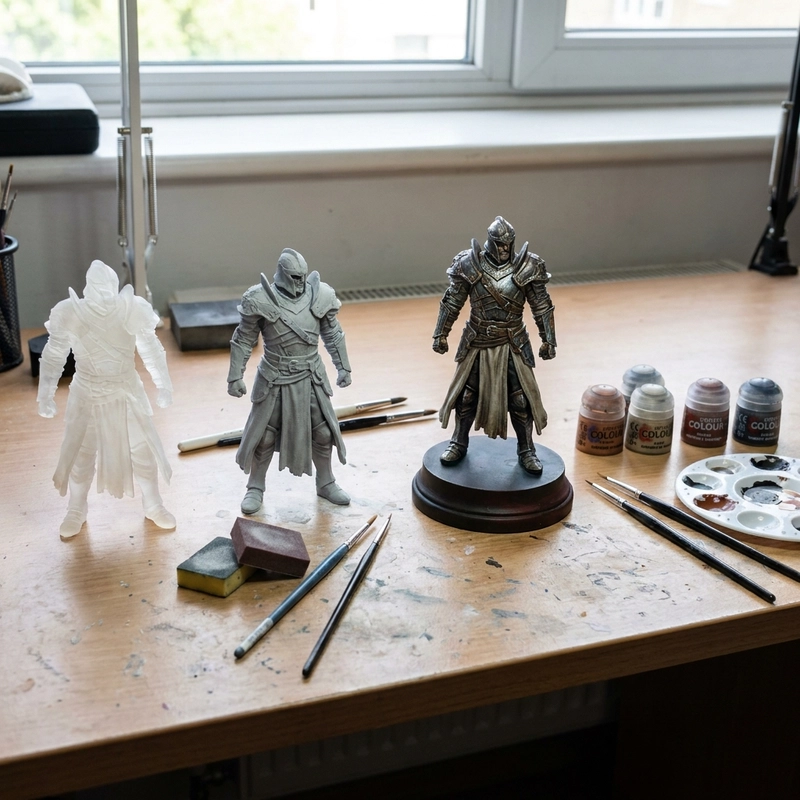
An unpainted white model is the last low-cost checkpoint before finishing. Review photographs from at least three angles and compare proportions, thin features, face details and any auto-thickened geometry against the approved sculpt. Painting should begin only after that geometry checkpoint is accepted.
White or light grey resin also exposes defects primer hides: layer lines at oblique angles, support scar craters around ears and tails, dust trapped during curing. Translucent resin is especially dangerous for approval samples — I once signed off on a translucent grey figurine that photographed flawlessly, only to have the buyer’s photographer reveal four deep support scars with side lighting. Now I specify an opaque white resin for all approval samples. If the factory’s standard material is even slightly translucent, they switch or we don’t proceed.
Thin Features vs Impact Resistance: The Tradeoff That Snapped Wings
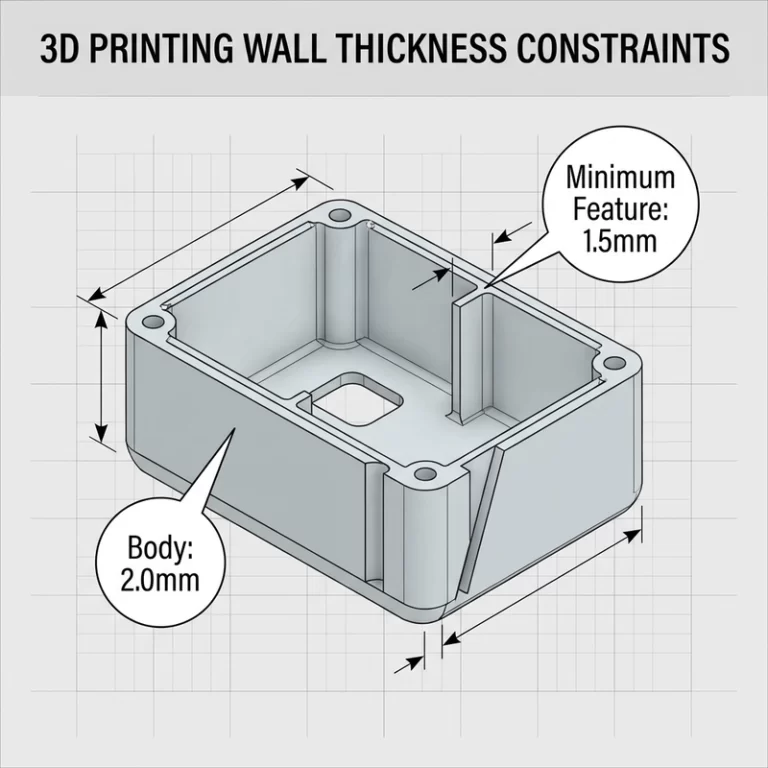
Standard rigid SLA resin captures fine facial, fur and text detail, but very thin projections can be brittle in transport. Delicate wings, ears, tails or accessories may need thicker geometry, a tougher resin, a separate flexible component or a revised packing method. A split-material design adds assembly work, so confirm the trade-off on a sample before batch production.
For large figurines above 25 cm, hollowing is necessary — but dangerous when done halfway. I rejected an entire shipment because uncured resin trapped inside the torso seeped through the paint after three days in a warm warehouse, leaving sticky brown patches across the chest. The factory had hollowed the model correctly but placed only one drainage hole. IPA couldn’t circulate, and uncured resin pooled at the far end. My PO template now requires two opposite drainage holes per hollow cavity and a post-wash UV inspection photo showing the interior through both openings.
| Risk | Standard resin behavior | Fix I use |
|---|---|---|
| Thin ears, fingers, tails | Shatter below 2 mm | Tough resin or thicken to 2.5 mm in sculpt |
| Large hollow torso | Trapped uncured resin leaks through paint | Two opposite drain holes + post-wash UV photo |
| Delicate accessories | Break during packaging insertion | Print separately, glue post-paint, tough resin |
| Heavy solid base | Warp during curing | Hollow interior, 4 mm wall minimum |
Paint Adhesion Starts With Surface Chemistry, Not Primer Brand
When primer peels, the primer is almost never the problem. The surface underneath is. Standard rigid resins clean easily with IPA. Engineering resins — tough, heat-resistant, or specialty formulas — often retain a microscopic oily film even after standard wash cycles. I discovered this when 20 figurines painted with automotive-grade primer started flaking after one week of indoor display. The factory had used a tough resin without extending IPA wash time and without a pre-primer surface wipe. The same issue connects directly to SLA resin sticky surfaces: if a print feels tacky after post-curing, adhesion is already compromised before the primer can leaves the nozzle.
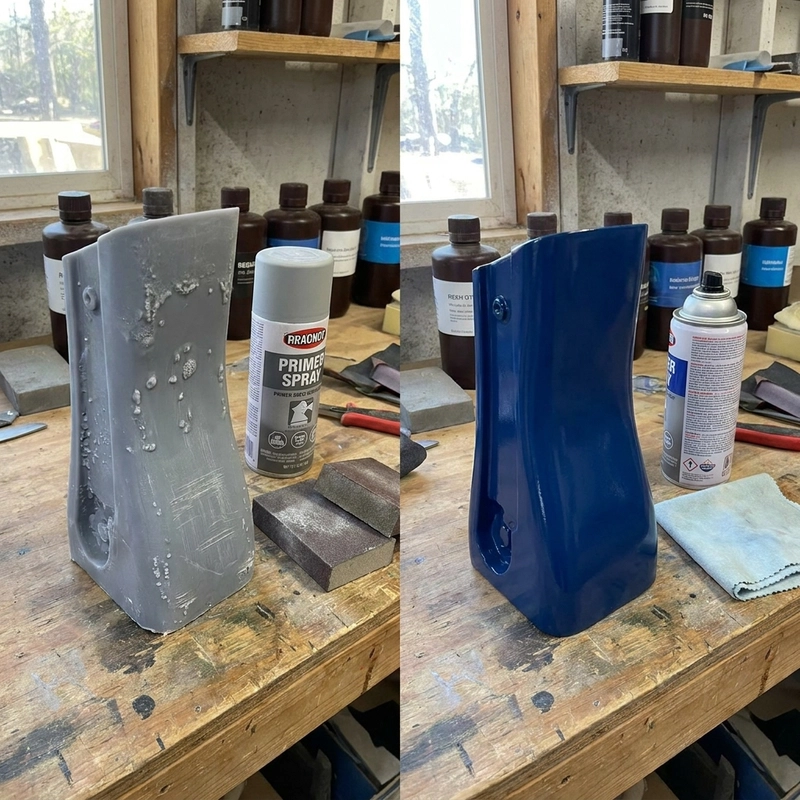
Batch painting consistency demands a physical reference, not just a photo with unknown white balance. I ship a painted master sample with every batch PO and lock three non-negotiable colors in the QC checklist: base uniform color, memorial text or logo color, and finish level (matte, satin, gloss). Hand-paint variation within 5% passes; wrong color on the wrong part is a reject, period.
UV Yellowing: The Problem That Shows Up After Delivery
White and clear photopolymer parts can yellow under ultraviolet exposure. UV-stabilized material and a compatible protective coating may slow the change, but neither should be presented as permanent protection without testing. If the figurine will sit near a window or strong display lighting, state the environment in the RFQ and include realistic storage guidance with the product.
The cost difference is minimal. UV-stabilized white resin runs 8–12% more than standard white, and a UV-blocking clear coat adds roughly $0.30–0.50 per figurine. Replacing 200 yellowed units and losing a buyer’s trust costs orders of magnitude more. A sound resin figurine material specification absorbs that cost at the PO stage — the alternative pays it after delivery, with interest.
The RFQ Material Specification Template That Stopped the Surprises
A seven-field resin section makes an RFQ easier to review and reduces ambiguity between the approved sample and the production batch:
- Resin type and brand — not “standard white” but UV-stabilized white, tough grey, or standard grey with validation photo
- Minimum wall thickness — 2.0 mm for accessories, 2.5 mm for structural joints, confirmed on the white model
- Hollowing spec — drain hole count (minimum two, opposite ends), position drawing, post-wash UV inspection photo
- Surface finish before primer — IPA wash duration in minutes, post-cure time under UV, support mark sanding grade
- White model approval photos — front, 45-degree, back; diffused lighting; mid-grey background; no editing
- UV protection — stabilized resin type or UV-blocking clear coat, specified per unit
- Painted master sample — one physical unit signed by both parties as the binding color and finish reference
Resin figurines look simple when they sit on a retail shelf. Every smooth surface and crisp edge represents a chain of decisions that started with the material call. The strongest OEM projects treat resin selection as its own approval gate — separate from sculpt review, separate from paint sign-off, separate from packaging validation. Skip it, and the factory’s first nice photo won’t be the product your buyer unpacks.