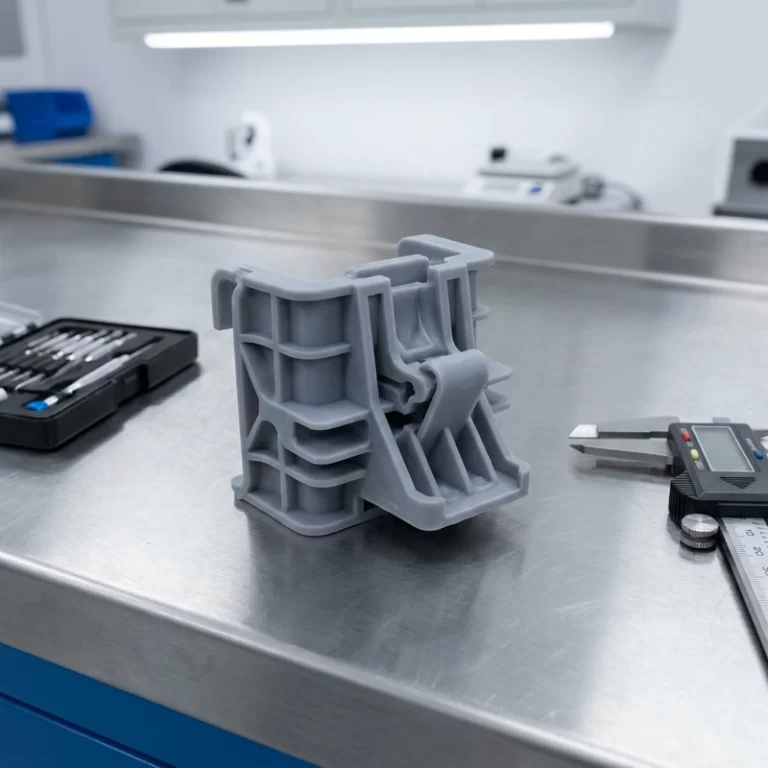
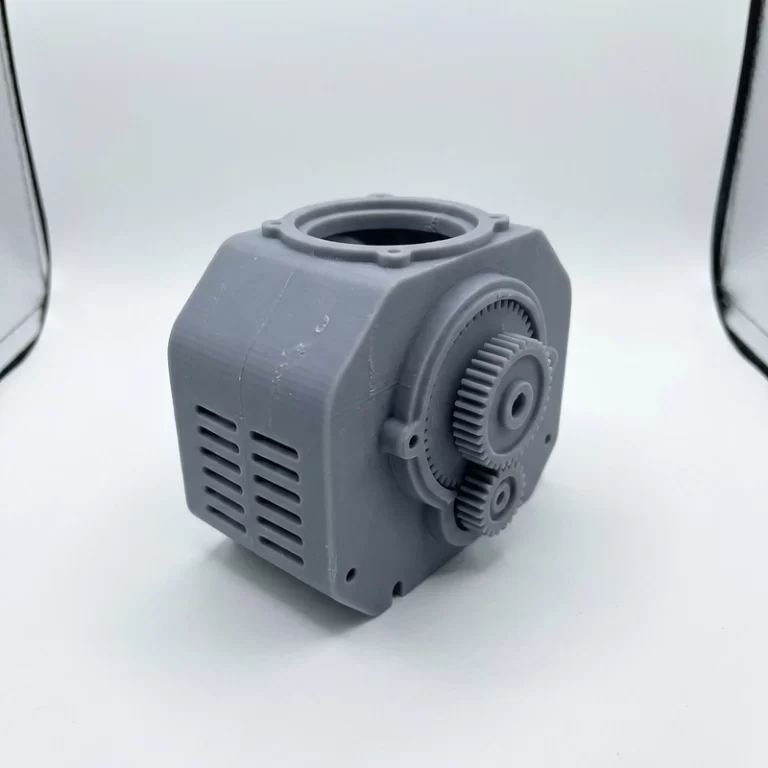
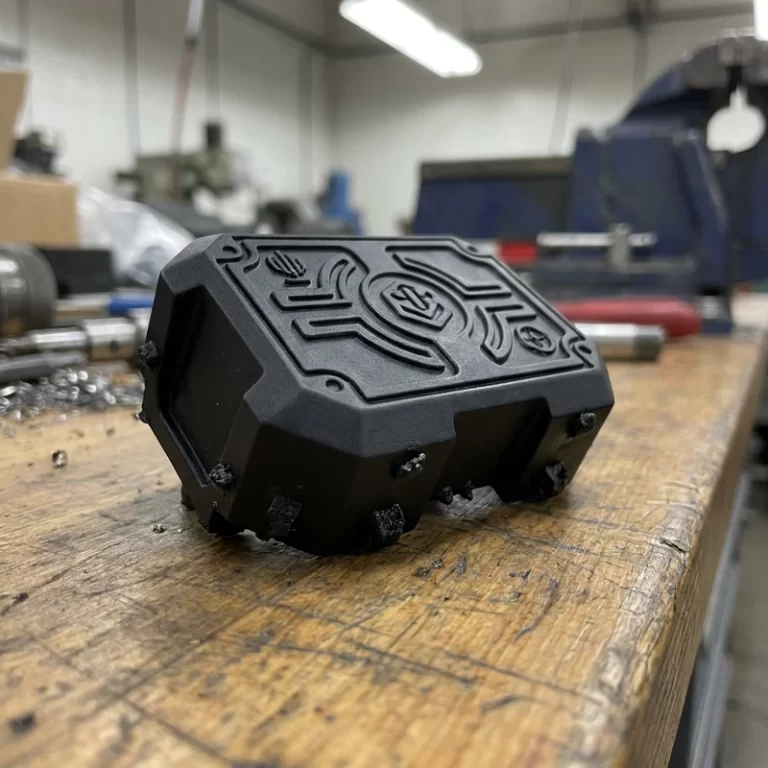
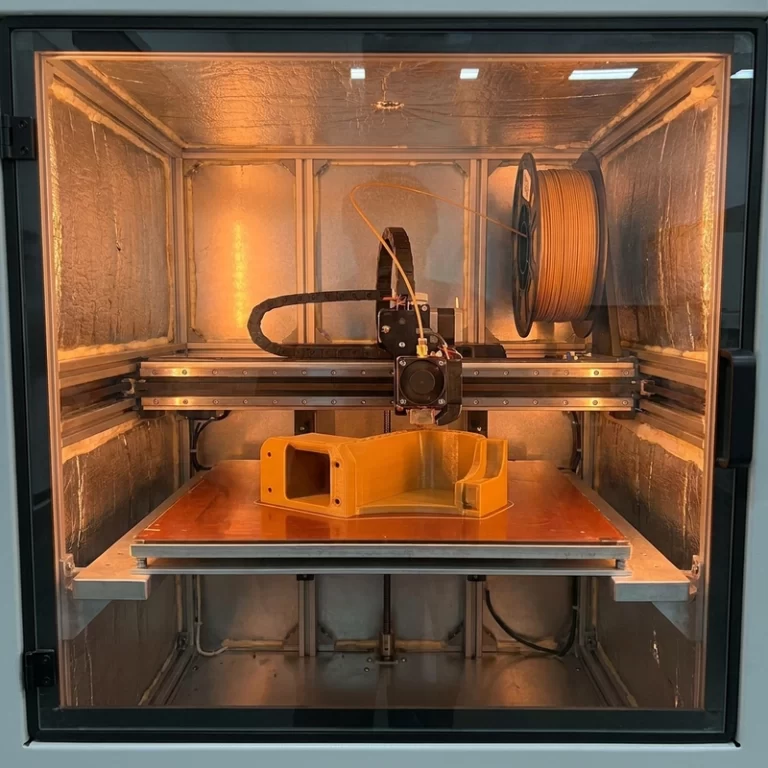
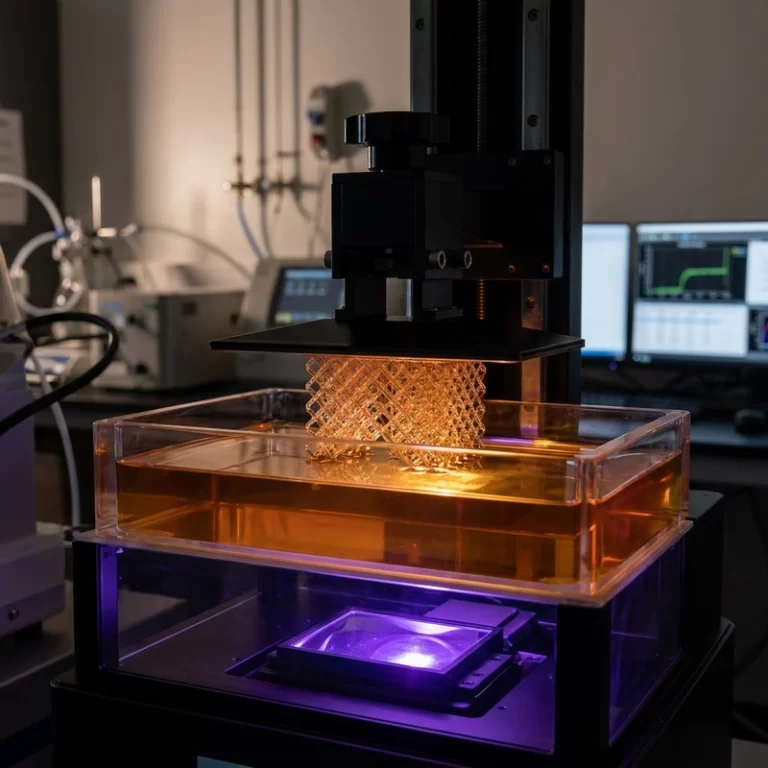
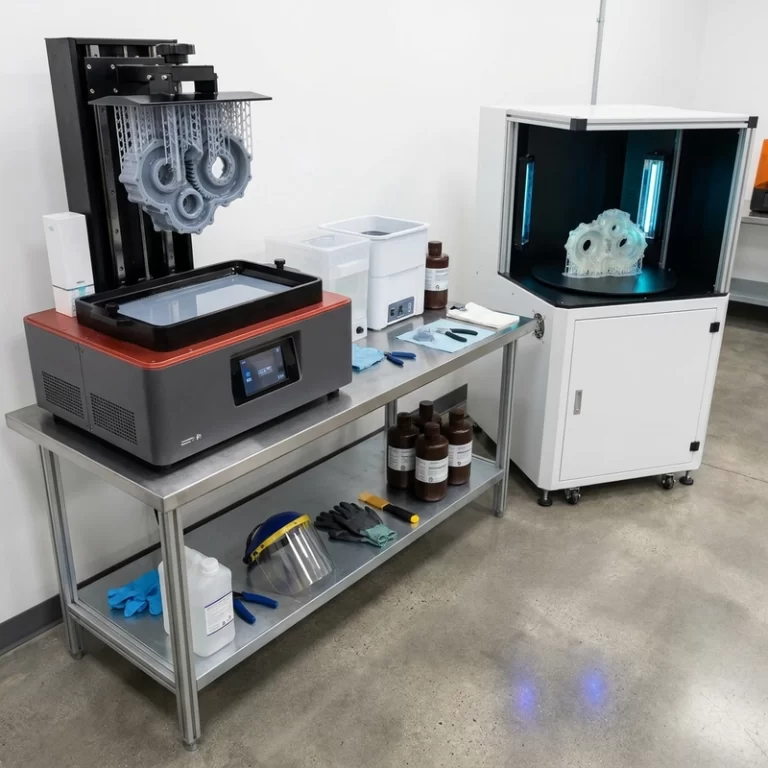
A heat-resistant SLA enclosure can pass a short elevated-temperature check and later sag under bolt preload. The difference is sustained mechanical stress: heat-deflection data does not automatically predict creep in a clamped assembly. Test representative coupons or a first article under the actual temperature, fastening load and exposure time before approving the material.
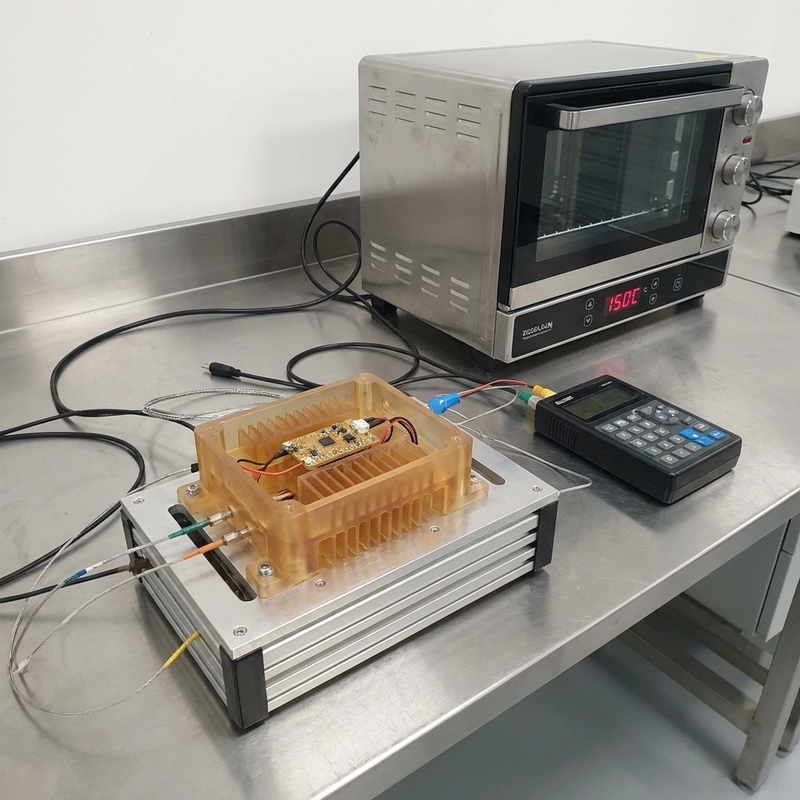
Heat-resistant SLA resin is useful for geometry iteration, airflow studies and short thermal checks, but it is not a universal replacement for PEEK, polycarbonate, filled nylon or metal. When a part must hold a structural bolt pattern under sustained heat, compare SLA with CNC-machined polymer, SLS nylon or metal manufacturing before committing to the route.
HDT Numbers for Heat Resistant SLA Resin Mean Nothing Until You Understand Which Load They Were Tested At
I used to screenshot HDT specs and call it material selection. Formlabs High Temp V1 lists 238 °C at 0.45 MPa. That number is real — ASTM D648, properly post-cured, measured in a three-point bend rig at a stress level that amounts to the part sagging under roughly its own weight. It is also almost completely useless if you are designing a clamped bracket or a bolted housing.
The load used for heat-deflection testing matters. A material may publish a high HDT at a low test stress and a much lower value at the higher stress that better resembles screw preload. Compare values only at the same test method and load, then review creep and thermal-aging data separately. Do not use a single headline temperature as an assembly limit.
But even the “correct” HDT number only describes short-term flexural deflection. It tells you nothing about creep — the slow, permanent sag that accumulates hour by hour under clamping load. Nothing about thread relaxation around a heated M4 brass insert at 100 °C. Nothing about what happens when a 1.5 mm rib sits 8 mm from a 100 °C heat source for eight hours while the rest of the housing stays at 35 °C. Thermal gradients eat SLA parts alive, and HDT does not capture any of it.
After enough wrecked prototypes — I stopped counting somewhere around the 200 mark — I quit referencing HDT entirely. Now I print a representative coupon: same wall thickness as the real part, same rib geometry, same post-cure cycle (UV plus thermal bake), same batch of resin. I bolt it into the actual assembly jig and measure hole-center drift with calipers after thermal soak. Not just “does it look okay.” Holes shift 0.2–0.4 mm under thermal load more often than you would believe, and on a locating feature that is enough to scrap the entire test. I have a spreadsheet of 37 such measurements now, and the pattern is grim: any clamped SLA boss loses at least 0.15 mm of center position after 4 hours at 85 °C.
Post-Curing Heat-Resistant SLA Resin Without Trapping Uncured Material
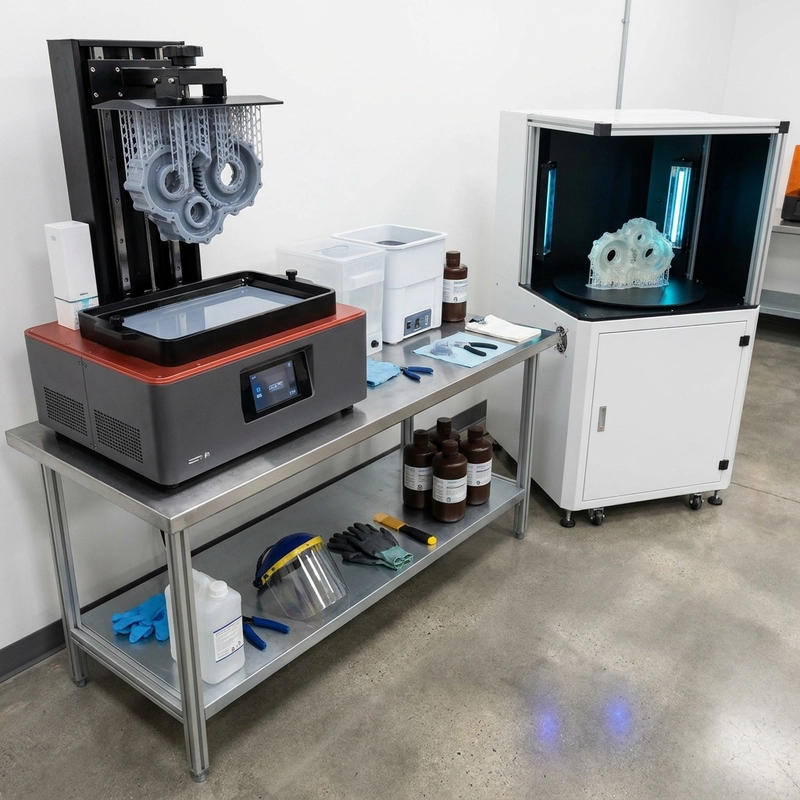
A hard, dry surface does not prove that a thick SLA section is fully cured. Excessively intense or short UV exposure can cross-link the surface while the core remains under-cured. Later heating may then release internal stress and cause warping. Follow the cure schedule from the resin supplier and verify thick sections with representative coupons rather than judging cure by touch alone.
Heat resistant SLA resin demands two stages, not one. First: UV cure sets the geometry. This is not optional but it is also not sufficient. Second: a thermal bake at 60–80 °C for 60–120 minutes (brand-dependent — Formlabs specifies 80 °C for 120 minutes in the Form Cure for High Temp V1; Loctite IND405 wants 60 °C for 90 minutes according to their 2024 application note). Skip the thermal bake and your effective service temperature drops 40–50 °C below the datasheet claim. The part will survive visual inspection and fail in service, usually when someone is watching.
Mechanical constraint during the bake is another failure mode I tripped over repeatedly. If you just lay flat plates on a tray and bake them at 80 °C, internal stress relief turns them into shallow bowls. I now sandwich flat parts between two pieces of borosilicate glass, clamp overhangs, and fixture critical datums. The glass also distributes heat more evenly than an aluminum tray, which I discovered after a batch of parts came out with one side 0.3 mm shorter than the other — the tray side got hotter. For complex geometries I print a conformal support jig in cheap standard resin, post-cure it lightly, and use that as the bake fixture. Adds 45 minutes of prep. Prevents a weekend reprint.
Washing is especially important for viscous heat-resistant resin because uncured material can remain in blind holes, channels and textured valleys. Use staged cleaning with a controlled solvent condition, blow out trapped liquid and allow complete drying before UV cure. Ultrasonic cleaning and heated solvent introduce safety and material-compatibility concerns, so use them only under an approved process and according to resin and equipment supplier instructions. See the SLA sticky-surface troubleshooting guide for additional solvent-control checks.
| Use case | Heat resistant SLA resin fit | What actually failed in my tests |
|---|---|---|
| Electronic enclosure prototype | Good for fit checks, short thermal runs | Boss creep under M4 screw preload after 8+ hours at 75 °C — 0.3 mm drift |
| Automotive interior mockup | Decent for appearance and assembly review | Sunlight soak + cabin heat (65 °C peak) bowed 2 mm dash panels within 3 days |
| Low-volume production fixture | Workable if load is light, exposure intermittent | Locating pin bore ovalized after ~50 cycles; replaced with press-fit steel bushings |
| Mold surrogate for low-pressure silicone casting | Useful for geometry validation | Surface pitting after 3–4 pours at 60 °C; silicone cure exotherm accelerated degradation |
| Hot coolant manifold prototype | Do not attempt | Flange bolt locations softened and leaked within 2 hours at 95 °C. Use CNC PEEK or 6061 aluminum. |
Design Rules That Stopped My Heat Resistant SLA Resin Test Failures Cold
I wrote these rules on a whiteboard after the twelfth time a technician walked over with a bag of cracked bosses. They are not theoretical.
Thin walls are more vulnerable to handling damage, uneven curing and thermal distortion. As a starting point, review walls below about 1.5–2.0 mm carefully, then confirm the minimum against the resin, printer, span and load. Ribs can raise bending stiffness without making the whole wall thick, while generous internal fillets reduce heat-amplified stress concentrations. Screw bosses also need enough surrounding material and a smooth boss-to-wall transition.
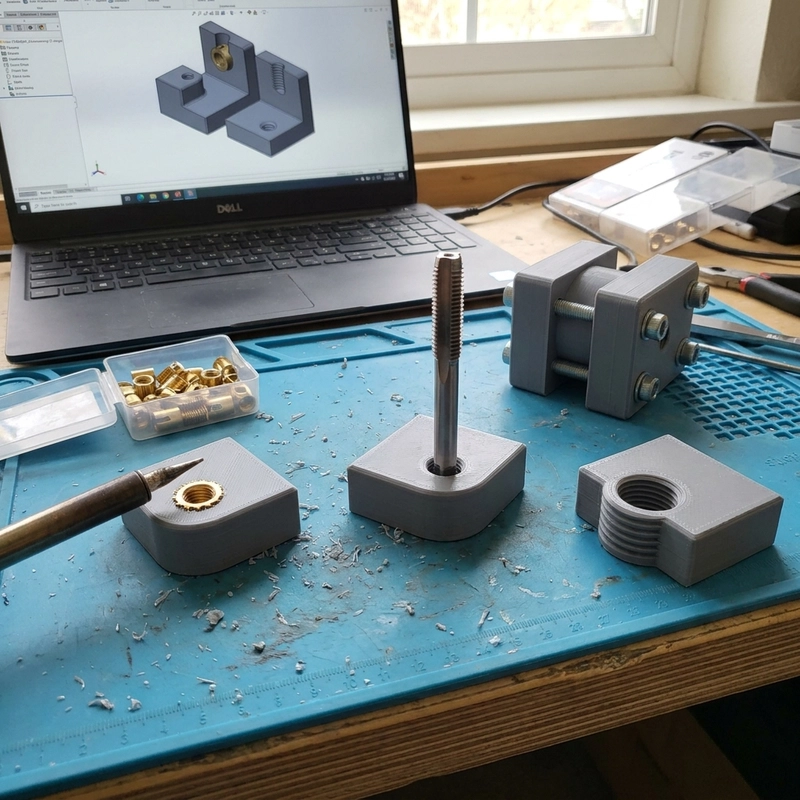
Threads and inserts need process-specific testing in heat-resistant SLA resin. Direct tapping can chip brittle thread crests, while heat-set inserts may soften or enlarge the surrounding boss. For repeated assembly, compare printed threads, captive hardware, bonded inserts, press-fit systems or a metal insert installed by an approved cold process. The best choice depends on screw size, cycle count, torque and service temperature.
For low-cycle prototypes, printed threads may be practical at larger sizes when geometry, orientation and cure are controlled. Production fixtures or repeated assembly usually need a more durable hardware strategy. Test the selected thread system at the required torque and cycle count, and use conservative wall thickness around the feature. Service-bureau design guides can provide a starting range, but the project drawing remains controlling.
Hollowing rule, learned by destroying a bandsaw blade: any section thicker than 6 mm must be hollowed, with drain holes no smaller than 5 mm diameter. Solid heat resistant SLA resin sections thicker than this will not cure fully — period. The UV attenuation through amber resin at 405 nm means anything deeper than about 3 mm from the surface sees dramatically reduced intensity. I proved this by slicing open a “fully cured” 10 mm cube on a bandsaw. Liquid resin pooled in the geometric center. The outside measured Shore 85D. The inside was sticky goo. The resin is viscous enough that it will not drain through a pinhole — you need at least 5 mm holes, and ideally you place them at the lowest gravitational point of each internal cavity.
When Heat Resistant SLA Resin Is the Wrong Answer — And What to Use Instead
If your part needs sustained high-temperature service under structural load, needs to survive impact, needs chemical resistance beyond hydrocarbons, or needs repeated snap-fit cycling, heat resistant SLA resin fails. Not “might fail.” Fails. I have the broken parts to prove it.
SLS PA12 or MJF PA12 handles tough functional plastics with far better fatigue life and isotropy. For high-temperature structural prototypes where surface finish is secondary, FDM with engineering filaments — PPS-CF, PA6-CF, PEI (Ultem) — works, though you need a heated chamber and dried filament. For real thermal validation under load, CNC machining from PC, PEEK, or 6061 aluminum eliminates the material asterisks entirely. I now quote these as the default alternative any time a client asks for heat resistant SLA resin in a bolted, loaded assembly. Our 3D printing order workflow documents the full material selection decision tree we run per RFQ, including when we flat-out recommend canceling the SLA line item and switching technologies.
What to Put in Your RFQ So You Do Not Get Back a Heat Resistant SLA Resin Part That Fails on Day One
- Target temperature AND total exposure time. “120 °C peak” means nothing. Is it 30 seconds, 30 minutes, or 8 hours? Creep damage is a function of time at temperature, not just the temperature number.
- Is the part under load, clamped, or bolted during heating? If yes, describe load type, approximate force, and whether load is constant or cyclic. This changes the material recommendation instantly.
- Which dimensions and tolerances must hold after thermal exposure, and by how much? “All features” is not an answer — pick the 3–5 critical ones and give numbers.
- Surface finish, coating, or secondary assembly requirements. Coatings and adhesives have their own temperature limits that often bottleneck before the substrate does.
- One-off prototype or 50-unit batch? This changes post-processing economics — thermal bake fixturing makes sense at volume but kills margin on a single part.
Heat-resistant SLA works inside a limited window of temperature, load, geometry and post-cure condition. Within that window it can shorten thermal-prototype iterations. Outside it, creep or brittle failure may appear only after sustained exposure. The release decision should therefore be based on the assembled test condition, not the resin label alone.