
SLA resin 3D printing is one of the quickest ways to get fine details, smooth curves, and presentation-ready prototype surfaces. It is also one of the easiest processes to overtrust. A resin part can look excellent on the table and still crack at a snap fit, stay tacky in a hollow pocket, shift after post-curing, or fail in heat.
I use SLA when the job needs detail and surface quality. I pause when the job needs toughness, repeated flexing, high temperature, outdoor exposure, or long-term mechanical behavior.
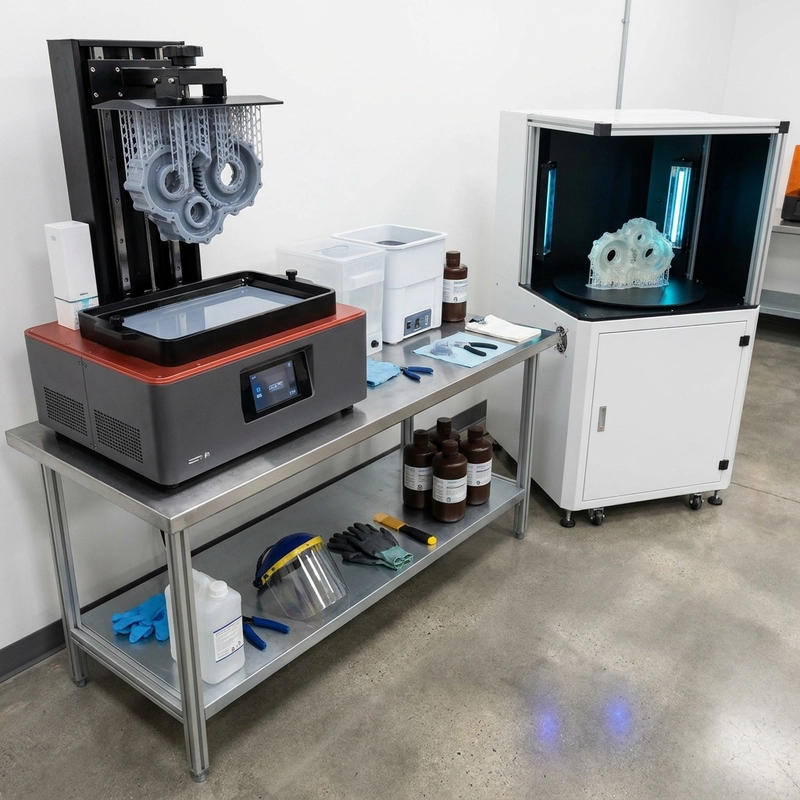
SLA resin 3D printing is a process chain
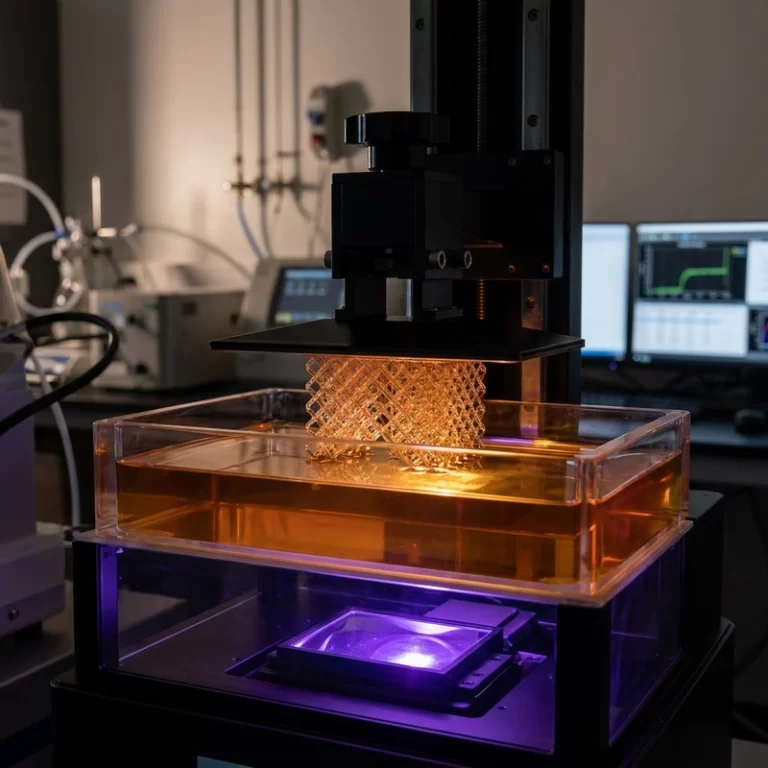
SLA cures liquid photopolymer resin with light. Depending on the machine, that light may come from a scanning laser, projected image, or masked light source. Common resin systems respond around 355 nm or 405 nm, depending on chemistry. The printed layer is not the final part by itself. Cleaning, drying, UV post-curing, support removal, sanding, primer, and paint can all change the result.
Layer thickness may be very fine, sometimes around 0.01 mm for detail work, but many production settings sit around 0.05-0.10 mm. Finer layers can improve transitions and small vertical detail. They also increase build time and can make exposure stability more sensitive. Layer height is useful, but it is not a substitute for correct resin choice and post-processing.
Material choice decides what SLA resin 3D printing can prove
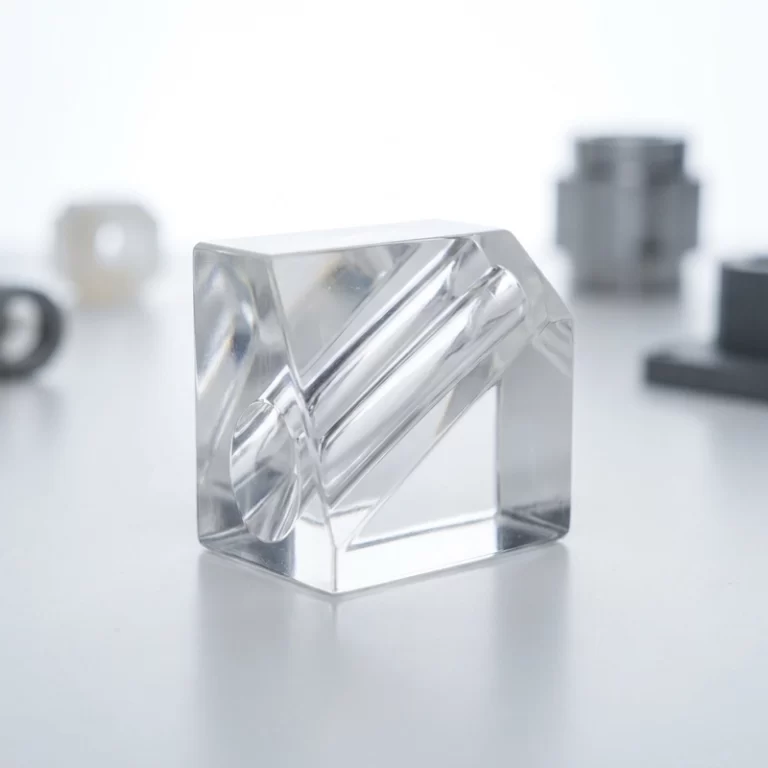
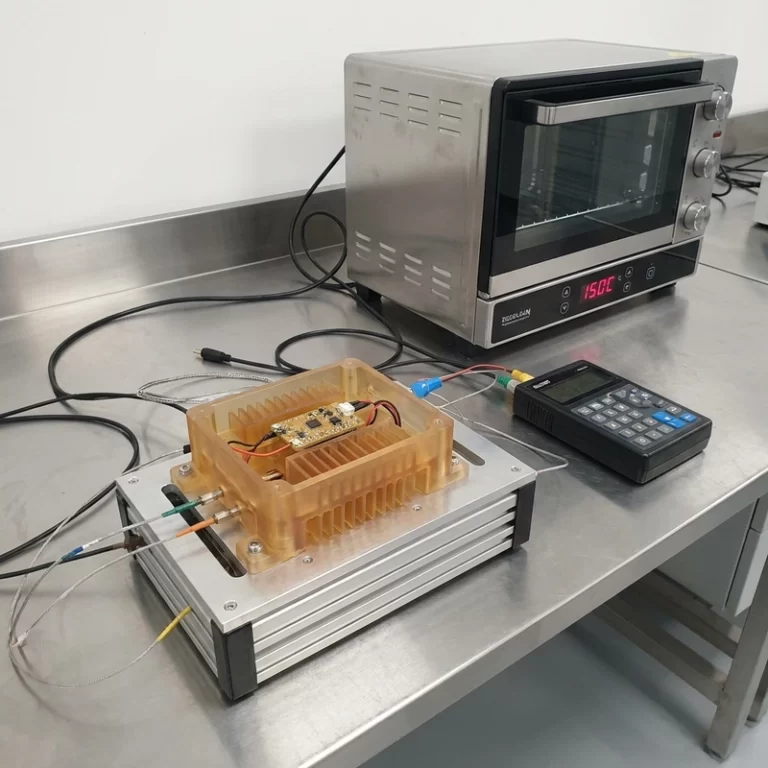
Standard resin is good for visual models and low-load prototypes. Tough or ABS-like resin can improve handling strength, but it is not molded ABS. Heat-resistant resin can help with fixtures or elevated-temperature checks, but it may be more brittle and may require controlled post-curing. Clear resin can be useful for display, fluid paths, or optical mockups, yet transparency depends heavily on sanding, polishing, coating, and internal cleanliness.
Color also changes process behavior. Black, white, gray, and translucent resins can need different exposure windows because pigments affect light penetration. If the part has fine holes, small text, clips, or drain features, a resin-specific coupon is safer than assuming one profile fits every material.
| Stage | What I check | Common mistake |
|---|---|---|
| Model prep | Wall thickness, drain holes, support zones | Hollowing without cleaning access |
| Slicing | Layer height, exposure, lift, supports | Using a generic profile for a different resin |
| Printing | Vat condition, resin temperature, platform level | Ignoring old resin or sediment |
| Cleaning | Removing uncured resin from pockets | Leaving trapped liquid inside |
| Post-curing | UV dose, time, temperature, thickness | Over-curing thin details or under-curing dark areas |
| Finishing | Support marks, sanding, primer, paint | Putting supports on visible faces |
Accuracy and surface quality still need checking
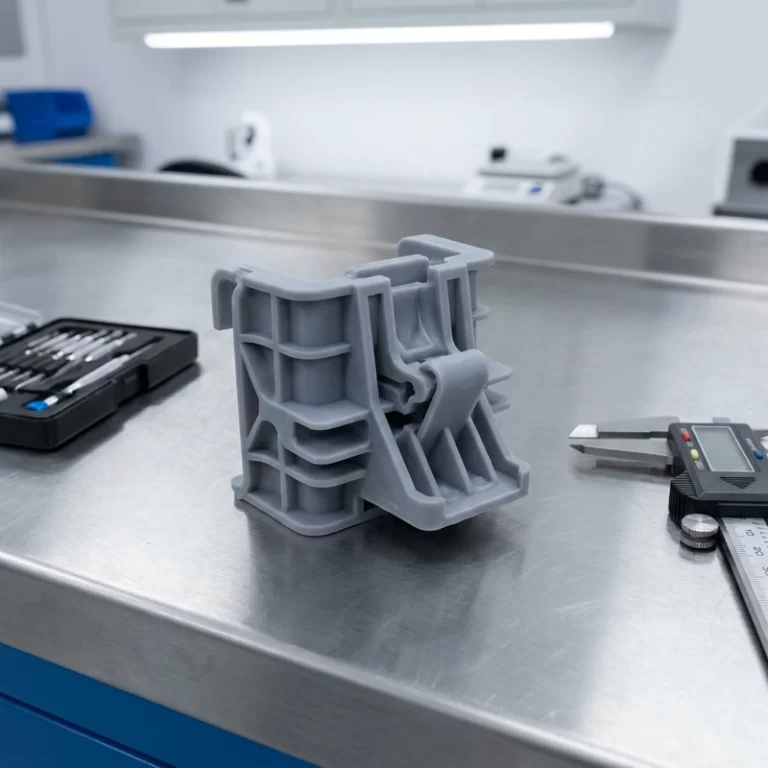
SLA is often selected for high detail, but tolerance depends on geometry, resin shrinkage, calibration, support, orientation, and curing. Holes often print undersized. Broad flat areas can warp. Thin walls may move during cleaning. Heavy support contacts can pull small features. A small flat test coupon is not the same as a hollow housing with ribs, bosses, and mating surfaces.
Surface quality is the strength of the process. It can produce smooth curves, figurine detail, model bases, jewelry masters, and painted appearance prototypes with less visible stepping than FDM. But raw SLA is not automatically finished. Support scars, suction marks, residual tack, sanding scratches, and primer thickness still decide how professional the final part looks.
SLA resin 3D printing compared with FDM and nylon
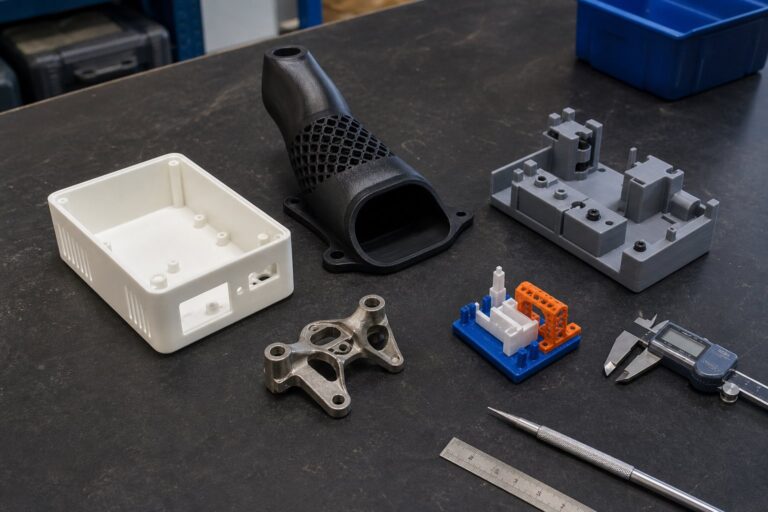
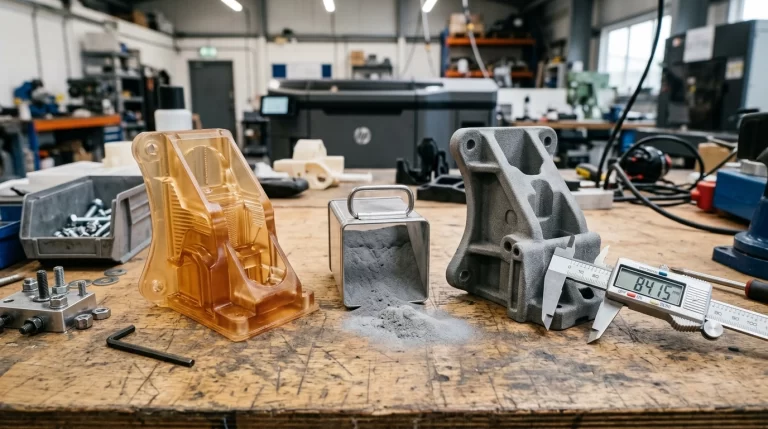
FDM is often better for large low-cost prototypes, fixtures, and some engineering plastics. SLS and MJF nylon are often better for tough functional parts, clips, hinges, and support-free small-batch production. SLA is usually better for fine detail, smooth appearance, small sculptural geometry, and painted prototypes. The mistake is choosing SLA because the photo looks clean, then asking the part to behave like nylon or machined plastic.
For deeper related checks, read black SLA resin 3D printing for pigmented resin behavior and 3D printing support design for support-scar planning. For process terminology, ISO/ASTM 52900 is a useful neutral reference.
A useful SLA RFQ includes the file, quantity, resin target, visible surfaces, color, finish level, critical dimensions, assembly conditions, and inspection requirement. My rule for SLA resin 3D printing is to approve the part after washing, curing, support removal, and finishing, not when it first comes off the machine.
Safety and handling belong in the same conversation. Uncured resin can irritate skin and eyes, and cleaning solvents need ventilation and proper waste handling. A clean SLA workflow uses gloves, eye protection, controlled washing, complete drying, and curing settings that match the resin supplier’s instructions. Post-cured parts are easier to handle, but that does not automatically make them suitable for food, medical, dental, or skin-contact use unless the material and cure protocol support that claim.
For the first sample, I check supports before paint, holes after curing, and fit after any sanding or coating. If the part is a figurine, I check fine hair, fingers, clothing folds, and the base. If it is an engineering prototype, I check bosses, clips, wall warp, and mating faces. SLA resin 3D printing is strongest when the job uses its detail and surface advantages without asking the material to behave like something it is not.
One Comment