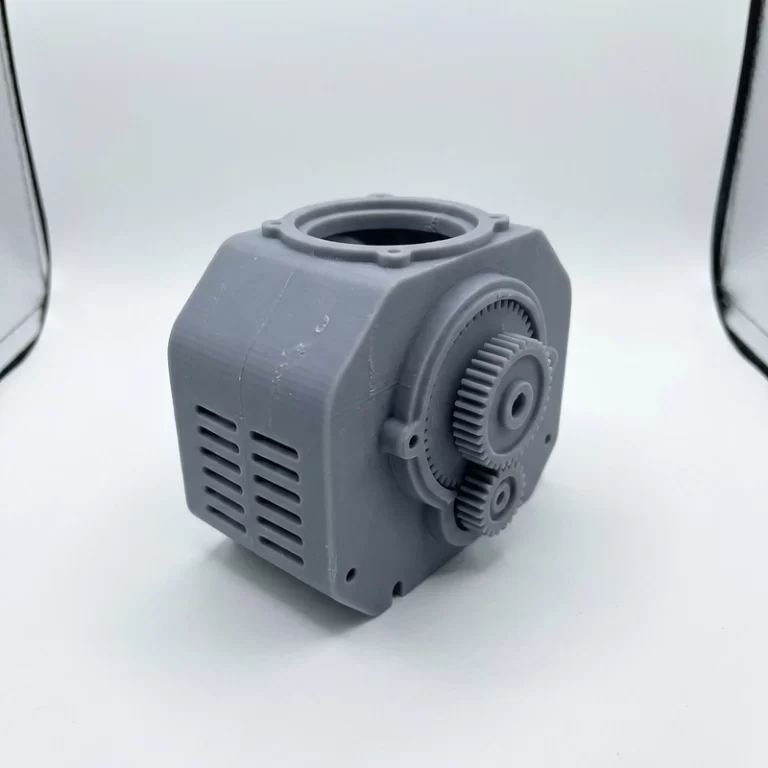
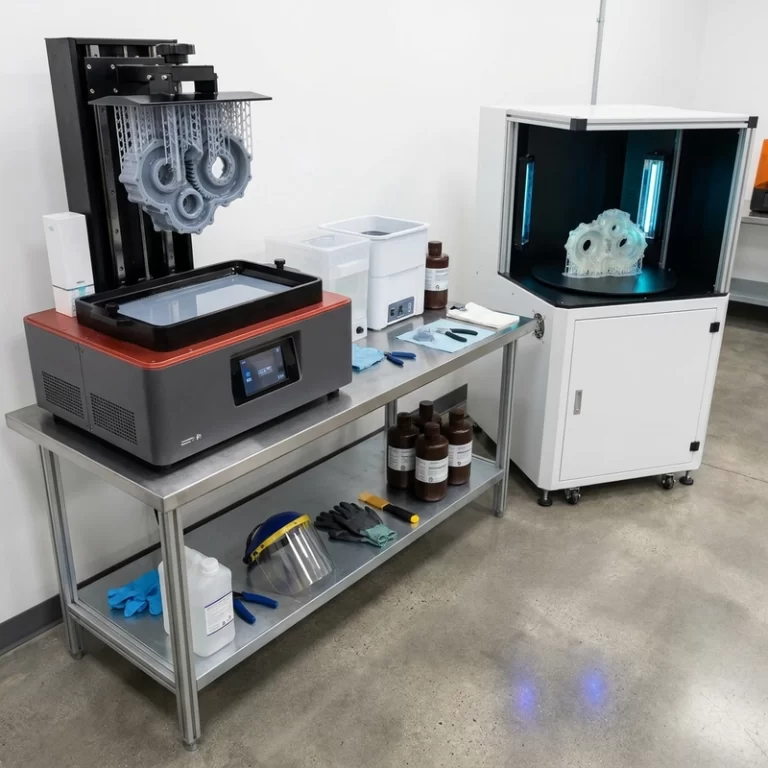
For a medical device housing prototype that will be reviewed mainly for shape, color, and paint quality, SLA with a gray or white general-purpose appearance resin is usually the first process to compare. Its as-printed surface is finer than a typical FDM surface, and support marks can be prepared for sanding, primer, and topcoat.
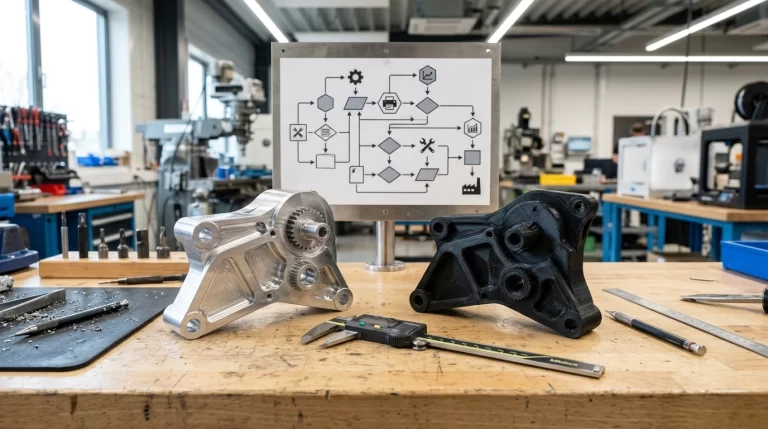
If the same housing must also survive repeated assembly, screw installation, snap-fit trials, or hardware integration, compare CNC-machined ABS as well. A tough or “ABS-like” SLA resin can sit between these two routes, but the decision should be based on a specific material datasheet—not the phrase “ABS-like” by itself.
Why SLA is often the starting point for a painted medical device housing prototype
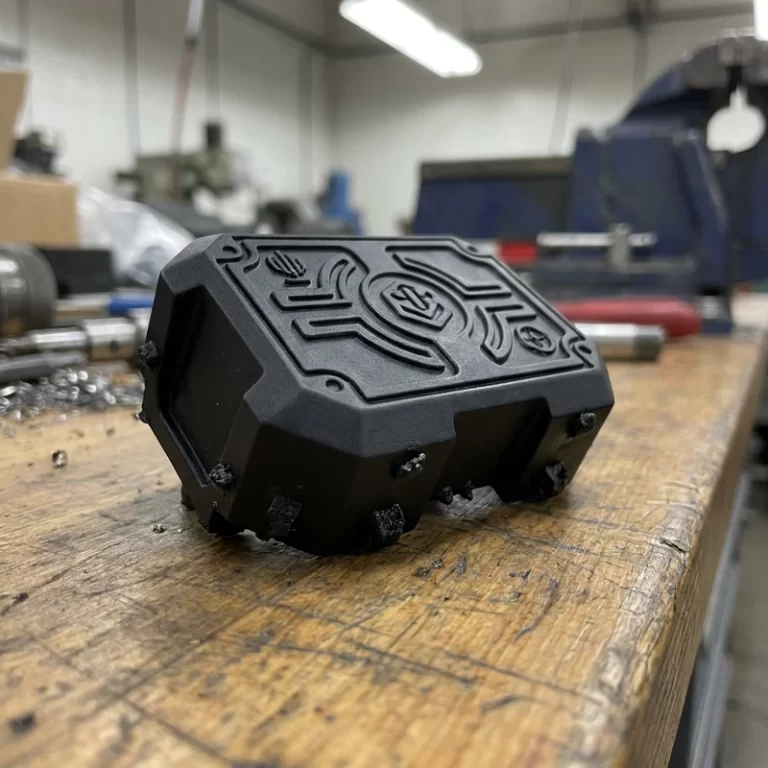
Paint does not repair a poor surface foundation. Support scars, layer lines, split seams, and faceted mesh surfaces may look acceptable under flat primer, then become obvious under a glossy topcoat.
SLA is well suited to curved housings, radiused corners, shallow ribs, lettering, and display openings. After printing, the useful sequence is to repair support-contact areas and local defects, apply a thin inspection primer, and check the surface under directional light. Waves, pinholes, and filler edges should be corrected before the color coat. Building up thick primer to hide every defect risks softening edges and filling small gaps.
Formlabs’ overview of SLA post-processing and finishing also notes that SLA typically shows fewer layer lines than FDM, while sanding, support-mark cleanup, and priming still matter when a high-quality finish is required.
Both gray and white general-purpose resins can work for appearance prototypes. Gray makes surface waves and repair boundaries easier to see; white can be convenient beneath light-colored paint. Resin color does not prove higher strength, heat resistance, medical qualification, or suitability for patient contact.
When CNC ABS belongs in a medical device housing prototype comparison
A housing that only sits on a review table has a different job from one that must hold a PCB, screen, keypad, gasket, threaded insert, or metal bracket. CNC-machined ABS is often more representative when the team wants the feel and local toughness of a familiar thermoplastic, or when screw and assembly behavior matter more than very fine printed detail.
CNC brings its own design limits. Cutting tools need access. Deep cavities, undercuts, enclosed clips, and complex internal hooks may require the housing to be machined in sections and bonded. If a split line crosses the cosmetic A-surface, it can reappear after painting, so the machining split and the finishing plan need to be reviewed together.
Some teams get clearer answers from two samples: a painted SLA unit for color and appearance approval, plus an unpainted CNC ABS or functional-resin unit for fit checks. One prototype does not always need to carry glossy presentation, repeated screw installation, and snap-fit testing at the same time.
Five practical process choices before painting
| Project objective | Route to compare first | What to check |
|---|---|---|
| Shape, curved surfaces, and paint appearance | SLA with gray or white appearance resin | Mark the A-surface and keep support contacts away from prominent or glossy areas |
| Appearance plus repeated assembly | CNC-machined ABS | Tool access, sectioning, bonded seams, screw features, and final fit |
| SLA detail with less brittle handling | SLA with a named tough resin | Read the actual datasheet; “ABS-like” is not the same material as ABS |
| Large, budget-led concept housing | FDM with a suitable thermoplastic | Layer lines and broad-panel waviness increase finishing work |
| Clips, complex functional geometry, or a small batch | MJF or SLS nylon | Functional behavior may improve, but a smooth glossy finish needs more surface preparation |
Do not select the process from one general “printing accuracy” number. Review the display opening, button holes, parting gap, screw bosses, locating features, and assembly planes. These are the areas where coating buildup or sanding can turn a visually good housing into a part with a sticking button, a reduced opening, or two halves that no longer close properly.
Zesmir’s materials and finishes overview can help frame this comparison, but the final route still depends on the CAD geometry and what the prototype must prove.
What cannot be skipped between printing and paint
An SLA appearance part normally moves through washing, drying, post-curing according to the resin requirements, support removal, and support-contact repair. Sanding or filler follows only where the surface needs it. A thin primer coat is then used to reveal defects; after correction, the part can move to color coat and any required protective clear coat.
Primer is an inspection layer, not a universal hiding layer. Too much primer can bury shallow text, soften a sharp edge, and accumulate around holes or seams. Separate cosmetic surfaces from functional surfaces before finishing:
- Prepare the A-surface for the specified gloss level.
- Mask or limit coating on holes, locating bosses, clips, and mating planes.
- Mark display windows, light-guide areas, bonding surfaces, and label recesses separately.
- Use directional light before topcoat on high-gloss projects.
- Record appearance approval and assembly approval as separate decisions.
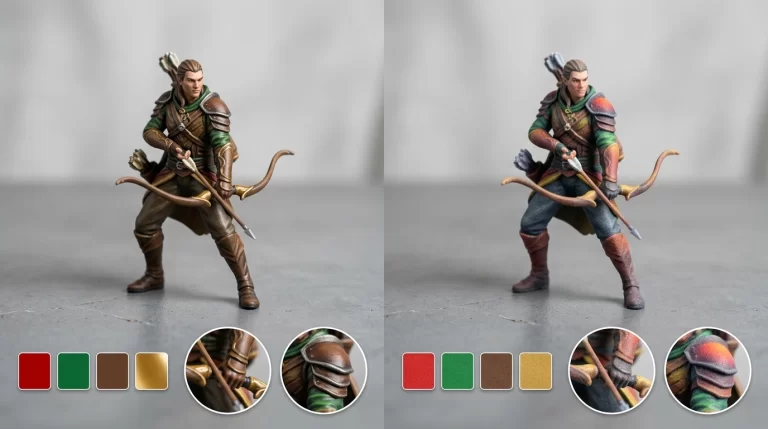
The same point appears in Formlabs’ guide to priming and painting 3D prints: primer reveals support marks, layer lines, and surface defects, so further repair may still be required before paint.
How paint changes assembly dimensions
Sanding removes material. Filler, primer, color coat, and clear coat add material. A CAD clearance is therefore not the final physical clearance, especially around buttons, shell seams, clips, screw holes, and display windows.
If a surface must be painted and must also maintain a fit, identify it in the CAD notes or drawing. The manufacturing review can then consider coating allowance, local masking, or post-paint correction. Keeping one unpainted unit as a dimensional reference can also help when assembly is sensitive. For a broader view of sample approval and acceptance checks, see Zesmir’s 3D printing quality inspection workflow.
A medical-shaped prototype is not automatically “medical grade”
This recommendation is for an appearance prototype, not a material qualification route for a finished medical device. A model used for a design meeting, exhibition, or color review can be selected around appearance. If it will contact a patient, drug, disinfectant, heat source, or liquid, the material and validation requirements must be defined again around the intended use.
The FDA’s public explanation of the 3D printing process for medical devices treats material control, post-processing, validation, and testing as separate considerations. Regulatory evaluation concerns a finished device for a specific intended use; it is not a universal approval attached to a resin name.
A general appearance resin should not be described as clinically usable, sterilizable, or biocompatible merely because the printed geometry resembles a medical housing. Appearance approval also does not complete functional or regulatory validation.
What to include in a medical device housing prototype RFQ
A useful process recommendation starts with more than “make the surface smoother.” Include:
- A STEP or STP CAD file; if only STL is available, state the scale and final dimensions.
- The prototype purpose: appearance review, assembly verification, or laboratory evaluation.
- The A-surface, permitted support areas, and surfaces that must not be sanded.
- Critical openings, clips, screw bosses, seams, and mating planes.
- Target color, gloss, texture, color chip, or a physical reference sample.
- Whether the housing must receive a screen, buttons, PCB, gasket, or inserts.
- Quantity, destination country, and planned review date.
Zesmir reviews 3D files, drawings, and project notes through a manual RFQ process. You can send the relevant information through the contact and RFQ page or review the custom 3D printing and prototyping services first. The recommendation should follow the cosmetic surfaces, assembly surfaces, material purpose, and paint requirements—not one tolerance value applied to the whole part.
Frequently asked questions
Can an SLA part be painted immediately after printing?
Not if appearance matters. Complete washing, drying, required post-curing, support removal, and support-mark repair first. Sanding, filler, and a thin inspection primer should reveal remaining defects before the topcoat is applied.
Is gray or white resin better for an appearance prototype?
Gray makes surface waves and repair marks easier to inspect. White can be useful beneath a light paint color. The specific resin datasheet, paint system, and prototype purpose matter more than the base color.
Do appearance and assembly checks require two prototypes?
Not always, but separating them often gives clearer results. A painted display sample answers questions about surface and color. An assembly sample answers questions about holes, clearances, clips, screws, and material behavior without coating and sanding obscuring the result.