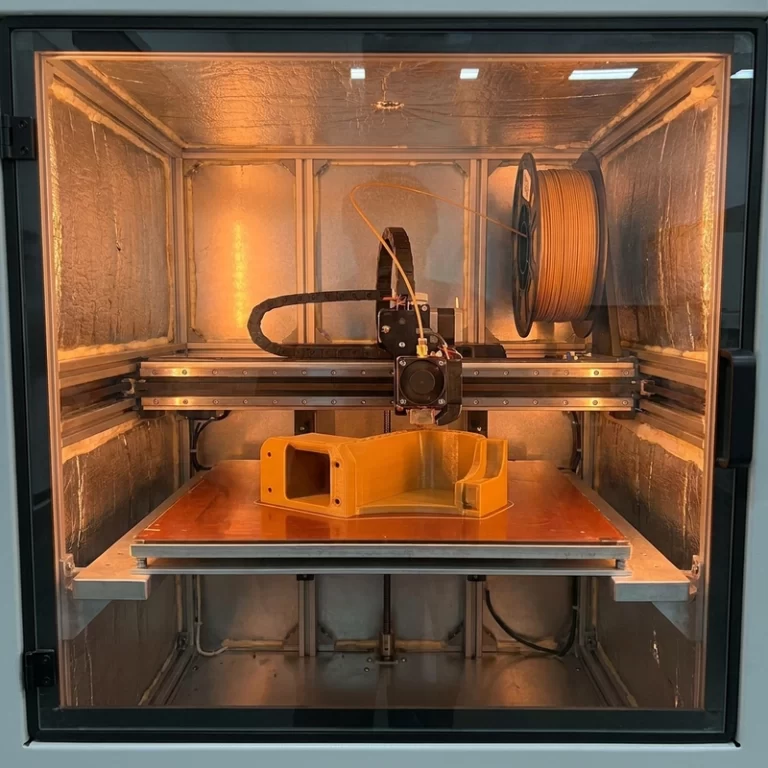
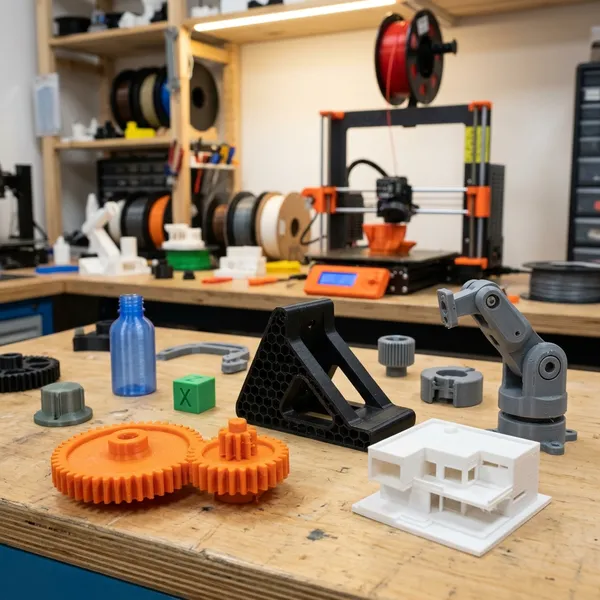
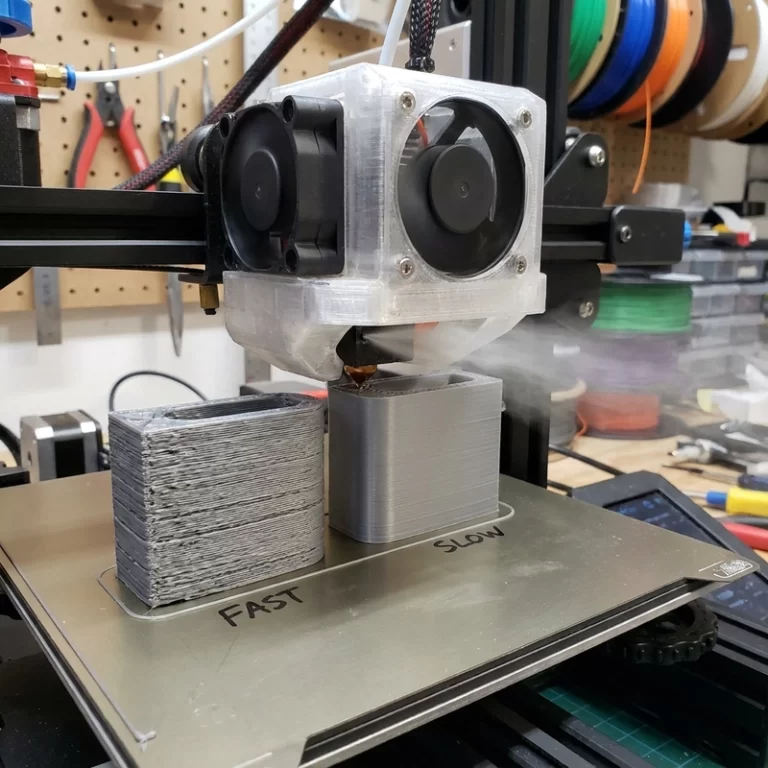
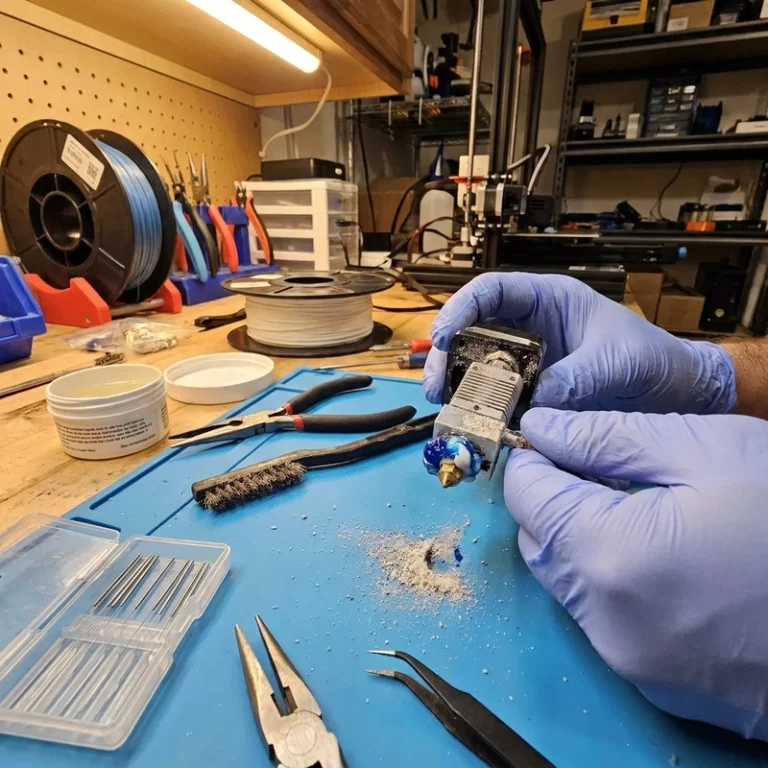
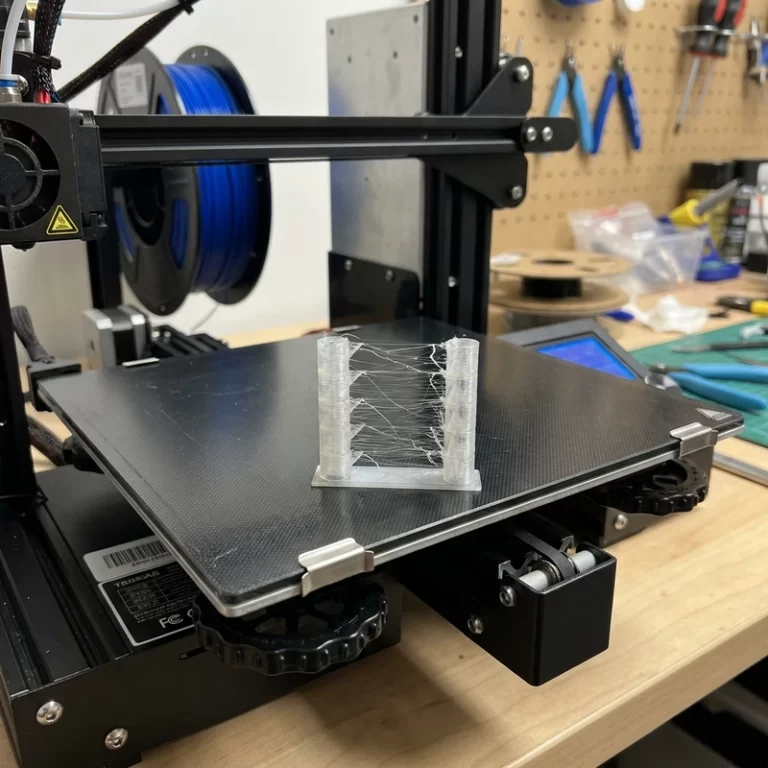
Moisture can make an FDM build look like a slicer problem. Popping at the nozzle, rough matte surfaces, stringing and weak layers may persist despite changes to temperature or retraction. For hygroscopic engineering polymers, dry the filament to the published supplier condition first; this removes one major variable before further tuning.
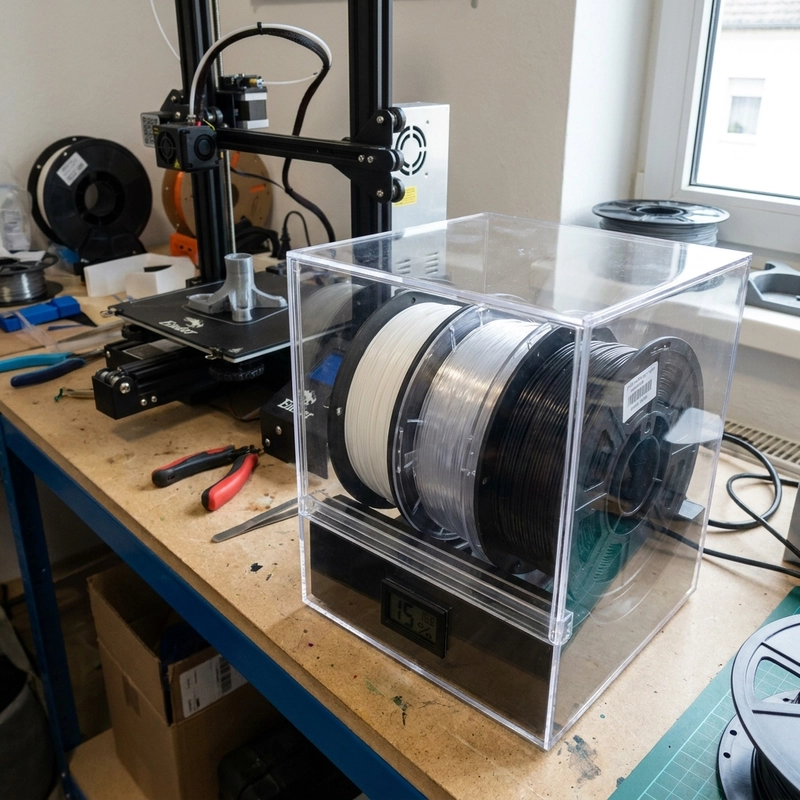
Moisture symptoms are often mistaken for poor slicer settings. Teams may adjust temperature, retraction and flow while water remains trapped in the polymer. Drying does not solve every FDM defect, but for PA, PC, TPU and other hygroscopic grades it should be an early diagnostic step before extensive parameter changes.
1. Why Engineering Plastic Filament Drying Matters for Nylon, PC and TPU
Nylon (PA6 and PA12) is the worst offender among common FDM engineering plastics. PA6 can absorb 3–4% of its weight in moisture within 24 hours of exposure to ambient air at 50% RH; PA12 is slightly better at 1.5–2% but still hygroscopic enough to cause extrusion defects. When wet nylon enters a 250–280 °C hotend, the water flashes to steam instantly. The pressure spike forces molten polymer out of the nozzle unpredictably, creating bubbles in the extrudate, rough bead surfaces and microscopic voids that become stress concentrators in the finished part. I have sectioned wet-printed PA6 tensile bars under a microscope and found void densities 5–10× higher than dry-printed controls from the same spool batch.
PC, TPU and filled polymers respond differently to moisture. PC can show splay and interlayer voids at high processing temperatures, while wet TPU may extrude inconsistently. Reinforcement can also affect drying behavior. Use the exact drying table for the material and confirm whether the stated condition applies to the filled grade rather than automatically extending a generic schedule.
| Material | Moisture Absorption (24h, 50% RH) | Drying Temperature | Minimum Drying Time | Print-from-Drybox |
|---|---|---|---|---|
| PA6 (Nylon 6) | 3.0–4.0% | 80–90 °C | 6–8 hours | Strongly recommended |
| PA12 (Nylon 12) | 1.5–2.0% | 80–90 °C | 4–6 hours | Recommended |
| PC (Polycarbonate) | 0.15–0.35% | 100–120 °C | 4–6 hours | Recommended for long prints |
| TPU (95A–74D) | 0.5–1.5% | 55–65 °C | 4–5 hours | Optional; watch feed path |
| PETG | 0.3–0.6% | 60–65 °C | 4–6 hours | Optional |
| Glass-Filled Nylon | 2.0–3.0% | 80–90 °C | 8–12 hours | Required |
2. Engineering Plastic Filament Drying and Storage Workflow
I always start with the filament manufacturer’s recommended drying temperature and time—every reputable engineering filament supplier publishes a drying specification, and deviating from it without a controlled experiment is gambling. Drying too cold (below 55 °C for nylon) may remove surface moisture but leave bulk moisture trapped in the spool core. Drying too hot (above 90 °C for most nylons) risks deforming the spool flange, softening the filament enough to cause cold-flow deformation at the contact points, or degrading heat-sensitive additives like impact modifiers and UV stabilizers. I once ruined a full spool of glass-filled PA6 by setting a food dehydrator to 95 °C—the spool softened, the filament fused to itself at three wrap layers, and the entire 750 g spool became a single fused puck.
After drying, transfer filament to a sealed dry box with a humidity indicator. For long nylon or PC builds, printing directly from the dry box can reduce reabsorption during the job. Set the humidity target from the material supplier or an approved internal procedure, and record storage and feed conditions in the build log for repeat orders. The OEM 3D printing order process explains where this record belongs in project review.
A vacuum-sealed new spool should not automatically be treated as dry. Packaging can be compromised during shipping or storage. For strength- or appearance-critical parts, condition the spool according to published instructions and record temperature, duration and storage state before printing. Measure moisture only with a suitable method if a numeric value will be used for acceptance.
3. How I Validate Engineering Plastic Filament Drying Results
The simplest validation is an extrusion test. I run 100 mm of filament at the target print temperature and watch the extrudate: dry filament produces a smooth, continuous bead with a glossy surface (for nylon and PETG) and no audible popping. Wet filament produces a rough, foamy bead with visible micro-bubbles and intermittent hissing or crackling. I record this on video for client reports because the difference is dramatic and instantly communicates why drying matters.
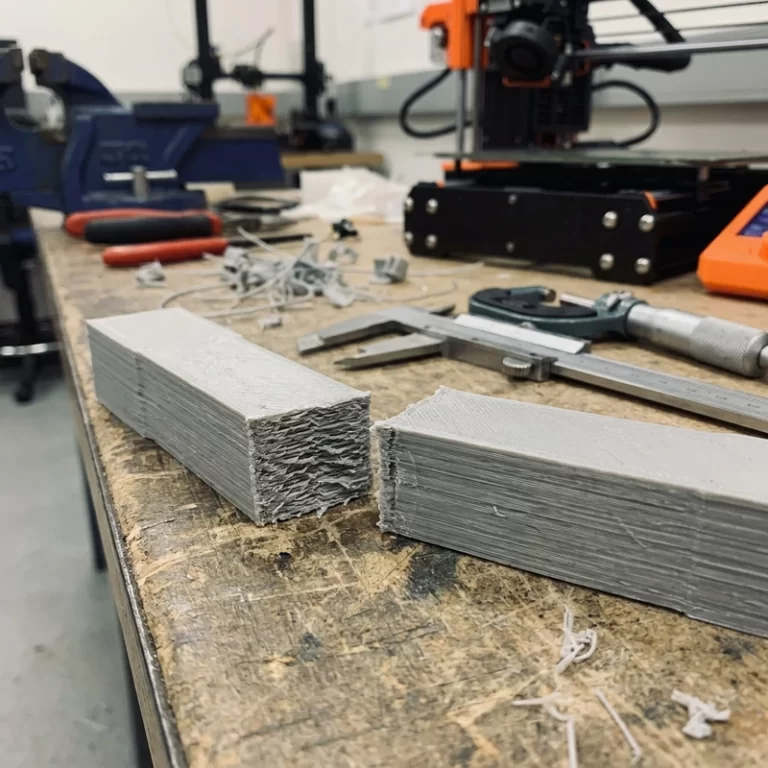
For strength-critical parts, I print a small tensile coupon—typically ISO 527 type 1BA scaled to fit a 50 mm gauge length—in the same orientation as the real part and test it on a desktop tensile tester. I compare the dry-printed coupon against a wet-printed control from the same spool. The difference is often 20–40% in ultimate tensile strength for nylon, with the wet-printed part fracturing at interlayer boundaries rather than through the bulk material. If layer adhesion improves after drying, moisture was the primary failure mode. If it does not improve, I move on to investigating nozzle temperature, chamber enclosure, cooling fan profile and material batch variation. For a deeper look at how design decisions interact with material properties, see my 3D printing design guidelines covering wall thickness and tolerance rules.
Spool type matters for drying. Cardboard spools tolerate up to about 80 °C before the adhesive that bonds the flange to the core begins to degrade; I keep cardboard-spooled filament at or below 75 °C and extend drying time to compensate. Injection-molded PC spools can handle 90–100 °C safely. Reusable master spools (e.g., Bambu Lab refill, eSUN eBox) need careful alignment during loading because any off-center winding creates feed resistance that a TPU filament cannot overcome without stretching. For TPU specifically, I test feed-path resistance by pulling 500 mm of filament through the entire Bowden path by hand before committing to a long print—if it binds or stretches, the dry-box feed geometry needs adjustment.
4. When Engineering Plastic Filament Drying Alone Is Not Enough
If a thoroughly dried filament still prints poorly, the problem moves to hardware. I check nozzle temperature accuracy with an external thermocouple—a 10 °C offset on a 280 °C nylon print can cause incomplete melting that looks identical to moisture defects. I inspect the nozzle orifice under a microscope for wear; carbon-filled and glass-filled filaments erode brass nozzles in as little as 200–300 g of throughput, creating an oversized irregular orifice that produces inconsistent extrusion. I verify the extruder drive gear is clean and tensioned correctly—slipping on a hard engineering filament like PC or filled nylon creates periodic under-extrusion that can be mistaken for moisture bubbles. For PC and nylon, I verify the enclosure temperature reaches at least 45–50 °C; if the chamber is cold, warping stress can open interlayer gaps that look like delamination from moisture.
5. RFQ Checklist for Engineering Plastic Filament Drying
- State the exact material grade and whether mechanical strength, heat resistance or chemical resistance is the primary requirement.
- Ask whether the supplier dries filament before printing and prints nylon/PC/TPU from a dry box during long builds.
- For nylon, PC or filled grades, request evidence of drying validation—an extrusion test video or a pre/post drying tensile comparison.
- Define surface finish and layer adhesion acceptance criteria in the RFQ; do not assume “good enough” means the same thing to every supplier.
- If repeatability is more important than FDM cost, consider SLS/MJF nylon or CNC machining as alternatives—drying eliminates one variable but does not change the inherent layer-adhesion limitation of FDM.
Filament drying is a basic process-control step for hygroscopic engineering polymers. It can reduce one major source of popping, voids, stringing and weak layer bonds, but the result still depends on the material, dryer, storage and print environment. Track failure rates only when the build conditions and sample base are documented.
Printing engineering plastic parts and struggling with inconsistent quality? Contact Zesmir with your material requirement and acceptance criteria—we will quote a process that includes documented drying, dry-box printing and pre-ship validation.