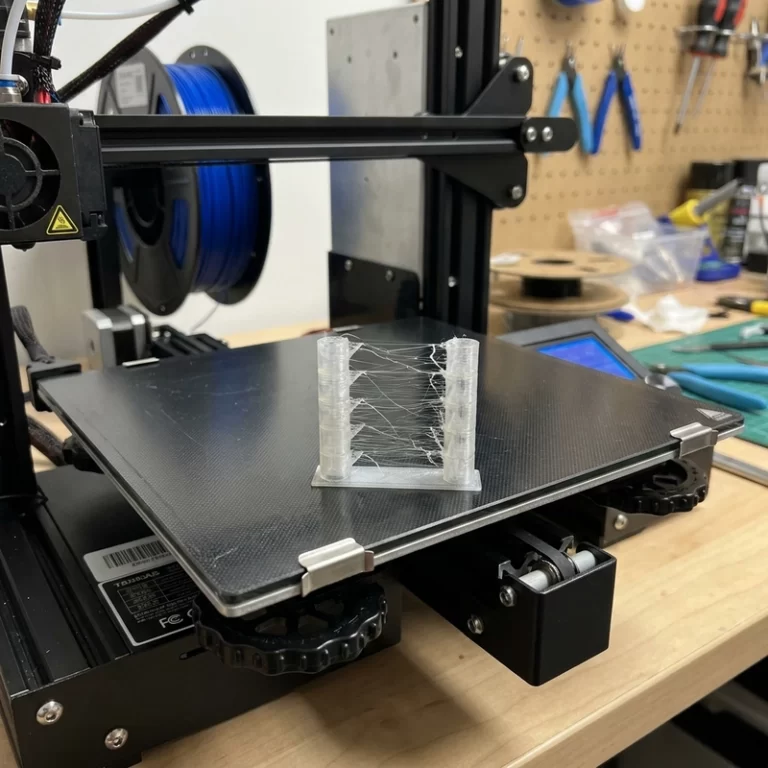
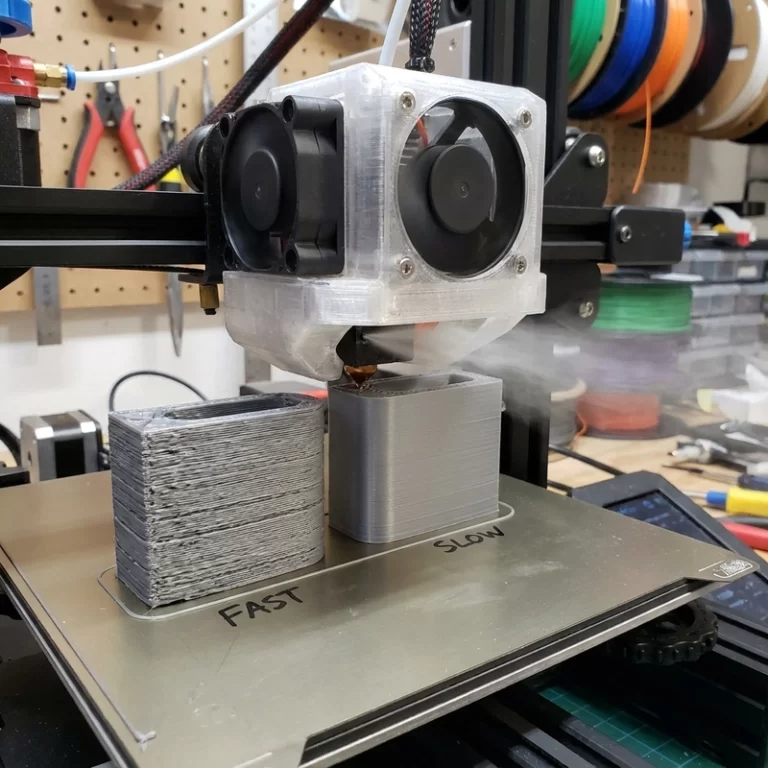
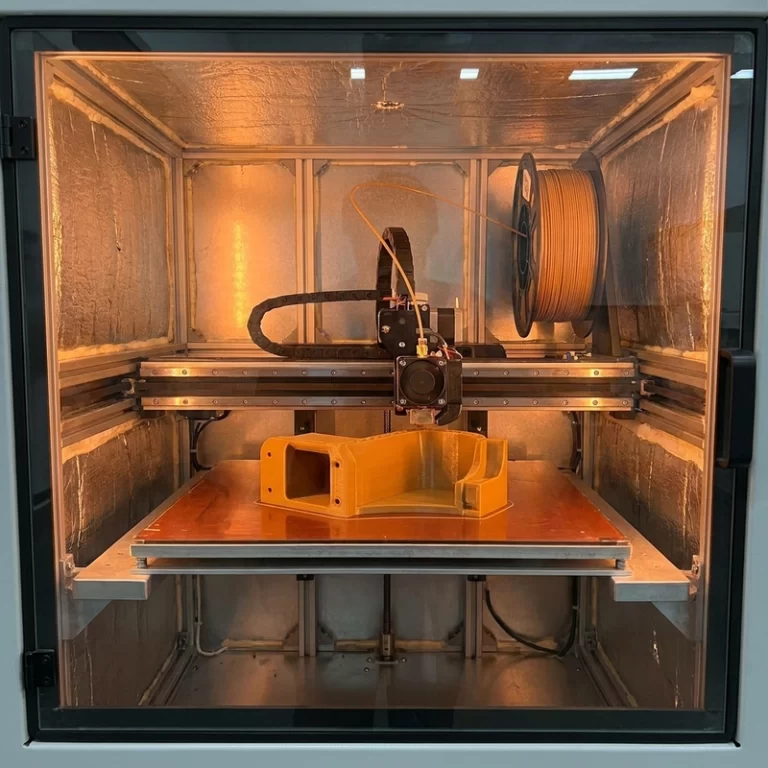
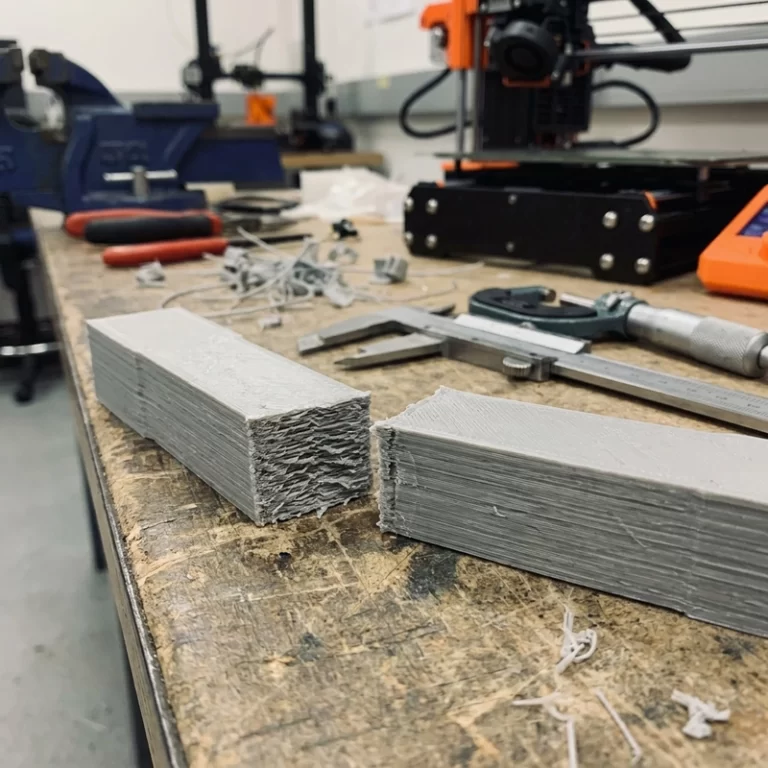
Moisture can make an FDM build look like a slicer problem. Popping at the nozzle, rough matte surfaces, stringing and weak layers may persist despite changes to temperature or retraction. For hygroscopic engineering polymers, dry the filament to the published supplier condition first; this removes one major variable before further tuning.
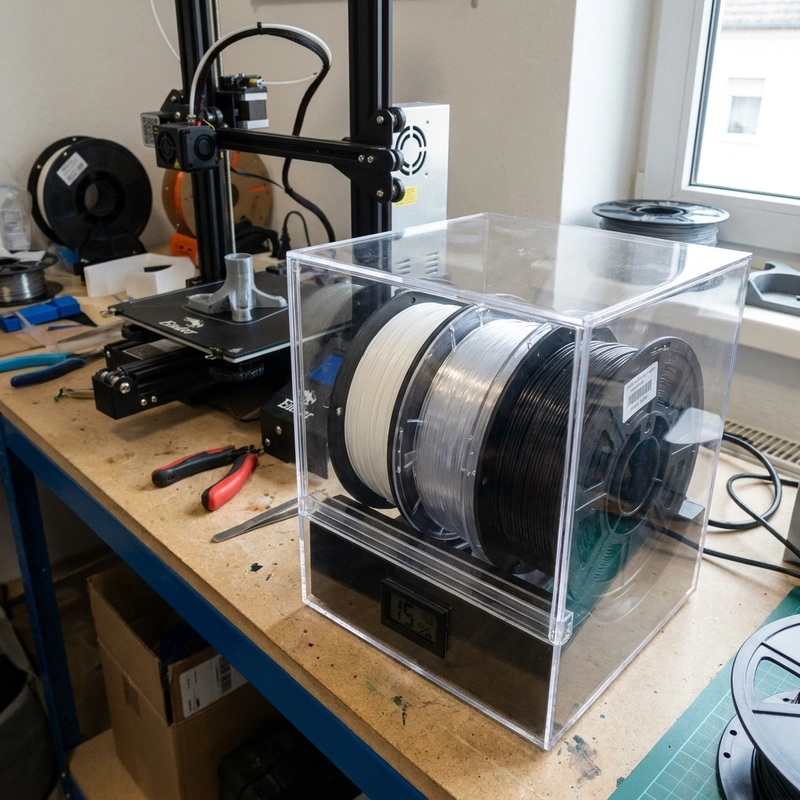
Moisture symptoms are often mistaken for poor slicer settings. Teams may adjust temperature, retraction and flow while water remains trapped in the polymer. Drying does not solve every FDM defect, but for PA, PC, TPU and other hygroscopic grades it should be an early diagnostic step before extensive parameter changes.
1. Why Engineering Plastic Filament Drying Matters for Nylon, PC and TPU
Nylon grades are hygroscopic, but moisture uptake depends on the formulation, exposure and starting condition. Wet filament can produce popping, bubbles and inconsistent extrusion. Do not assign one absorption percentage or strength loss to every PA6 or PA12 spool; use the specific supplier data and an appropriate moisture measurement when a numeric limit is required.
PC, TPU and filled polymers respond differently to moisture. PC can show splay and interlayer voids at high processing temperatures, while wet TPU may extrude inconsistently. Reinforcement can also affect drying behavior. Use the exact drying table for the material and confirm whether the stated condition applies to the filled grade rather than automatically extending a generic schedule.
| Material | Drying specification | Spool check | Storage record | Feed-path check |
|---|---|---|---|---|
| PA6 (Nylon 6) | Exact grade and supplier cycle | Confirm rated limit | Record conditioned state | Keep feed path protected |
| PA12 (Nylon 12) | Do not copy PA6 settings | Confirm rated limit | Record conditioned state | Review long-build exposure |
| PC (Polycarbonate) | Exact blend and supplier cycle | Check spool and dryer | Record transfer after drying | Review long-build exposure |
| TPU | Exact hardness and formulation | Avoid unsupported heating | Record supplier condition | Check binding and stretching |
| PETG | Exact grade and supplier cycle | Confirm rated limit | Record storage condition | Compare extrusion behavior |
| Glass-Filled Nylon | Use the filled-grade instructions | Check spool and dryer | Record conditioning and exposure | Use compatible nozzle and feed path |
2. Engineering Plastic Filament Drying and Storage Workflow
Use the drying instructions for the exact filament grade and check the spool and dryer temperature limits separately. A schedule suitable for one nylon or PC blend may damage another material or its spool. Prusa’s drying guidance also distinguishes material schedules and spool versions; it is not a universal recipe for all brands. Use equipment approved for the material and follow its safety instructions.
After drying, transfer filament to a sealed dry box with a humidity indicator. For long nylon or PC builds, printing directly from the dry box can reduce reabsorption during the job. Set the humidity target from the material supplier or an approved internal procedure, and record storage and feed conditions in the build log for repeat orders. The OEM 3D printing order process explains where this record belongs in project review.
A vacuum-sealed new spool should not automatically be treated as dry. Packaging can be compromised during shipping or storage. For strength- or appearance-critical parts, condition the spool according to published instructions and record temperature, duration and storage state before printing. Measure moisture only with a suitable method if a numeric value will be used for acceptance.
3. How to Check Engineering Plastic Filament Drying Results
An extrusion check can reveal popping, bubbles or inconsistent flow before a full build. Compare behavior before and after conditioning using the same nozzle and settings. A quiet or smooth bead is a useful screening observation, not proof of a particular moisture content or mechanical strength.
For strength-critical parts, agree a coupon geometry, orientation, conditioning state and test method before production. Do not scale a standardized specimen and still report the result as a standard-compliant test. If defects remain after drying, investigate the print conditions and material batch rather than assuming moisture is the only cause. The 3D printing design guidelines explain related geometry checks.
Check the spool manufacturer’s temperature rating rather than assuming all cardboard or plastic spools tolerate the same drying cycle. After conditioning, inspect winding and feed resistance. Flexible filament needs a feed path that does not bind or stretch it; resolve feeding problems before a long build.
4. When Engineering Plastic Filament Drying Alone Is Not Enough
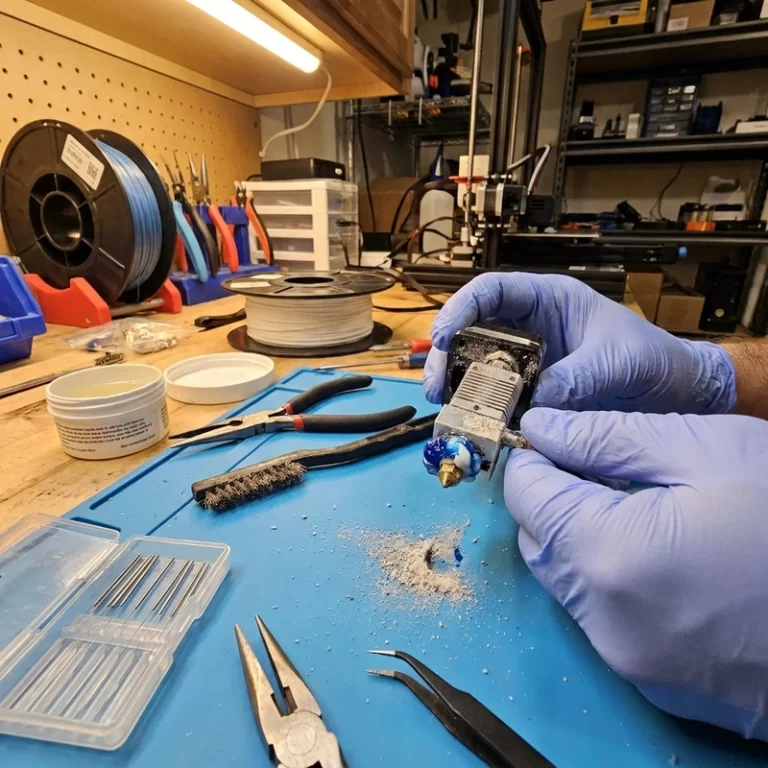
If correctly conditioned filament still prints poorly, check the nozzle, temperature sensing, extruder drive and cooling against the equipment instructions. Filled materials also require a suitable nozzle and wear checks. Enclosure conditions must follow the material and machine requirements; one chamber temperature or nozzle-life estimate does not apply to every setup.
5. RFQ Checklist for Engineering Plastic Filament Drying
- State the exact material grade and whether mechanical strength, heat resistance or chemical resistance is the primary requirement.
- Ask whether the supplier dries filament before printing and prints nylon/PC/TPU from a dry box during long builds.
- For nylon, PC or filled grades, request the conditioning record. An extrusion video is a screening aid, not a moisture or strength certificate.
- Define surface finish and layer adhesion acceptance criteria in the RFQ; do not assume “good enough” means the same thing to every supplier.
- Compare FDM, SLS/MJF or CNC against the same material, geometry and acceptance requirements; changing processes introduces different variables to validate.
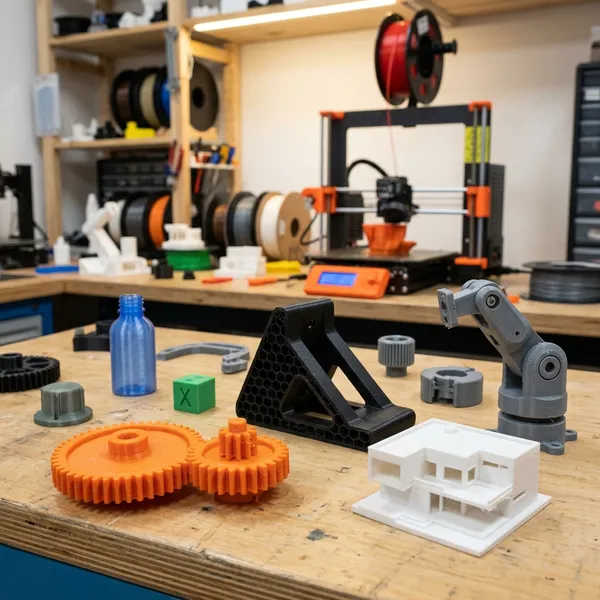
Filament drying is a basic process-control step for hygroscopic engineering polymers. It can reduce one major source of popping, voids, stringing and weak layer bonds, but the result still depends on the material, dryer, storage and print environment. Track failure rates only when the build conditions and sample base are documented.
Printing engineering plastic parts and struggling with inconsistent quality? Contact Zesmir with the exact material, drawing and acceptance criteria. Drying records, storage conditions and inspection requirements can then be discussed as part of the project review, subject to confirmation of the production route.