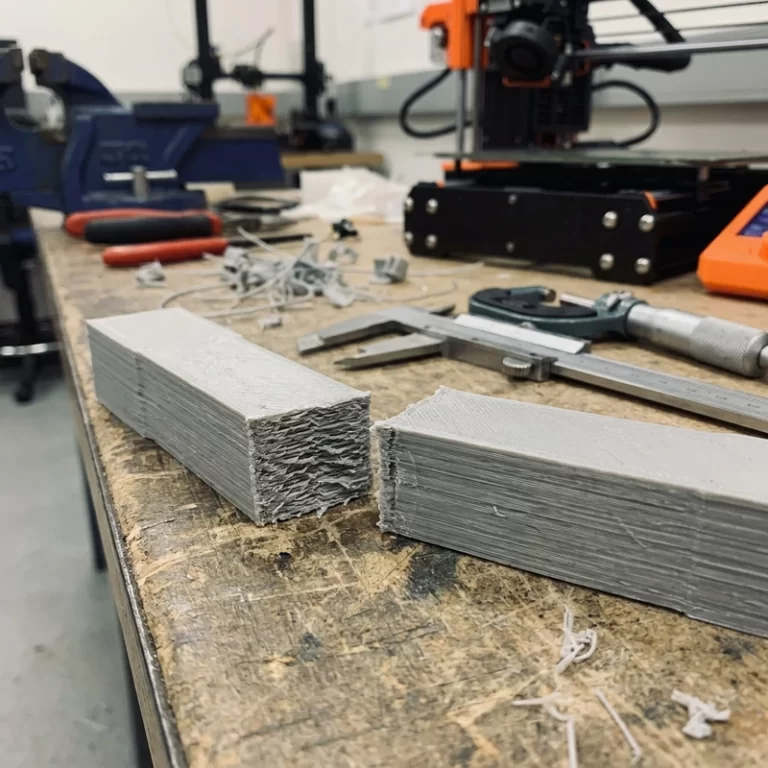
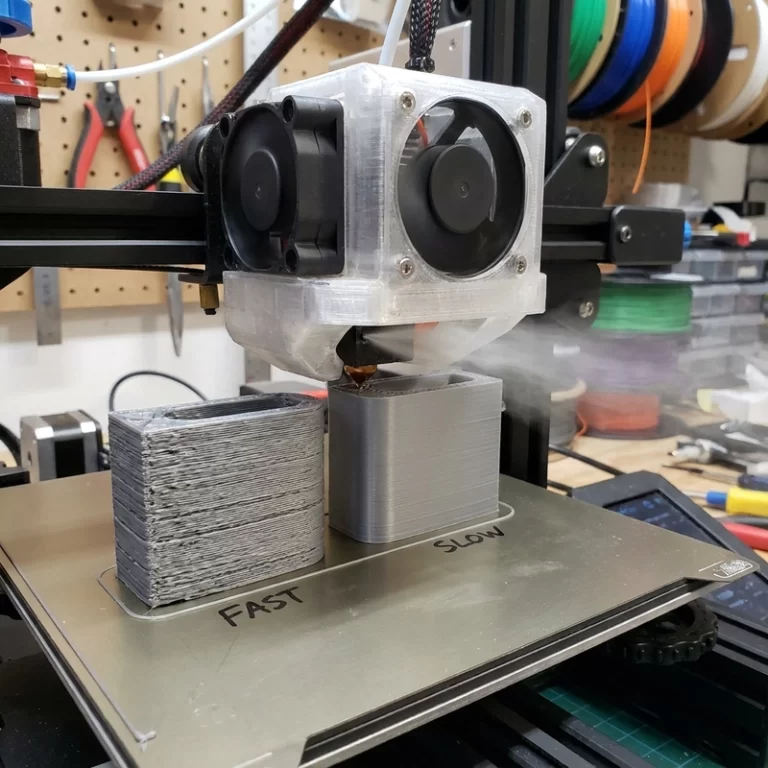
I’ve watched more PEEK prints fail from bad thermal setup than from bad STL files. The material isn’t the problem—the environment is. PEEK melts around 340–380°C and needs a controlled cool-down to develop useful crystallinity. Skip the chamber heat or rush the cooldown, and you get warped parts, delaminated layers, or parts that soften 30°C below where the datasheet says they should hold.
What PEEK Actually Needs (Most Machines Can’t Deliver)
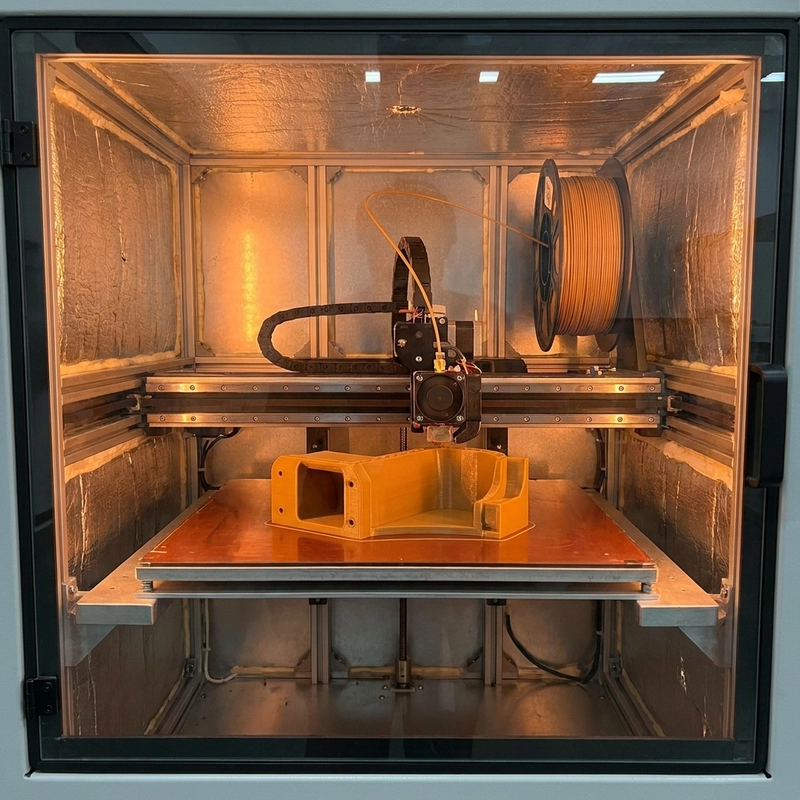
PEEK isn’t a “high-temp PLA.” It needs a nozzle that holds 400°C steadily, a build plate at 120–160°C, and—this is the part most shops skip—a heated chamber that stays between 90–120°C during the print and cools slowly after. I’ve seen parts that looked perfect out of the printer fail functionally because the chamber cooled too fast and the part stayed partly amorphous.
If you’re quoting PEEK on a machine that doesn’t have a heated chamber, you’re not printing PEEK. You’re printing an expensive mystery plastic and hoping for the best.
Nozzle Temperature: 400°C Isn’t a Suggestion
PEEK’s melting point is around 343°C, but you need 380–420°C at the nozzle to get clean extrusion and good layer bonding. Too low and you get under-extrusion, poor layer fusion, and weak parts. Too high and you degrade the polymer—PEEK will off-gas and darken if you cook it.
Practical check: if your nozzle can’t hold 400°C for 12+ hours without drifting, don’t start the print. Nozzle drift during a long PEEK build is one of the most common causes of layer delamination I see.
Chamber Control: The Difference Between a Print and a Part
A heated chamber does two things: it keeps lower layers from cooling too fast while you’re still printing upper layers, and it lets you control the cooling rate after the print finishes so crystallinity develops evenly.
Without chamber heat, the bottom of a tall part can be at 40°C while the top is at 400°C. That thermal gradient creates internal stress. The part may look fine until it cools to room temperature, then it warps or cracks along layer lines.
For accuracy-critical parts, I won’t run PEEK without a chamber that can hold at least 90°C and ramp down slowly after the print ends.
Material Drying: PEEK Absorbs Water Faster Than You Think
PEEK is hygroscopic. If the filament isn’t dried properly before loading, you get bubbles in the extrusion, rough surface finish, and weakened layer bonds. I dry PEEK at 120–150°C for at least 4 hours immediately before loading it into the printer. Not the day before—immediately before.
If your supplier says “it’s been sitting in the dry box for a week,” ask when it was last heated. Desiccant alone doesn’t dry PEEK. It needs heat.
Crystallinity and Annealing: The Post-Process Most People Skip
PEEK’s mechanical properties and heat resistance depend on crystallinity. Quenching (cooling fast) leaves it more amorphous—tougher in some ways, but with lower heat resistance and more creep. Controlled cooling or post-process annealing increases crystallinity, which raises the heat deflection temperature but can make the part more brittle and change dimensions.
| Control point | Why it matters | Risk if uncontrolled |
|---|---|---|
| Nozzle temperature | Melts PEEK fully for extrusion | Under-extrusion or degradation |
| Chamber temperature | Controls cooling and layer bonding | Warping, cracking, delamination |
| Material drying | Reduces bubbles and weak layers | Rough surface, lower strength |
| Annealing | Improves thermal stability and crystallinity | Dimensional change if not planned |
| Design orientation | Aligns strength with load path | Layer splitting under service load |
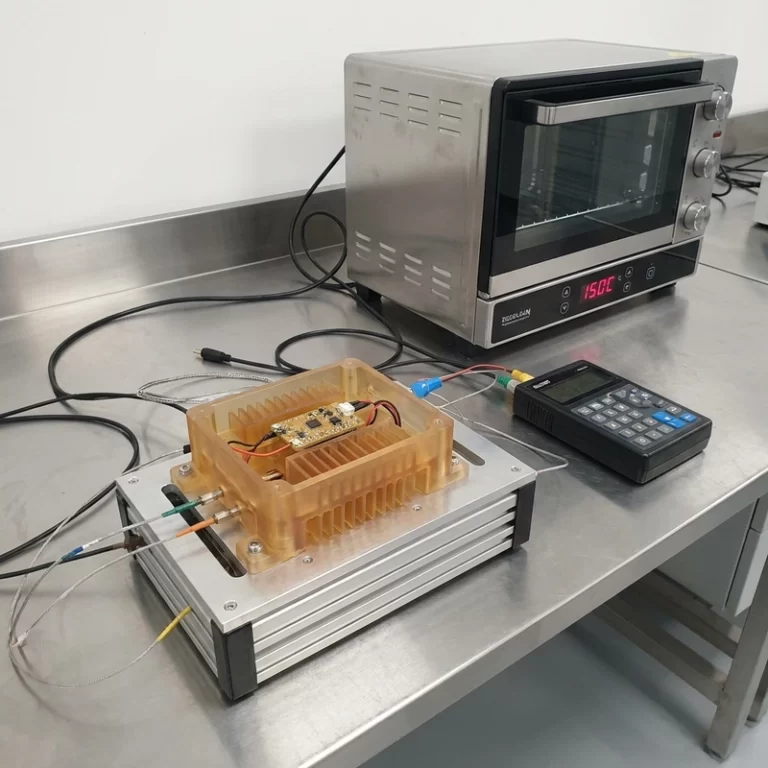
Annealing is done in an oven at 150–200°C for 2–4 hours, then slow cooling. The part will shrink—usually 1–3% depending on geometry and initial crystallinity. If you have critical dimensions, print a test coupon, anneal it, measure the shrink, then adjust.
Design Limits: FDM Physics Still Apply
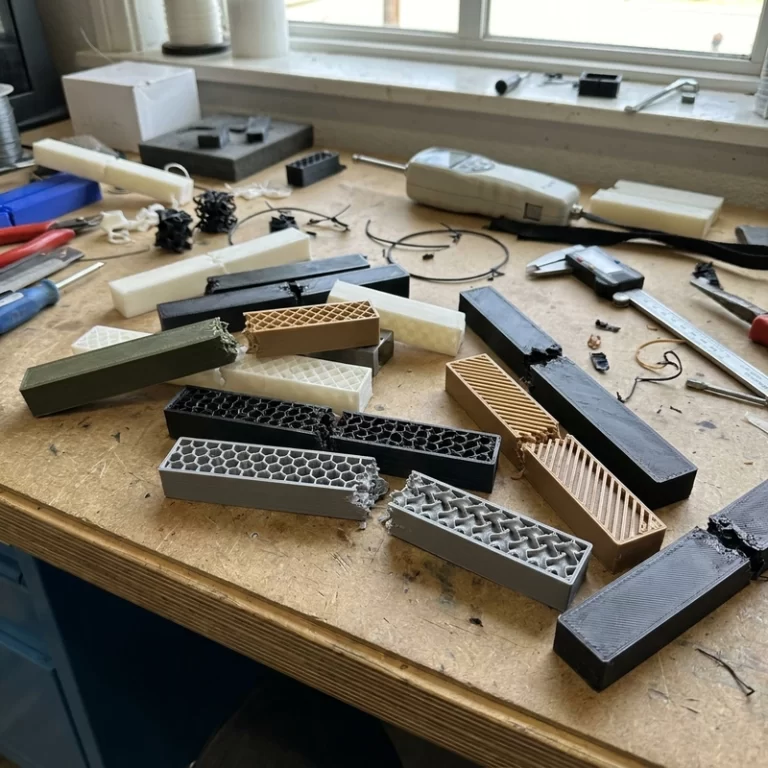
PEEK’s material performance doesn’t remove FDM’s layer-adhesion limits. Layer lines are still the weak direction. Sharp corners, thin walls, and tall narrow features are all high-risk for cracking during cooling or service. I add fillets to every internal corner, avoid sudden wall-thickness changes, and orient the part so the primary load is in-plane, not peeling layers apart.
For holes, threads, and sealing surfaces, plan on machining after printing. Printed holes are never round enough for a proper seal, and printed threads will strip faster than machined ones. Threaded inserts are far more reliable than printed threads in PEEK.
When PEEK Isn’t the Answer
PEEK costs 10–50× what PLA does and 3–5× what PC or PEI costs. If the part only needs moderate heat resistance (under 120°C), PC or PEI may be enough. If it’s a fit-check prototype, print it in nylon or resin first. I’ve seen too many engineers spec PEEK for a prototype that just needed to verify geometry.
Use PEEK when the test actually requires its temperature resistance, chemical resistance, or mechanical profile. Everything else is burning budget.
RFQ Checklist for PEEK Parts
- Service temperature: continuous and peak. PEEK grades vary; some handle 250°C continuously, others less.
- Chemical exposure: what fluids, what concentration, what duration. PEEK is excellent here, but confirm compatibility.
- Load direction and magnitude: this decides orientation and wall thickness.
- Annealing: required or not? If yes, which dimensions are critical after annealing?
- Machining allowance: holes, threads, sealing surfaces. Add 0.2–0.5 mm per side if post-machining is planned.
- Inspection: which features must be measured after final thermal cycle?
PEEK 3D printing can produce parts that perform at temperatures where most plastics fail. But it only works when the printer, the process, and the part design all respect what the material actually needs. Everything else is expensive gambling.