Resin print paint adhesion is easy to blame on the paint, but the paint is often only the last part of the mistake. Support scars, uncured residue, sanding dust, glossy cured skin, and a rushed primer layer can all make a coating peel even when the print itself looks fine. I treat resin print paint adhesion as a surface-preparation problem before I treat it as a coating-brand problem.
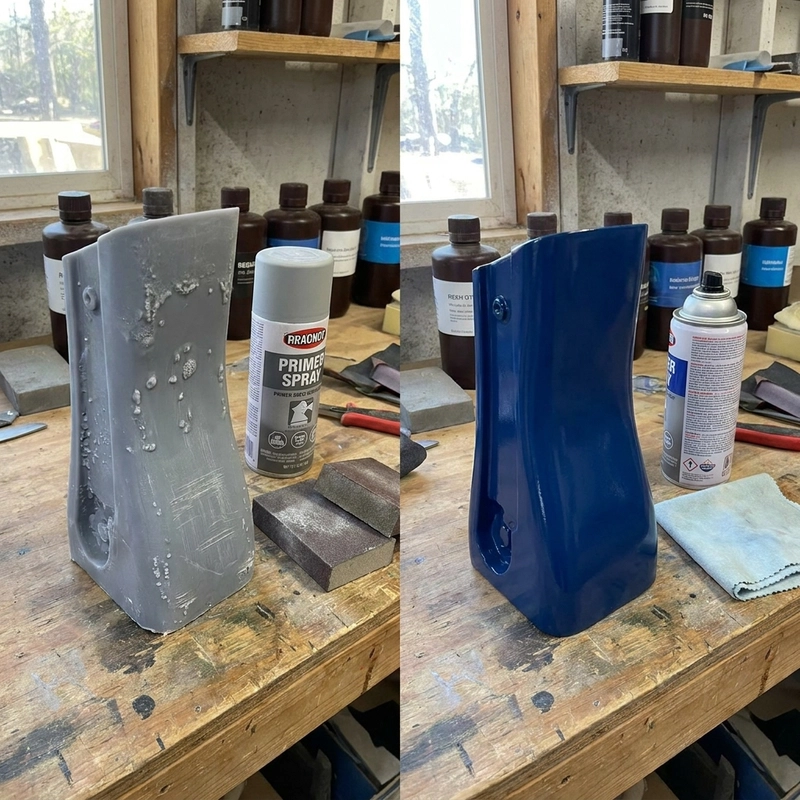
The ugly part is that adhesion problems may not show up right after spraying. A sample can look acceptable on the bench, then chip around support marks during packing, handling, or clear coating. The coating fails at the weak interface. That weak interface may be uncured resin, trapped alcohol, skin oil, polishing compound, or simply a sanding scratch pattern that is too smooth for the primer to bite.
Resin print paint adhesion starts before primer
After printing, the part must be cleaned enough to remove uncured resin but not abused until details soften. The source notes a typical cleaning window around 5-10 minutes, which matches the way many resin shops think about small parts. That is not a fixed rule. Deep cavities, dark resin, flexible resin, and large models need different handling. What matters is that the surface no longer has oily residue before sanding or primer.
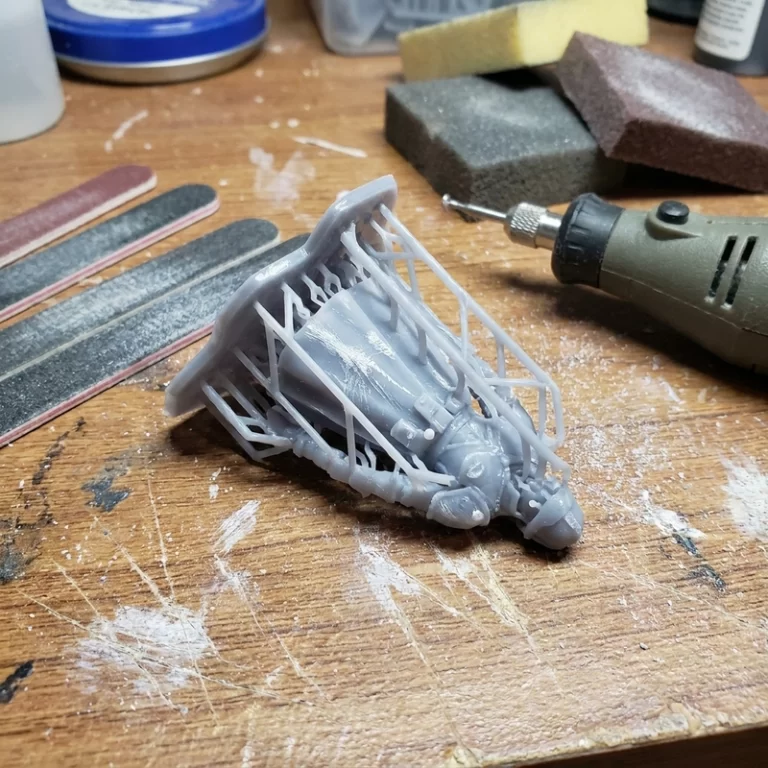
I do not sand a resin part while it is still chemically messy. Sanding uncured or half-cured resin can smear contamination into the scratches. Post-cure should be complete enough for the resin system, then support marks can be leveled. For general cosmetic parts, the source points to 400-800 grit as a practical sanding range. I normally start coarser only where a support scar is raised, then move finer before primer. Jumping straight to very fine polishing can leave a glossy surface that looks beautiful and holds paint badly.
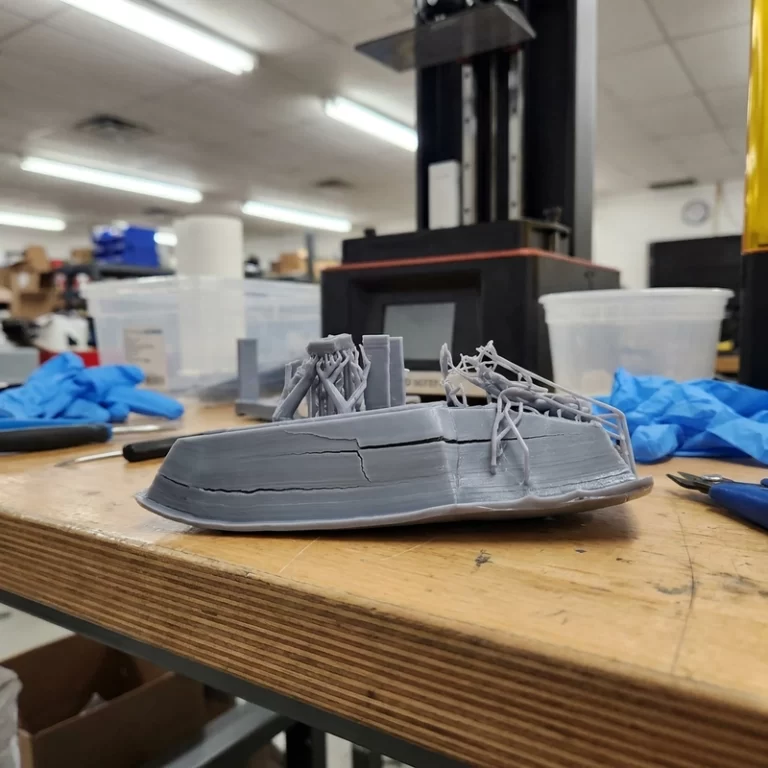
Support removal is a coating issue too. If a heavy contact is torn off, it can leave a crater with damaged resin around it. That spot may need local filling, sanding, and primer surfacer, not just color paint. For support placement and contact design, the related Zesmir article on 3D printing support design is worth reading before the next print is prepared.
Primer choices for resin print paint adhesion
A primer has two jobs: bonding to the resin and giving the color coat a consistent surface. Thick primer is not a repair plan. If primer is used to bury layer marks, soft residue, or deep support gouges, it may crack or chip later. The source suggests 2-3 thin primer coats and 3-4 thin color coats for some resin finishing workflows. Thin coats are less dramatic, but they dry more predictably and preserve detail.
Spray distance around 15-20 cm and airbrush pressure around 1-2 bar are practical references from the source, but the coating system decides the final setup. Too close and the paint floods details. Too far and the surface gets dry spray, rough texture, and weak leveling. A scrap print or hidden area should be sprayed before a visible face on a figurine, product model, or display part.
Drying time is where rushed work fails. Water-based coatings may feel dry in 1-2 hours, while oil or nitro systems can need 4-6 hours or more before they are safe for the next step. “Dry to touch” is not the same as cured enough for masking tape, clear coat, packing foam, or assembly pressure.
Checking resin print paint adhesion after sanding
Before painting, I check the surface under low-angle light. That light shows support scars, sanding waves, and glossy patches better than overhead light. If a shiny island remains in the middle of a matte sanded area, the primer will read it too. I also wipe the part with a suitable cleaner and let it flash off fully. Do not trap solvent under primer.
Masking is another small adhesion test. If tape pulls color off a corner, the problem was not the tape. It usually means the surface was contaminated, the primer had not cured, or the coating stack was too thick around an edge. For production-style samples, I prefer checking one hidden tab or underside area before masking a visible face.
Adhesion testing should be scaled to the part risk. A display-only figurine may only need handling and tape checks on a hidden area. A product prototype that will be assembled and disassembled may need more aggressive testing. Do not claim a coating is production-qualified without the actual test method and acceptance criteria. The NIST surface metrology resources are useful background when surface texture and measurement language need to be kept precise.
Support marks, clear coat, and batch consistency
Clear coat can save a finish, but it can also expose bad preparation. A hot clear can attack weak color coats. A heavy gloss clear can pool around small details. A matte clear can make uneven sanding more visible. I like approving one complete stack: resin, cure, sanding grit, primer, color, clear, drying time, and packing method. Changing one layer changes the whole stack.
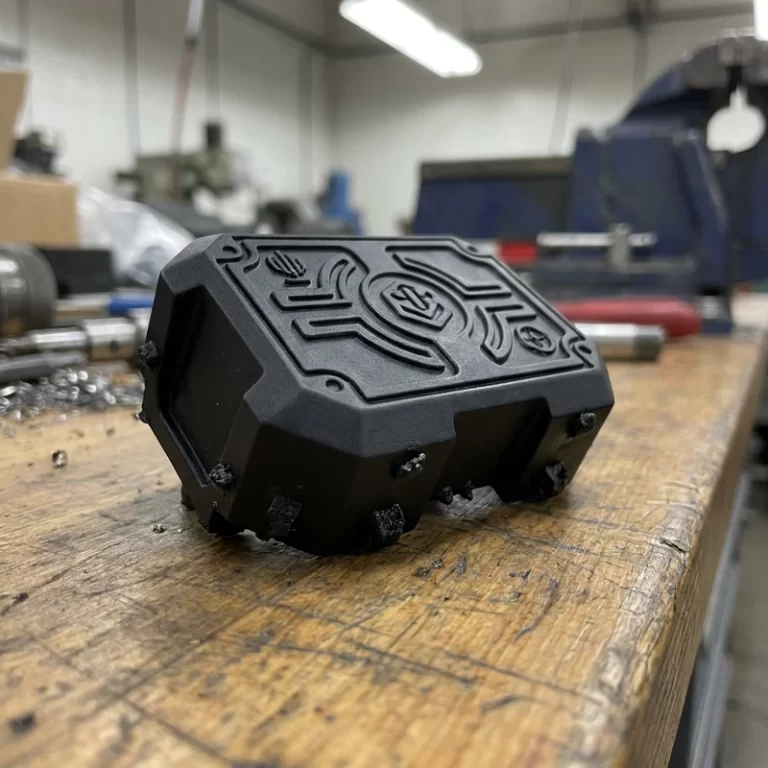
For black or dark resin parts, color inspection is trickier because scratches and dust show quickly. The Zesmir article on black SLA resin 3D printing goes deeper into matte surface and detail visibility. If the paint is meant to hide layer texture instead of only adding color, also compare against the 3D printing surface roughness article before choosing the process.
The safest RFQ note is simple: tell the supplier which faces are cosmetic, whether support marks are allowed, what coating level is expected, and whether the finished part will be handled, shipped individually, or packed in bulk. Resin print paint adhesion improves when the print plan, support plan, and coating plan are treated as one workflow.