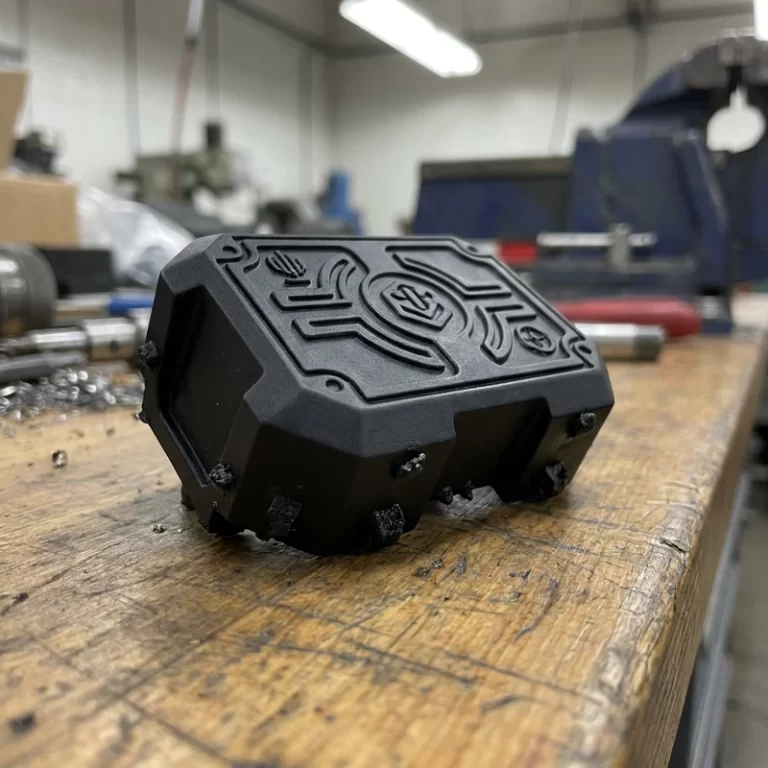
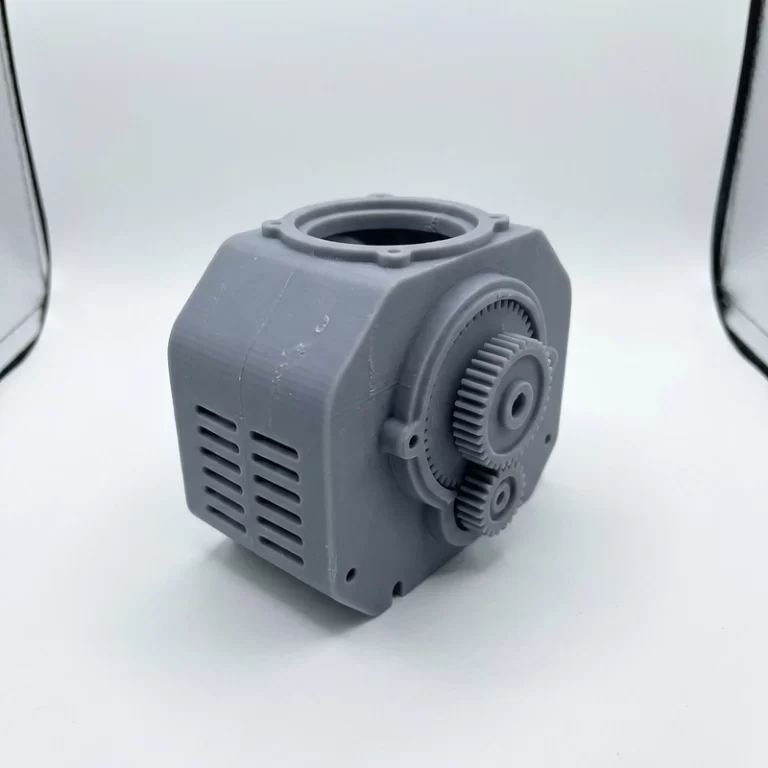
A transparent SLA part rarely looks like injection-molded acrylic straight from the build plate. Clarity depends on layer orientation, support placement, washing, curing, sanding, polishing or clear coating, and the length of the optical path. Define whether the requirement is translucent, presentation-clear or optically functional before selecting the workflow.
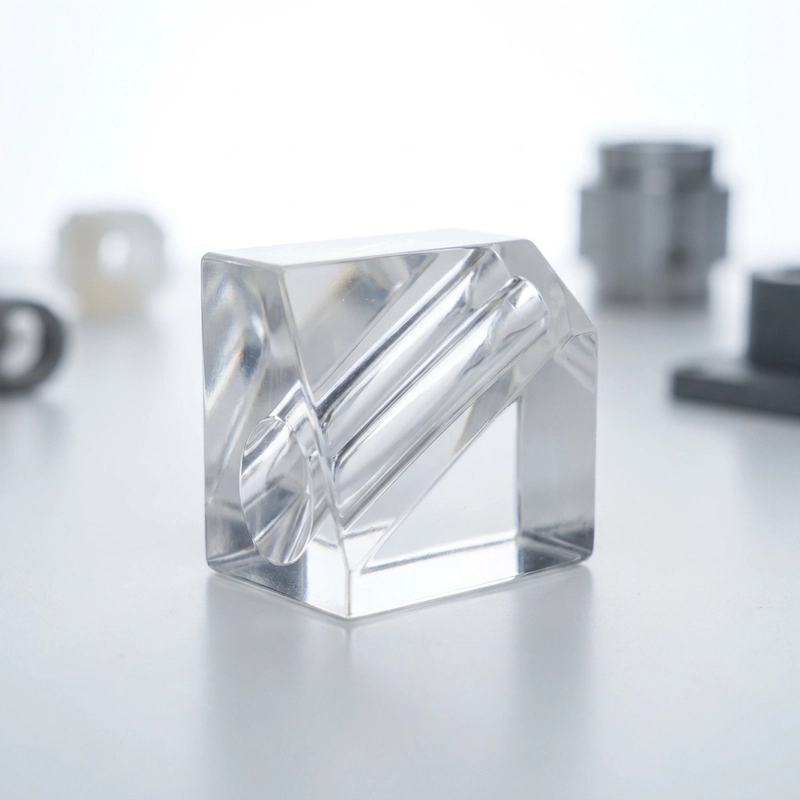
1. Why Transparent SLA Resin Parts Come Out Cloudy
Cloudiness usually comes from surface roughness, visible layer steps, trapped uncured resin, bubbles, cure-related yellowing or geometry that blocks polishing access. The pattern of haze should be identified before changing material. Printer, resin and orientation can all contribute, so compare controlled samples rather than assuming the resin is defective.
Each SLA layer boundary can scatter light through surface texture and refractive-index variation. A smaller layer height may reduce visible stepping, but it also increases build time and can change peel forces. The benefit is geometry-dependent, so compare representative samples at the planned thickness and orientation instead of applying a universal percentage improvement.
Part Orientation for Optical Clarity
Keep the primary viewing face free of supports whenever geometry allows. Flat windows, curved covers and cylindrical light pipes each need a different compromise between visible layer bands, support scars and build reliability. Document the chosen viewing direction and support side in the quote or drawing so the buyer understands where finishing marks may remain.
2. Exposure and Post-Curing Balance for Transparent SLA Resin
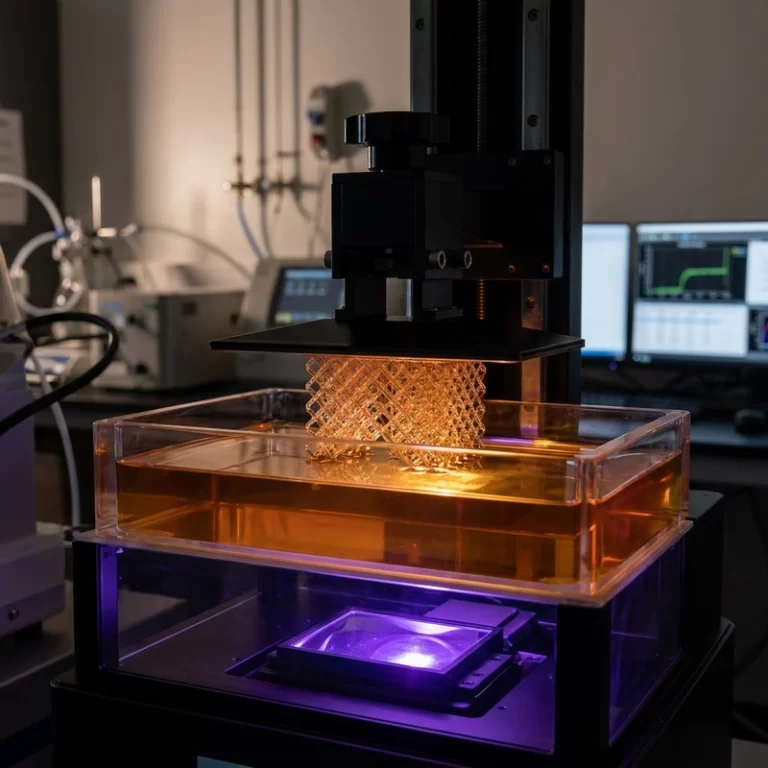
Exposure control is tighter for clear resin because overexposure can appear as yellowing as well as dimensional growth. Use supplier-recommended calibration parts for a new resin batch, and check thin walls separately from thick optical sections. Under-cure, over-cure and retained monomer can all reduce clarity, so exposure changes should be recorded and validated before the production part.
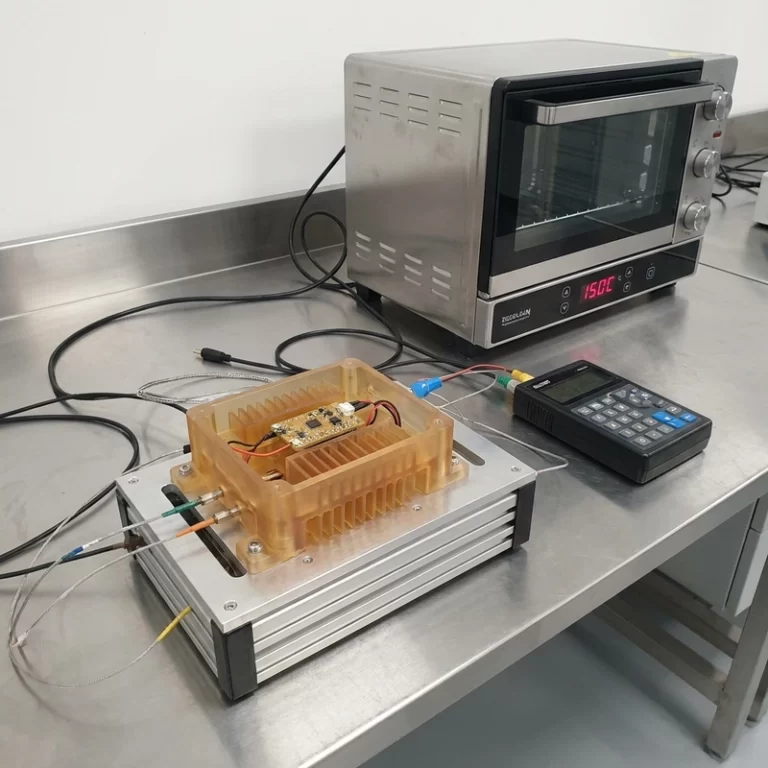
Post-curing temperature and duration must follow the instructions for the specific resin. Clear materials vary in their sensitivity to heat and UV, and thick sections may require a staged approach. Use a monitored chamber, avoid exceeding the published ceiling and allow the part to stabilize before final inspection. Any claimed transmission or haze improvement should be supported by measured samples. For example, consult the Formlabs Clear Resin guidance when that specific material is selected.
3. Cleaning and Drying Transparent SLA Resin Parts Before Polishing
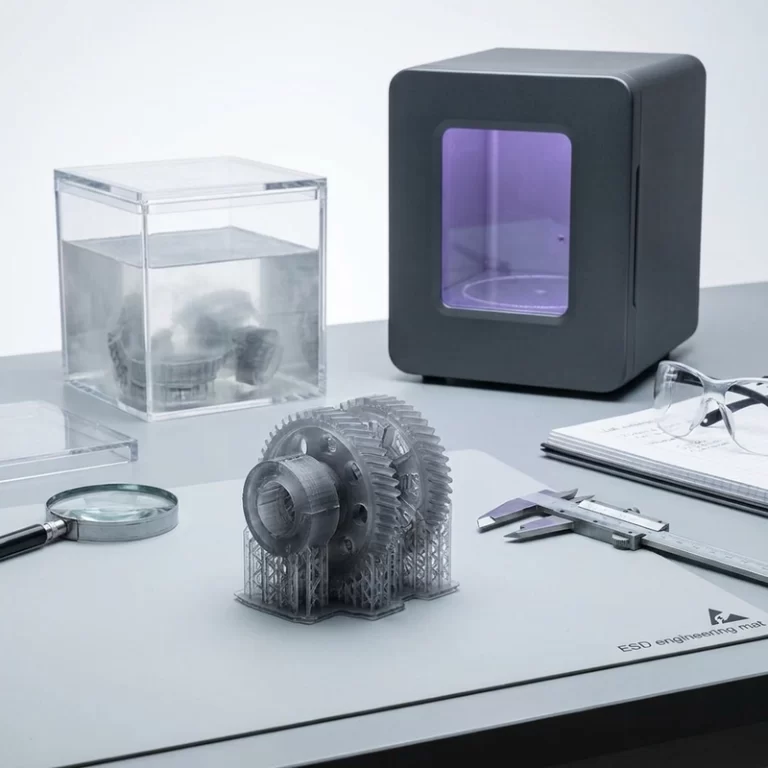
Cleaning transparent SLA parts is more demanding than cleaning opaque ones because residual contamination is fully visible and cannot be hidden by post-dye or coating. I use a two-stage IPA wash as standard: a dirty first bath (≥95% IPA) to remove bulk uncured resin, then a clean second bath for final rinse. I replace the second bath IPA frequently—visually checking for dissolved resin accumulation—because dirty solvent redeposits a thin resin film that becomes a permanent haze after curing. This is the same cleaning discipline I describe in my SLA resin sticky surface troubleshooting guide, where proper wash protocols make the difference between a clean cure and a tacky surface. For geometries with blind holes, internal channels or undercut texture I also use a soft-bristle brush and ultrasonic cleaning in the second bath, typically 2–3 minutes at 40 kHz. The ultrasonic step has rescued parts that looked perfectly clean after manual washing but developed white bloom in hard-to-reach corners after post-cure. On one manifold project with 2 mm-diameter internal channels, ultrasonic cleaning was the difference between a part that passed clarity inspection and one that failed.
Trapped IPA can leave soft white spots during UV curing. Blow out drain holes and recesses with clean, controlled air, inspect for wet areas and allow the part to dry fully before curing or coating. Drying time depends on wall thickness, recess geometry, solvent condition and room environment, so use a documented acceptance check instead of relying on odor alone.
4. Troubleshooting Transparent SLA Resin Clarity Issues
| Problem | Common Root Cause | Verified Fix |
|---|---|---|
| Milky surface haze | Layer roughness or skipped sanding grits | Wet sand through P400→P800→P1500→P2000→P3000, then machine polish with plastic-specific compound |
| Yellow tint throughout | Over-curing temperature or aged resin batch | Monitor cure-chamber temperature with thermocouple; use resin within 12-month shelf life; add UV absorber only on supplier guidance |
| Cloudy internal pockets | Trapped uncured resin in hollow sections without adequate drains | Add drain holes ≥3 mm at opposing ends; flush with clean IPA through one hole while inspecting outflow at the other; blow out with compressed air |
| Support scar haze on viewing face | Supports placed on the optical face | Re-orient part so viewing face is support-free; use ball-tip fine contact supports (0.3 mm tip) on non-critical rear faces only |
| Visible layer bands on curved surfaces | Shallow print angle (<30°) on curved viewing surface | Steepen orientation to >45° from build plate, or reduce layer height to 25 μm; test with a quick small-footprint print first |
5. Polishing and Clear Coating Options for Transparent SLA Resin Parts
For planar faces, wet-sand on a flat reference surface and remove the scratch pattern from each grit before moving finer. Curved surfaces usually need conformable abrasive pads. After fine sanding, use a plastic-compatible compound at low speed and control surface temperature; excessive polishing heat can soften the resin and create swirl marks. Record the finish level in the quote because manual polishing adds labor and can change dimensions.
Clear coating is an alternative when full optical polish is impractical due to complex geometry or tight turnaround constraints. I have used automotive-grade two-part urethane clear coat (SprayMax 2K) and UV-curable clear coat (Resin3D Clear Coat) for display parts with good results. The key requirement is a fully dry, contaminant-free substrate and a coating that wets the resin surface without solvent attack—always test on a scrap print from the same batch first. For true optical-lens applications I manage expectations: transparent SLA resin, even fully polished, does not match the Abbe number, transmission uniformity or thermal stability of optical-grade PMMA or polycarbonate. It works well for visual prototypes, fluid-observation chambers, light-pipe prototypes and design-review samples where you need to see internal features clearly. For precision optics that require <1% transmission variation across the aperture, I specify machined or molded optical-grade polymer instead and treat SLA clear as a pathfinding or form-fit-check tool. Our 3D printing order process for OEM covers how we handle these tiered clarity specifications from quoting through delivery.
6. Design Rules for Transparent SLA Resin 3D Printed Parts
- Mark the viewing face explicitly in the CAD file so supports never land on it—ask clients to add a note layer or callout text to the STEP file.
- Add drain holes of at least 3 mm diameter to every hollow section; position them at opposing ends so IPA can flow through, not just in and out of the same port.
- Avoid solid blocks thicker than 8–10 mm where internal clarity matters—light loss increases with path length and internal scatter dominates beyond this thickness.
- Include generous fillet radii (≥3 mm internal, ≥1 mm external) where polishing tools need access; sharp internal corners trap compound and prevent even abrasion.
- Specify the clarity requirement at quotation: translucent, polished-clear, clear-coated or optically functional. Each tier requires different finishing and inspection, so added time and cost must be confirmed for the actual geometry.
7. Transparent SLA Resin: A Field-Tested Workflow for Repeatable Clarity
I treat transparent SLA resin as a high-detail clear prototyping material with a well-defined but unforgiving process window. When I control exposure, orientation, support placement, cleaning, drying, post-cure temperature and polishing grit progression, the results are repeatable and visually impressive. When any single step is rushed or skipped, the part shows it—and on clear parts there is no paint or dye to hide behind. Zesmir has built its clear-part workflow around these checkpoints and we validate every first-article clear print against a printed test coupon before shipping. That discipline has turned transparent SLA from a process that occasionally delivers clarity into one that delivers it on demand.
Need transparent SLA parts that meet your optical clarity requirements? Contact Zesmir with your CAD file and clarity requirement tier—we will quote the right process and ship a test coupon for your approval before committing to production.