3D printed figurine painting starts before the brush touches the model. Cleaning, curing, support mark repair, sanding and primer decide whether paint sits cleanly or peels around weak spots. A good sculpt can still look cheap if the surface preparation is rushed.
I would separate model approval from paint approval. The buyer may accept the pose and reject the color. That should be a paint correction, not a full modeling dispute.
3D Printed Figurine Painting Starts With Surface Prep
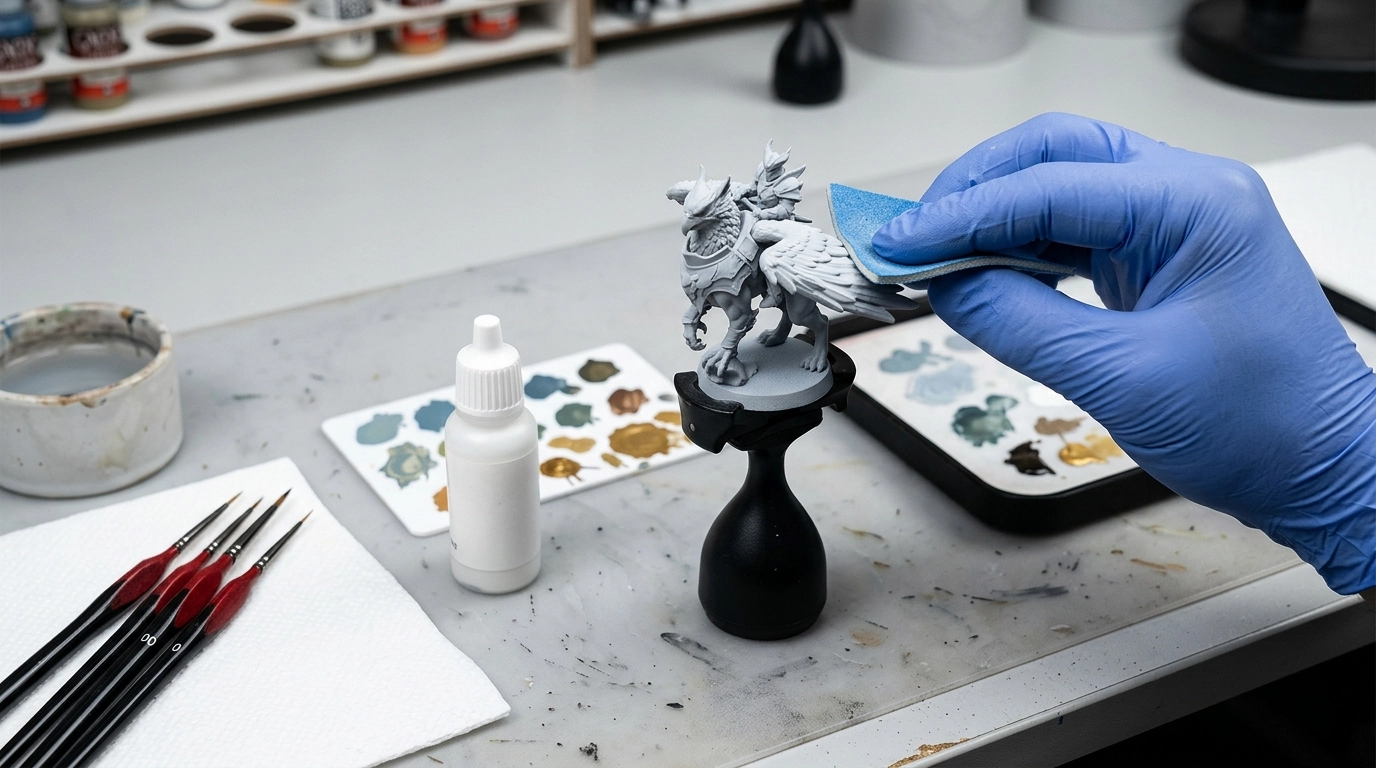
Support marks need trimming and sanding. Resin parts need proper cleaning and curing. Dust should be removed before primer. Primer helps paint grip and reveals surface defects that were hard to see on raw resin. If the primer shows scratches or pits, painting over them will not hide the problem.
For this workflow, resin print paint adhesion is the key internal reference. Resin figurine material also explains why white resin, detail and yellowing matter.
Color Matching and Batch Control
Color should be approved from a sample or color card, not only a screen image. Skin tone, clothing color, logos and metallic effects can shift under different light. For batch work, paint notes should include primer, base color, finish coat and any hand-painted details.
Small figurines need careful paint thickness. Too much paint can soften eyes, hair texture, tiny text or clothing folds. Too little paint can leave uneven coverage. The painter needs a surface that supports the level of detail the buyer expects.
3D Printed Figurine Painting and Handling
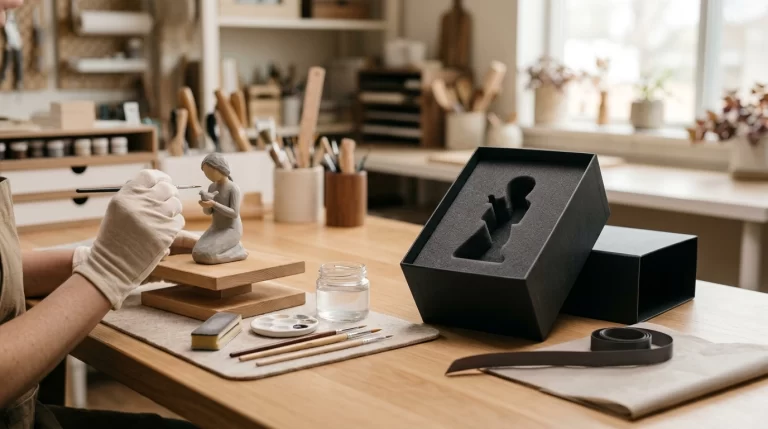
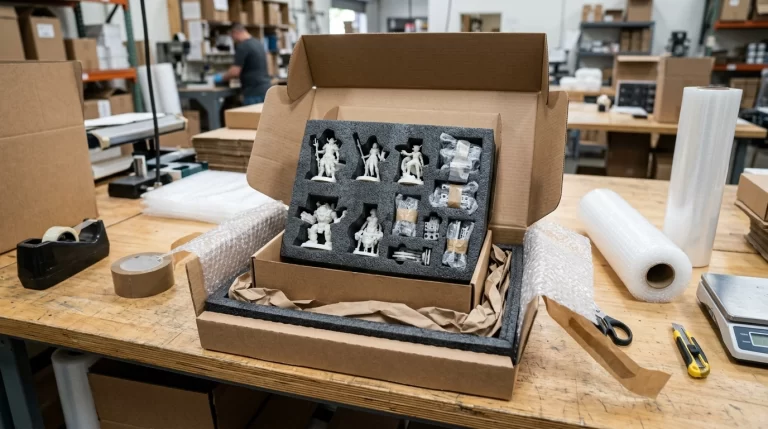
Clear coat can protect the surface, but it changes gloss. Matte, satin and glossy finishes all feel different. Packaging should prevent rubbing, especially on faces, hair, raised logos and metallic paint. The NIOSH 3D printing topic page is a useful safety background for materials and emissions. For production, the practical rule is simple: test paint on the real printed surface before approving the batch.
3D Printed Figurine Painting Needs a Reference Standard
For one custom gift, a photo reference may be enough. For OEM work, the buyer should approve a painted sample and keep photos of it. The sample defines skin tone, clothing color, eye detail, logo, base color and gloss. Without that reference, every later batch becomes a fresh interpretation.
Masking and edge control should be discussed when the figurine has small logos, clothing borders or multi-color accessories. The smaller the part, the more paint thickness and brush control matter. A design with tiny color-separated details may need simplification if it will be produced in quantity.
For Zesmir RFQs, send the unpainted model, reference images, target color, finish type and quantity. 3D printed figurine painting is easier to quote when the supplier can see the color workload instead of only the sculpt.
Drying time and handling should not be ignored. A painted sample may look finished before the coating is ready for packing. If parts are packed too early, surfaces can mark or stick. For export orders, the paint system and packaging insert should be tested together.
The buyer should also decide acceptable variation. Hand painting gives character, but it is not machine identical. For OEM figurines, define which details must match closely and where small variation is acceptable. That makes 3D printed figurine painting easier to inspect without making the standard impossible.
Surface preparation is where many paint problems start. If support marks are not sanded evenly, primer can highlight them instead of hiding them. If resin is not cleaned and cured properly, paint adhesion can become unreliable. Changing paint brand will not fix a dirty or under-prepared surface.
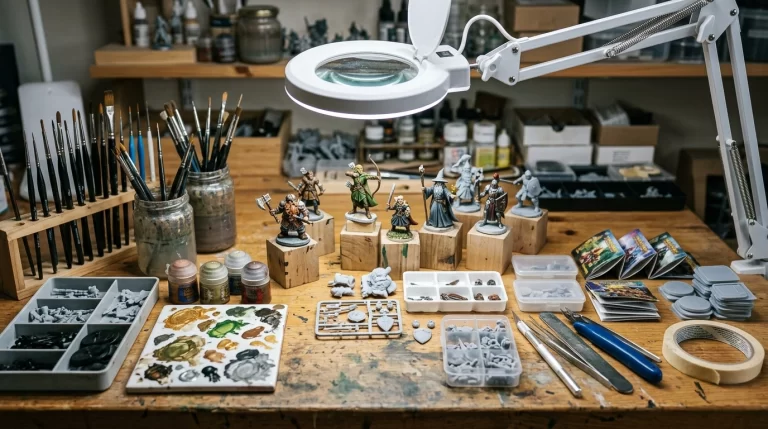
Color order matters on detailed figurines. Large base colors usually come before small highlights, but faces, eyes, logos and metallic parts may need a slower sequence. Masking can help, but tiny surfaces still need realistic expectations. A design with too many micro color breaks may need simplification for bulk painting.
For a batch, keep a painted master and a defect limit. Name what is unacceptable: paint on the wrong area, visible primer, dust under clear coat, chipped corners, wrong gloss or unreadable logo. 3D printed figurine painting improves when inspection has real examples, not only a sentence saying “good finish.”
Primer color should match the paint plan. A dark primer can change bright colors. A white primer can help vivid tones but expose dirty handling. Some metallic or pearl effects need a specific base. The paint workflow should be tested on the same resin and surface preparation used for the final batch.
Photograph the painted master from consistent angles. Front, side, back, close-up face, logo and base are usually enough. Those photos help the buyer approve the standard and help production check the batch without relying on one person’s memory of the sample.
Lighting should be consistent during review. Warm room light, daylight and studio light can make the same paint look different. For 3D printed figurine painting, approval photos should not be heavily filtered or edited; they should help production match the real sample.
The approval image should show the part, not flatter it.