Resin choice affects nearly every downstream risk in an OEM figurine project: shipping damage, paint adhesion, color shift, thin-feature breakage and final QC acceptance. The selection should be tied to detail level, feature thickness, display environment, handling and packaging rather than the default material from a supplier alone.
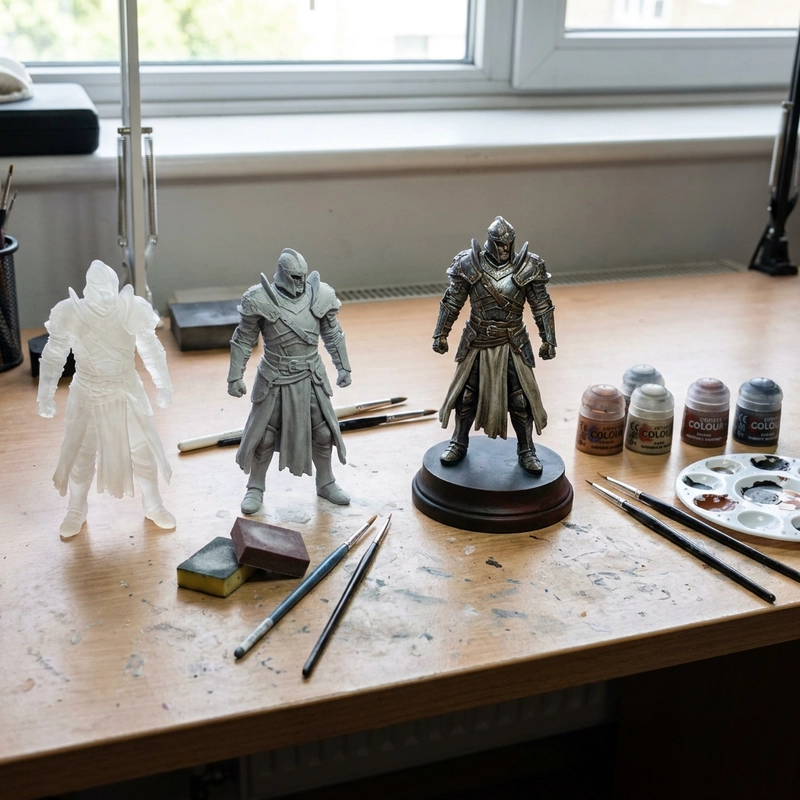
The White Model Gate: Catch Geometry Problems Before Painting
An unpainted white model is the last low-cost checkpoint before finishing. Review photographs from at least three angles and compare proportions, thin features, face details and any auto-thickened geometry against the approved sculpt. Painting should begin only after that geometry checkpoint is accepted.
Review an approval model with lighting that reveals support marks and surface defects. Translucency can make some defects harder to judge in photographs, but opaque white resin is not automatically the right production material. Agree whether a geometry sample, a primed sample or a final-color physical sample is needed and record any material difference.
Thin Features and Impact Resistance Need Separate Review
Standard rigid SLA resin captures fine facial, fur and text detail, but very thin projections can be brittle in transport. Delicate wings, ears, tails or accessories may need thicker geometry, a tougher resin, a separate flexible component or a revised packing method. A split-material design adds assembly work, so confirm the trade-off on a sample before batch production.
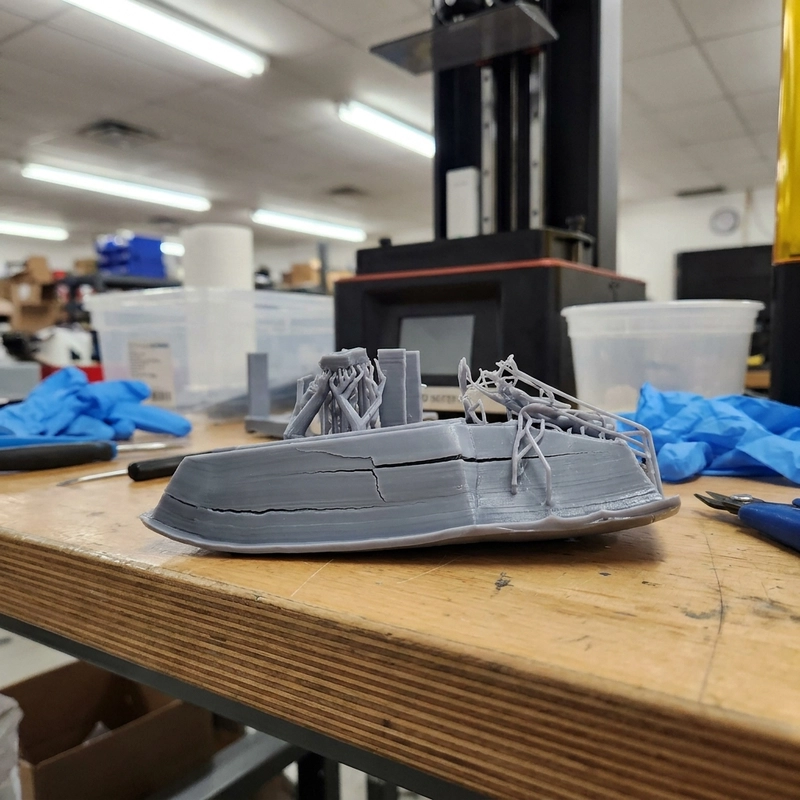
Hollowing is a design and process decision, not a requirement above one fixed figurine height. Every cavity needs a reviewed path for drainage, cleaning, drying and any required curing access. A hole count or inspection photo alone cannot prove the interior is free of residue. If the geometry cannot be processed adequately, redesign it, split it or reconsider hollowing.
| Risk | Standard resin behavior | Review option |
|---|---|---|
| Thin ears, fingers, tails | Risk depends on resin, geometry and handling | Review thickness, resin choice and packaging on a representative sample |
| Large hollow torso | Trapped uncured resin leaks through paint | Reviewed drainage and cleaning access with a suitable inspection method |
| Delicate accessories | Break during packaging insertion | Review separate components, compatible joining and packing |
| Heavy solid base | Warp during curing | Review mass, wall design, drainage and stability |
Paint Adhesion Starts With Surface Chemistry, Not Primer Brand
Peeling can involve surface residue, inadequate cure, coating compatibility, application or preparation. Follow the exact resin and cleaner instructions rather than extending solvent immersion by default. Complete the approved processing route and a compatible coating trial before batch finishing.
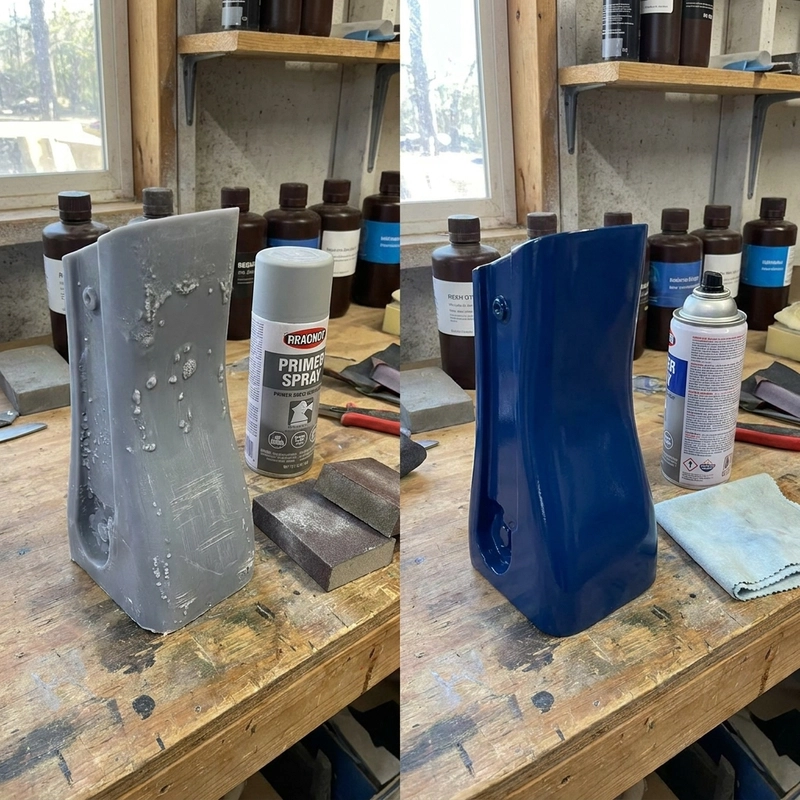
For batch color and finish approval, use agreed lighting and, where needed, a physical reference. Specify which faces, colors and gloss levels matter. Define a usable visual or measured acceptance method; an undefined percentage of hand-paint variation is not an inspection criterion.
UV Yellowing: The Problem That Shows Up After Delivery
White and clear photopolymer parts can yellow under ultraviolet exposure. UV-stabilized material and a compatible protective coating may slow the change, but neither should be presented as permanent protection without testing. If the figurine will sit near a window or strong display lighting, state the environment in the RFQ and include realistic storage guidance with the product.
Ask for separate costs for the proposed resin, coating, finishing and packaging route. Availability and added cost need a current project quotation. A generic resin price premium or per-figurine coating cost cannot establish the economics of a different design and batch.
RFQ Material and Approval Checkpoints
A seven-field resin section makes an RFQ easier to review and reduces ambiguity between the approved sample and the production batch:
- Resin identity and grade, intended use and any required material documentation
- Feature and wall requirements checked against the actual material, geometry and handling risks
- Hollowing and drainage drawing, cleaning access and agreed inspection method for every cavity
- Approved wash, dry, cure and surface preparation route, with compatible primer and paint
- White model approval photos — front, 45-degree, back; diffused lighting; mid-grey background; no editing
- Display environment, any proposed protective finish and the evidence supporting its limits
- Agreed final-color and finish reference, approval stage and batch acceptance criteria
Resin figurines look simple when they sit on a retail shelf. Every smooth surface and crisp edge represents a chain of decisions that started with the material call. The strongest OEM projects treat resin selection as its own approval gate — separate from sculpt review, separate from paint sign-off, separate from packaging validation. Skip it, and the factory’s first nice photo won’t be the product your buyer unpacks.