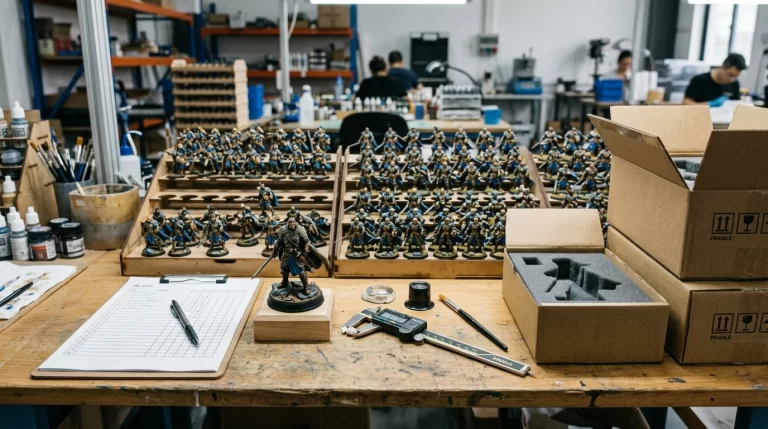
To reduce 3D printing cost without ruining the part, start with the design and finish requirements before arguing over material price. The cheapest quote is not useful if the part arrives warped, weak, rough, over-sanded or packed in a way that breaks small features. Cost reduction should remove waste, not remove the reason the part works.
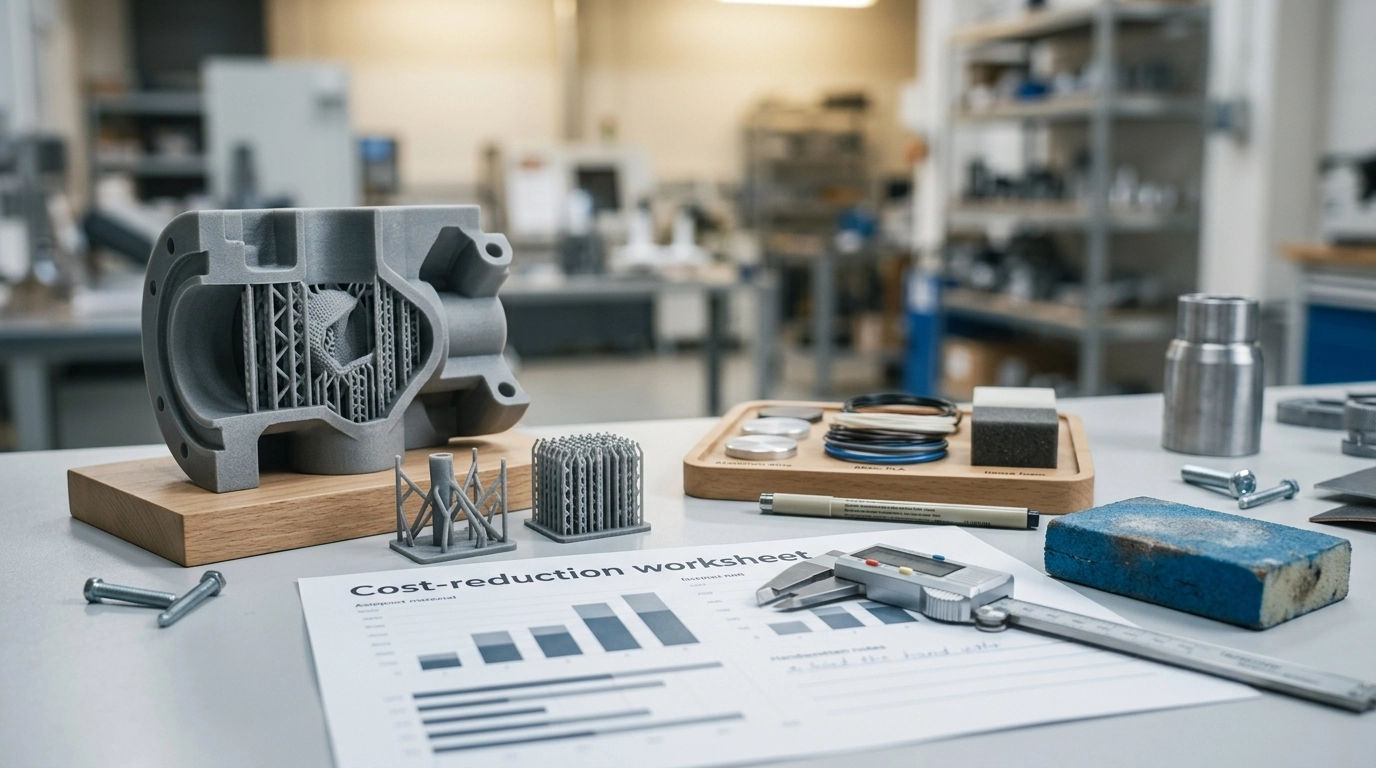
I usually look for cost in four places: geometry, process choice, finishing labor and batch handling. Material is only one line. A part with poor orientation, unnecessary supports and a high-polish finish on hidden faces can waste more money than the resin or powder itself.
Reduce 3D Printing Cost by Cleaning the Design
Thin fragile features cost money because they fail, need extra support or need careful packing. Deep enclosed cavities can trap powder. Unnecessary solid sections add material and print time. Large flat surfaces may warp and need rework. If a feature is decorative, it can often be simplified. If a feature is functional, it should be strengthened where load actually travels.
Support design matters too. Heavy support on a visible surface can create sanding, filling and painting labor. For metal parts, support removal can be a serious cost driver. For resin parts, support marks can decide whether painting is simple or tedious. The article on 3D printing support design is worth reading before sending a final file.
Choose the Process for the Job, Not the Cheapest Line
SLA may be cost-effective for smooth detailed appearance parts. SLS or MJF nylon may save assembly and support cleanup for functional batches. FDM may be practical for large fixtures or low-detail shells. CNC may be cheaper than metal printing for simple blocks, plates and shafts. The wrong process can look cheap in the first quote and expensive after finishing.
For broader cost logic, see 3D printing cost reduction and engineering plastic 3D printing cost. Those posts help separate machine time from finishing, inspection, inserts, failed builds and packing.
Reduce 3D Printing Cost With Sensible Tolerance
Tight tolerance everywhere is expensive and often unnecessary. Mark the critical holes, mating faces, sliding rails or threaded features. Let non-critical surfaces stay under normal process tolerance. If a hole can be drilled or reamed after printing, say so. If a cosmetic face cannot be touched, say that too.
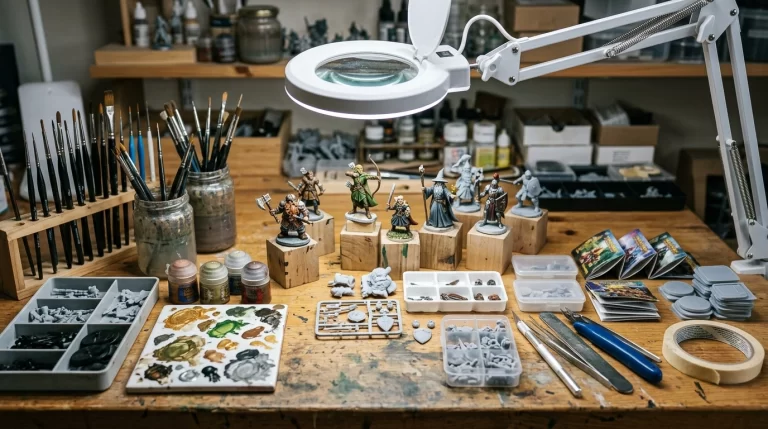
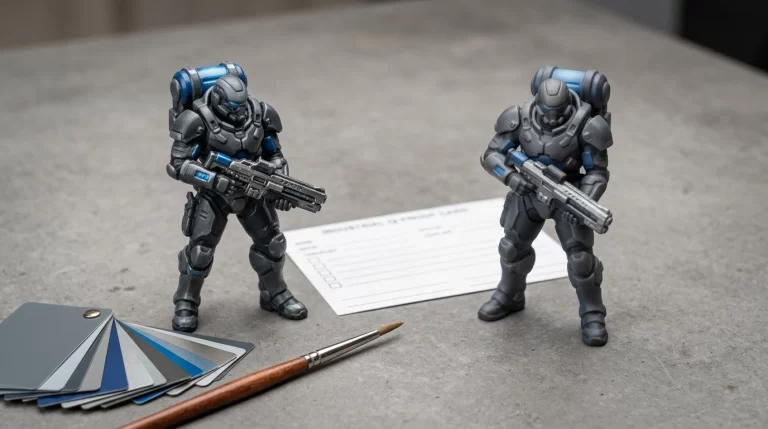
Finish level should also be honest. A hidden bracket does not need the same sanding as a retail gift. A prototype used for fit check may not need paint. A transparent resin part may need polishing and coating that changes the whole cost structure. Do not ask for premium finish on surfaces nobody will see.
Batch Quantity Can Lower or Raise Cost
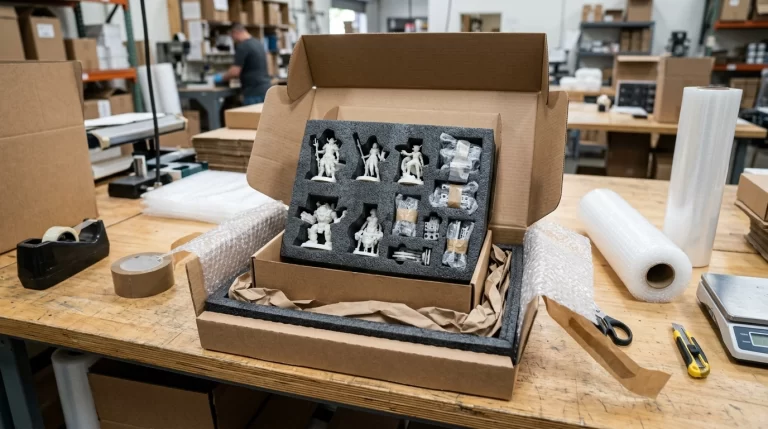
Batching can reduce setup and handling cost, but only when the parts nest well, finish consistently and pack safely. A larger batch of fragile parts can increase breakage risk if packaging is not planned. A larger batch of painted parts can expose color drift if the sample standard is vague.
The NIST additive manufacturing page is a useful general reference, but the buying decision is practical. To reduce 3D printing cost, send a clean file, name the real use, control only the critical features, choose finish by surface importance and plan packaging before the batch is printed. Cutting the wrong corner is not savings. It is delayed rework.
One cost note I like to ask is this: “Which surfaces can stay raw?” If the buyer can identify hidden faces, internal areas or non-cosmetic sides, finishing labor can be reduced without weakening the part. The same logic applies to color. Painting the full part costs more than painting only visible faces or using dyed nylon where the surface target allows it.
Shipping volume can also surprise buyers. A fragile part may need a larger box than its size suggests. A batch of small figurines may need individual protection. To reduce 3D printing cost honestly, include packaging early so the saved print cost is not lost in broken parts or oversized freight.
Another quiet cost is communication rework. A vague RFQ may get a fast number, then three rounds of correction after the supplier discovers the real finish, color, deadline or assembly requirement. A better first email can reduce 3D printing cost without touching the part. It cuts quoting time, sample confusion and late changes.
I would not remove inspection to save money on a batch that must fit, sell or ship overseas. Choose smarter inspection instead. Check the critical holes, visible faces, color, quantity and packing. Skipping QC is cheap only until the buyer opens the carton and finds the same preventable problem repeated across the whole order.
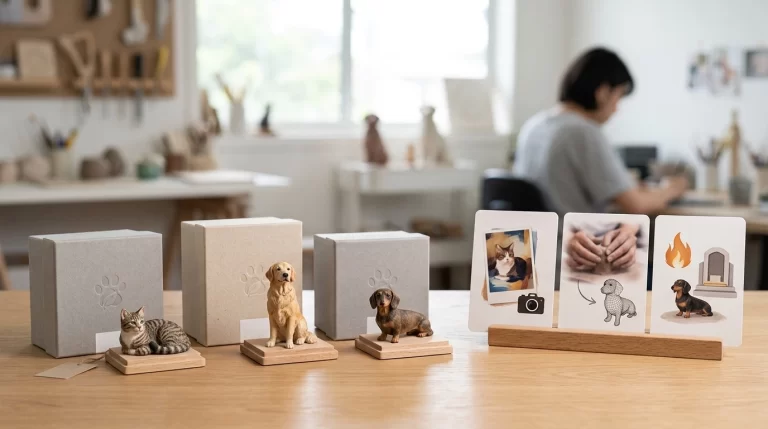
Design reuse can save money without weakening the product. If a brand needs several souvenir variants, keep the same base and change only the top model or printed text. If a fixture family uses the same mounting pattern, keep that interface stable. Reusing controlled features can reduce drawing checks, packing changes and assembly surprises across a product line.
Supplier selection matters too, but not in the empty “choose a good supplier” way. Ask what the quote includes: repair, support removal, curing, dyeing, painting, inspection, packing and export cartons. A low print price with missing steps is not the real cost.