Prototype to small batch 3D printing is not one jump from a CAD file to a carton of finished parts. The safer route is slower at the beginning: review the file, print a prototype, adjust the design, approve the finish, run a pilot batch, check packaging, then scale the quantity. Skipping those steps can make the first batch look fast and the rework painfully slow.
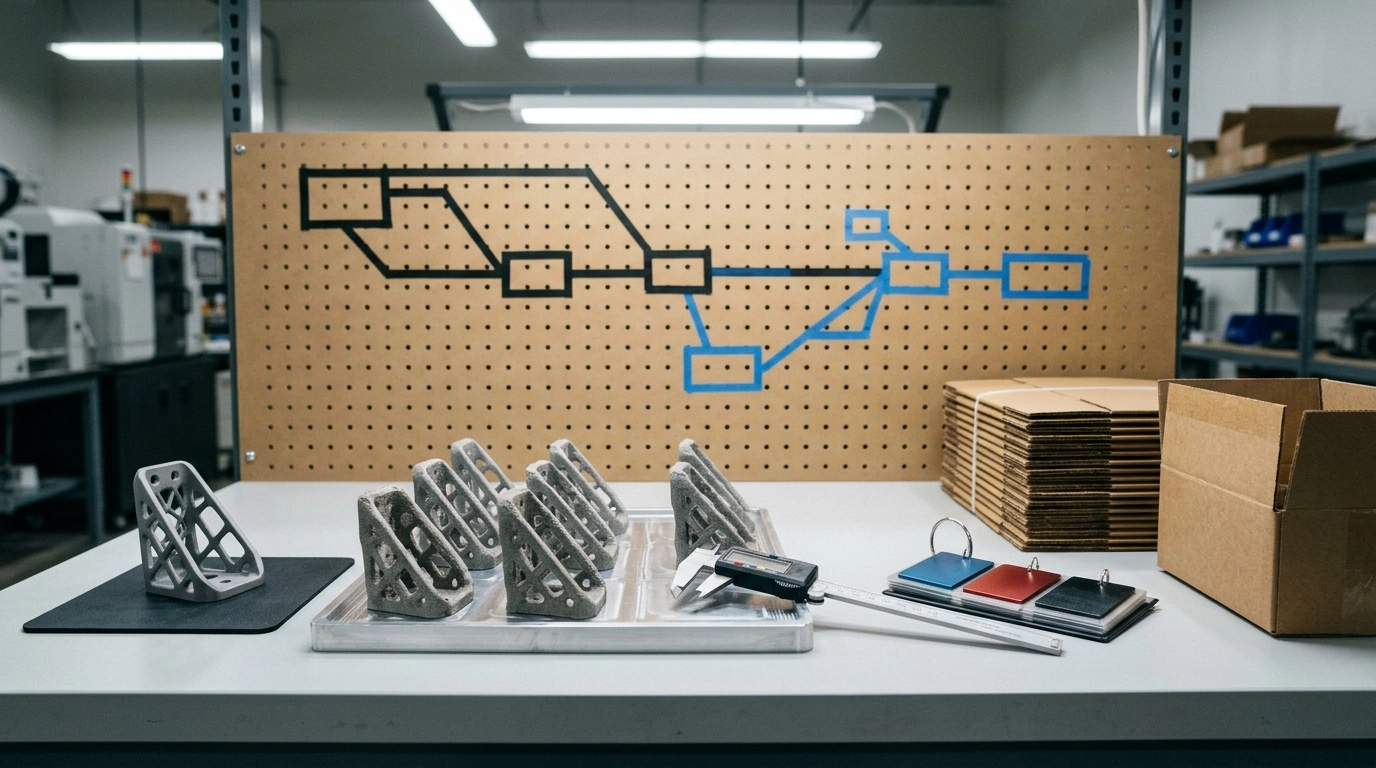
I treat the first print as a question. Does the geometry work? Does the material feel right? Does the finish match the buyer’s expectation? Are the weak details still weak after handling? A prototype answers those questions better than a quote sheet, but only if the team is willing to adjust the file after seeing the part.
Prototype to Small Batch 3D Printing Starts With File Review
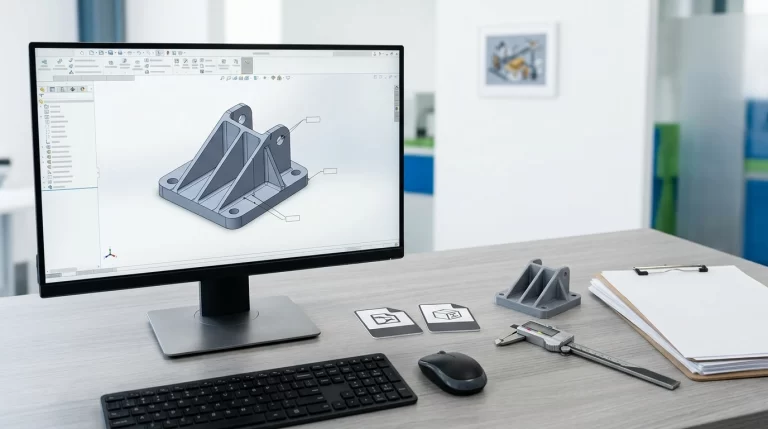
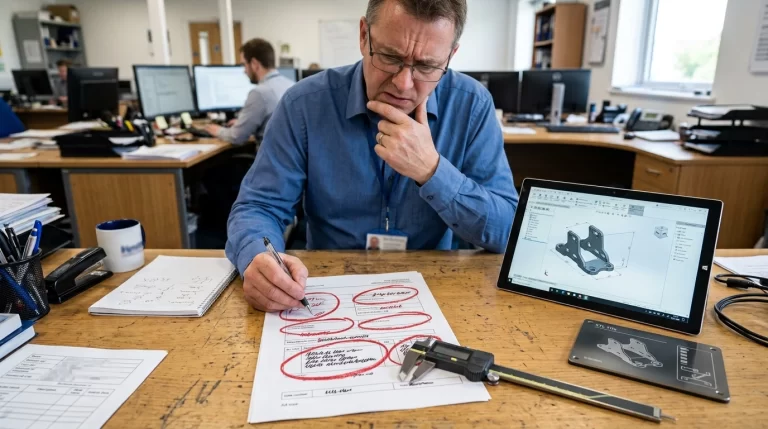
The file review should catch obvious production risks: thin walls, unsupported features, trapped powder, missing scale, impossible tolerance, bad split lines and surfaces that will be hard to finish. This is where a project can save money without touching material quality. A small wall change or better orientation can reduce support scars and finishing time.
For file problems, 3D printing file preparation is the internal checklist I would connect here. For cost decisions, 3D printing cost reduction explains why design and finishing choices often matter more than chasing the lowest print price.
The First Prototype Should Not Be Over-Approved
A first prototype is useful, but it is not always the production reference. It may be printed in a faster material, left unpainted, or made with a finish that is good enough for shape review. If the buyer approves that part as the bulk standard without naming the differences, the batch target becomes unclear.
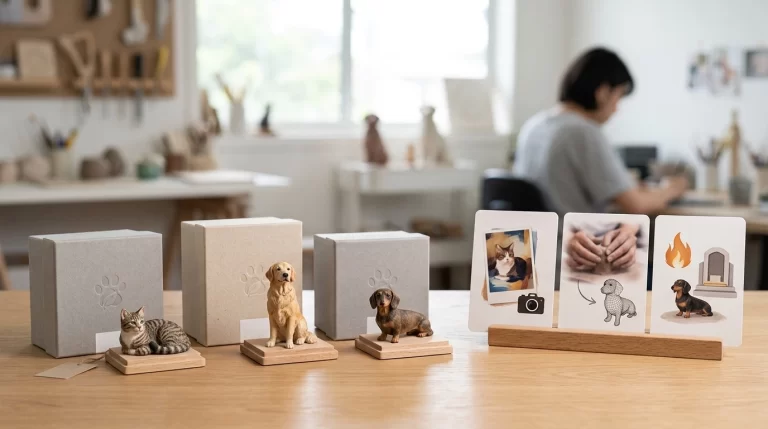
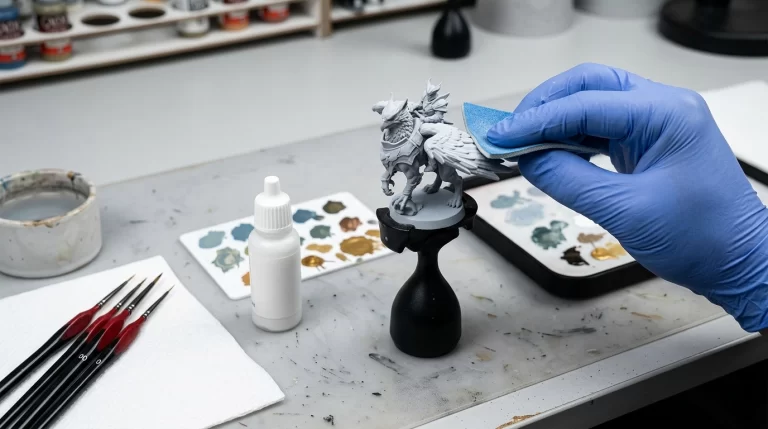
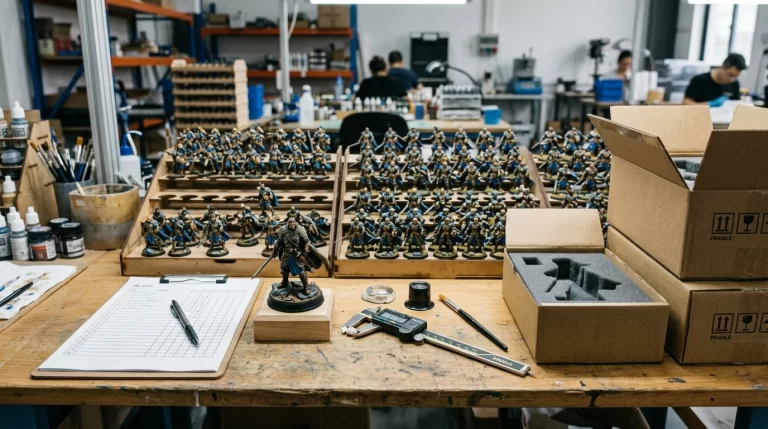
I prefer a split approval: geometry approval, material approval, finish approval and packaging approval. A nylon functional part may need fit and movement tests. A resin figurine may need color and surface review. A corporate gift may need logo size, base flatness and box fit. These approvals do not need to be fancy, but they need to be written down.
Pilot Batch Before Full Quantity
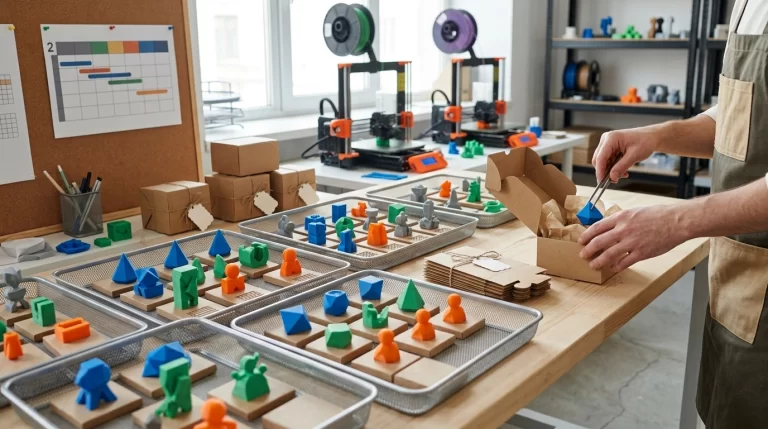
A pilot batch catches problems that one sample cannot show. Parts may nest differently in the build. Painting may take longer than expected. Dyed nylon may show color variation. Thread inserts may need a fixture. Packaging may be too slow for the planned lead time. Ten or twenty pieces can reveal a process problem before five hundred pieces repeat it.
When small-batch plastic production gets close to repeated quantities, compare 3D printing with other routes. Vacuum casting vs 3D printing is useful when the buyer needs dozens of similar plastic parts. engineering plastic 3D printing cost helps when quantity and tooling tradeoffs start to matter.
QC and Packing Close the Loop
Small batch does not mean no quality control. Check critical dimensions, visible surfaces, color, fit, quantity and packing before shipping. For gifts, compare against the approved sample. For functional parts, check the features that actually matter, not every surface equally. A batch can be acceptable even with normal process marks if those marks were agreed in the sample stage.
The NIST additive manufacturing resource is a useful process reference, but the buyer’s workflow still has to be practical. Prototype to small batch 3D printing works best when each stage answers a specific question. Shape, material, finish, fit, packaging and QC should be confirmed before the order becomes a pile of finished parts waiting for an argument.
Prototype to Small Batch 3D Printing Needs Written Change Control
Small changes should not float around in chat history. If the wall is thickened, the color changes, the base gets a logo, or the packaging changes from bag to box, record it. A supplier can quote and produce more accurately when the approved file version and sample notes are clear. This matters even for small orders because many small-batch failures come from version confusion, not machine failure.
For Zesmir-style RFQs, the buyer should separate sample price, pilot batch price and production price. That makes it easier to see where cost enters: model repair, print time, finishing, QC, packing or shipping volume. Prototype to small batch 3D printing becomes much easier to manage when the buyer does not ask one number to cover three different stages.
One practical habit helps a lot: keep the failed prototype notes. Do not only save the approved file. The early version may show why a wall was thickened, why a clip was removed, why the part was split, or why the finish changed from glossy to matte. Those notes protect the next order from repeating the old mistake.
Prototype to small batch 3D printing is useful because it lets a buyer learn before committing. That advantage disappears if every learning step is treated as informal chat. A small revision log, sample photos and batch inspection notes are enough. The point is not paperwork; the point is making the second batch easier than the first one.
When the order includes several similar parts, I would also check whether they should run together or separately. Mixing different colors, materials or finish levels in one small batch can create confusion during inspection and packing. A clean batch plan may look slower on paper, but it usually reduces wrong labels, mixed versions and avoidable remake work.