Prepare STL and STEP files for 3D printing quote work before you ask for price, not after the supplier has already opened the model and found three missing details. A quote can be fast only when the file tells enough of the truth: size, units, wall thickness, tolerance, material target, finish and what the part is supposed to do. I normally look at the file first, then the email. If the file and the email disagree, the quote slows down.
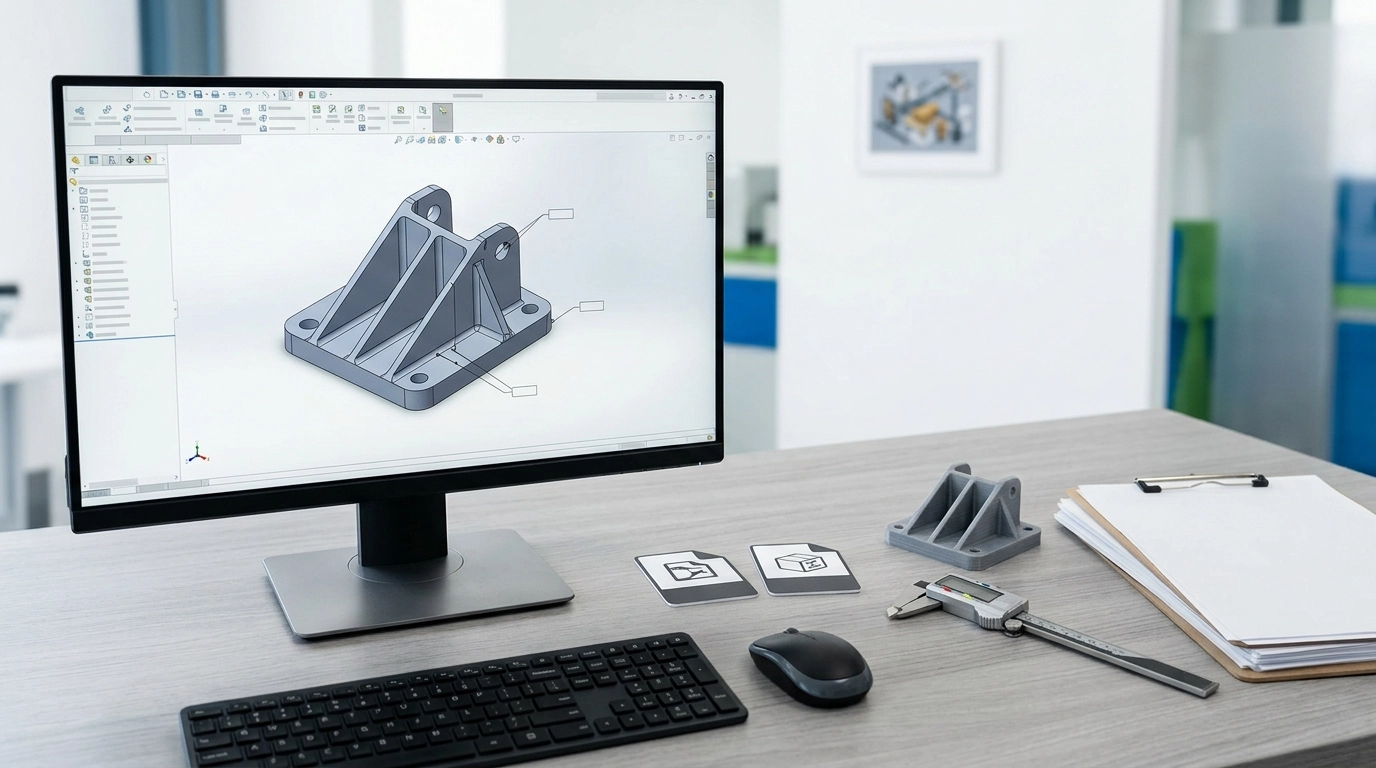
The most common mistake is sending only one file and assuming it answers every manufacturing question. STL and STEP do different jobs. STL describes a mesh. STEP carries solid CAD geometry. A screenshot carries almost no manufacturing data. For a simple visual model, a clean STL may be enough. For a machined metal insert, threaded hole, tight assembly feature or part that may need CNC finishing, I would rather see STEP as well.
Prepare STL and STEP Files for 3D Printing Quote With the Right Geometry
An STL file can look fine in a viewer and still be bad for quoting. Non-manifold edges, flipped normals, open shells, overlapping surfaces and tiny loose triangles can all confuse slicing or repair software. Sometimes the model prints after repair, but the quote has already changed because repair time and risk were not visible in the first request.
I check whether the STL is watertight, whether the model has the expected scale, and whether thin features are actually thick enough for the process. A decorative resin logo, a small snap tab and a nylon hinge do not share the same minimum wall logic. If the model has functional faces, holes or mating surfaces, the STL alone may hide design intent. That is where STEP helps.
STEP files preserve clean edges, cylinders, planes and hole locations. They are easier to inspect for dimensions and easier to modify when a supplier needs to add machining allowance, split a large part, thicken a weak wall or adjust a thread. If you only have STL because the model came from scanning or sculpting, say that clearly. Do not pretend it is a controlled engineering model.
For deeper file checks, keep 3D printing file preparation nearby. If the part is dimension-sensitive, compare the model against 3D printing accuracy parameters before treating a quote as final.
Units, Scale and Wall Thickness Are RFQ Traps
Unit mistakes are boring until they cost a full day. A file may be designed in inches and opened as millimeters. A figurine may be 80 mm high in the buyer’s mind and 8 mm high in the STL. A fixture may be scaled down for email preview and never scaled back. Write the final size in the RFQ notes even when the CAD file looks obvious.
Wall thickness is another quiet trap. A shell model from product rendering may have surfaces but no real thickness. A hollow figure may have thin fingers, hair tips, ears or clothing folds that are easy to break. A functional bracket may have ribs that look strong on screen but become weak after orientation, support removal or sanding. If the model was designed only for rendering, say so. That tells the supplier to inspect it differently.
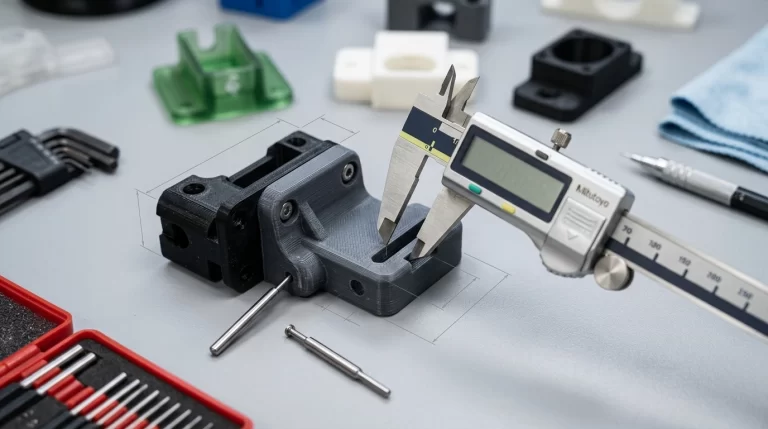
For tolerance expectations, use the article on engineering plastic 3D printing dimensional accuracy as a reference point. A CAD dimension is a target, not a promise that every process will hold it without compensation or post-processing.
Prepare STL and STEP Files for 3D Printing Quote With Process Notes
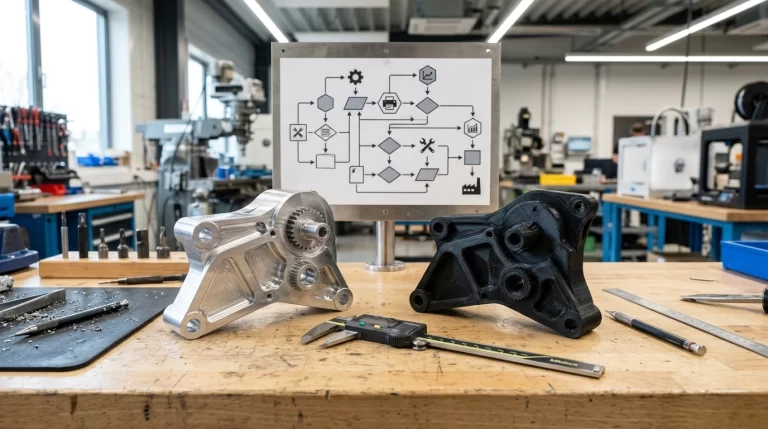
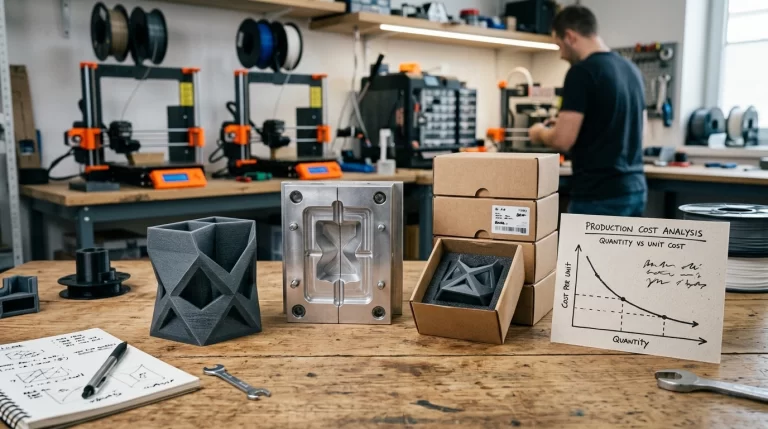
A quote is not only geometry. The same file can be SLA resin, SLS nylon, MJF nylon, FDM plastic, SLM metal or CNC-machined after printing. Each route changes cost and risk. A smooth display model may need SLA. A moving nylon assembly may fit SLS or MJF better. A metal bracket may need support strategy, heat treatment and machining allowance. If the buyer does not name the process, the supplier has to guess from use case.
Do not over-specify when you are unsure. Instead of writing “must be PA12” without reason, write “needs toughness, black surface, light assembly load and 100 pieces.” Instead of writing “0.02 mm tolerance everywhere,” mark the two holes or mating faces that actually need control. The quote becomes more realistic because the supplier can spend accuracy where it matters.
The ISO/ASTM 52900 additive manufacturing vocabulary is useful for keeping process terms clear. It will not fix a bad RFQ, but it helps buyers and suppliers avoid using the same word for different manufacturing routes.
What I Would Put in the RFQ Email
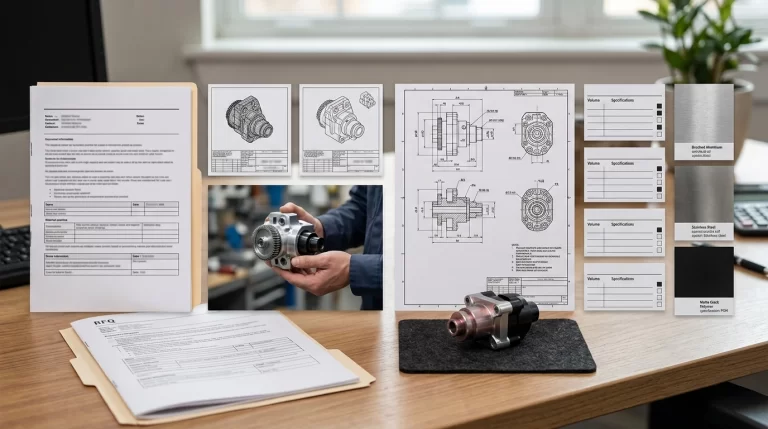
Attach STL for mesh review and STEP for engineering review when both exist. Mention the final size and unit. State quantity, material preference, surface finish, color, use environment, assembly requirement, critical dimensions and deadline. If the part will be painted, polished, dyed, plated, tapped, glued or packaged for retail, include that before the first quote. Finishing can cost more than printing on some jobs.
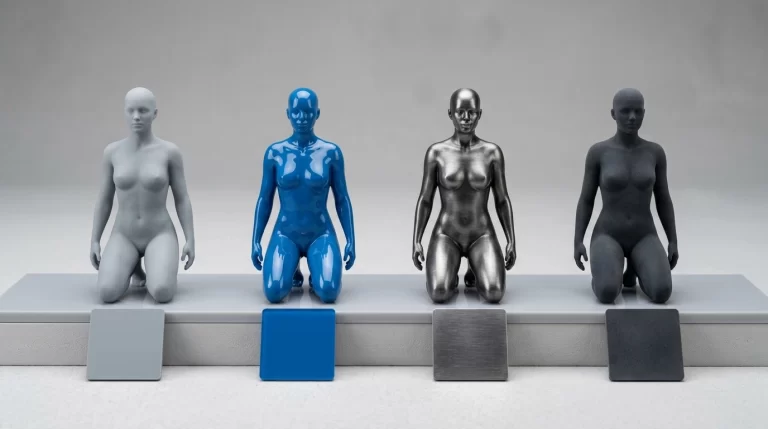
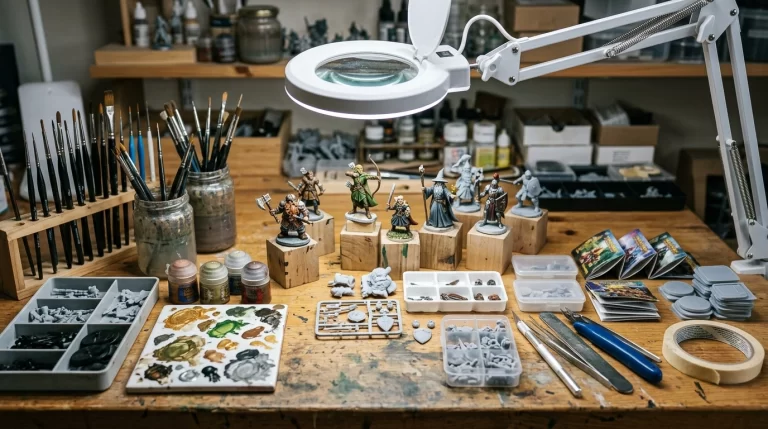
If you are sending a figurine or gift model, add reference photos, expected height, base style, paint level, packaging plan and whether one sample must be approved before batch production. If you are sending an engineering part, add load direction, heat exposure, mating parts, insert/thread requirements and inspection points. These notes make the quote less pretty and more useful.
A supplier can often quote from incomplete files, but the price may be provisional. The cleaner approach is simple: prepare STL and STEP files for 3D printing quote review, then send the manufacturing context in the same message. That gives the first number a better chance of surviving file review, sample approval and production planning.
I would treat prepare STL and STEP files for 3D printing quote work as part of buying discipline, not as extra engineering ceremony.