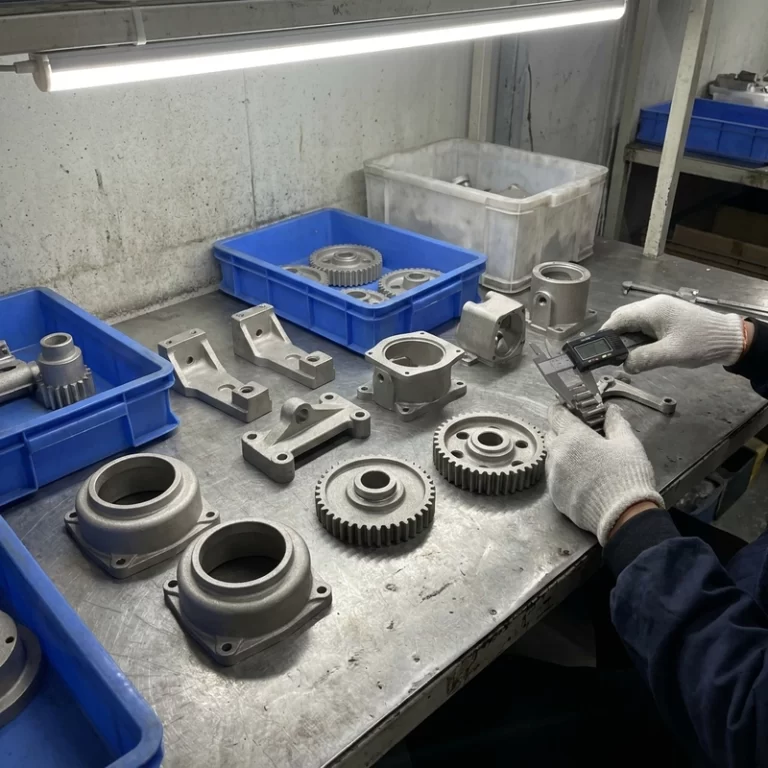
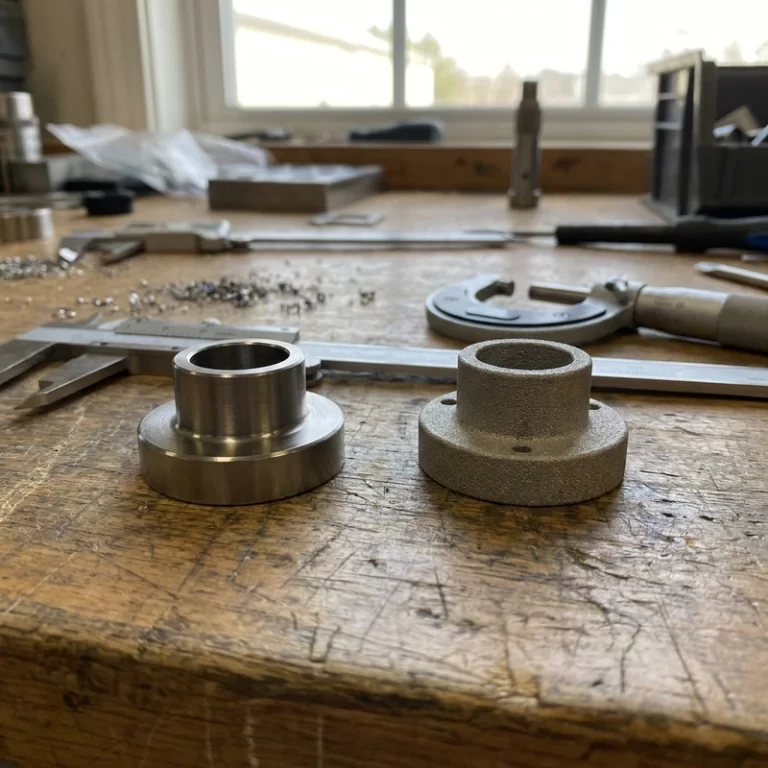
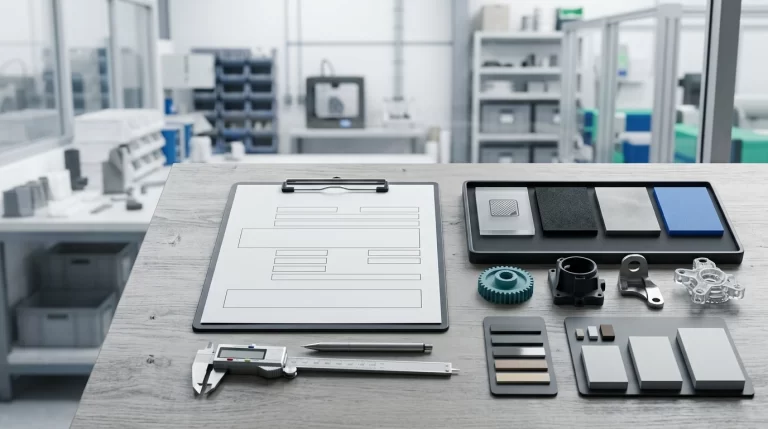
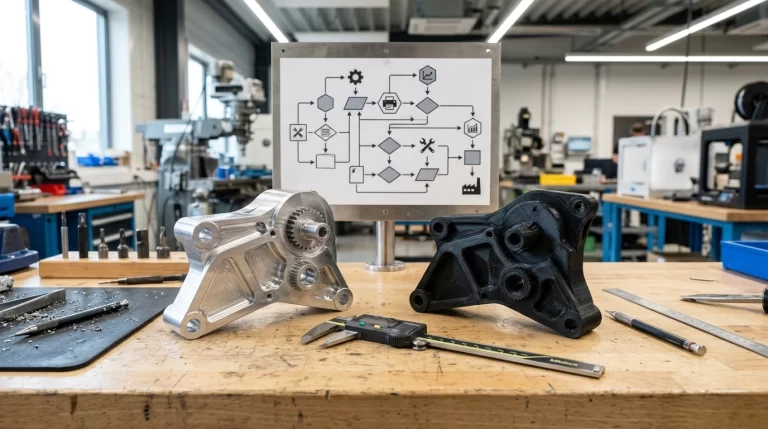
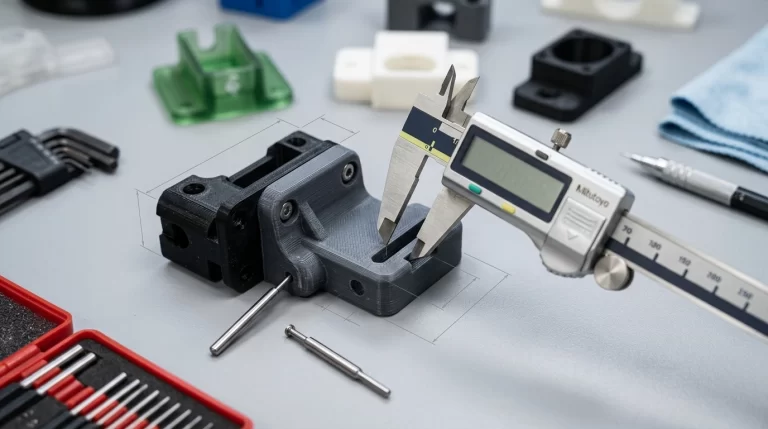
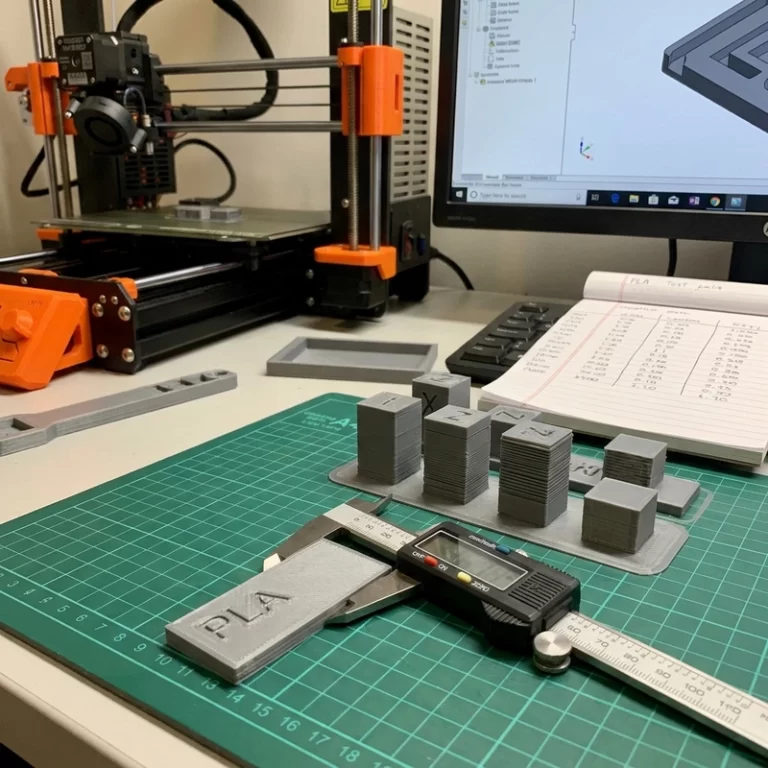
CNC machining after 3D printing is often the cleanest way to combine complex printed geometry with reliable functional surfaces. Printing can create channels, lightweight shapes, organic brackets, and low-volume custom bodies. CNC can finish the holes, threads, sealing faces, bearing seats, flat pads, and datum surfaces that printing alone may not control tightly enough.
I do not think of this as fixing a failed print. I think of it as planning the real manufacturing route. The mistake is printing a part with no machining allowance, then asking the machinist to make a surface accurate when there is no stock left to cut.
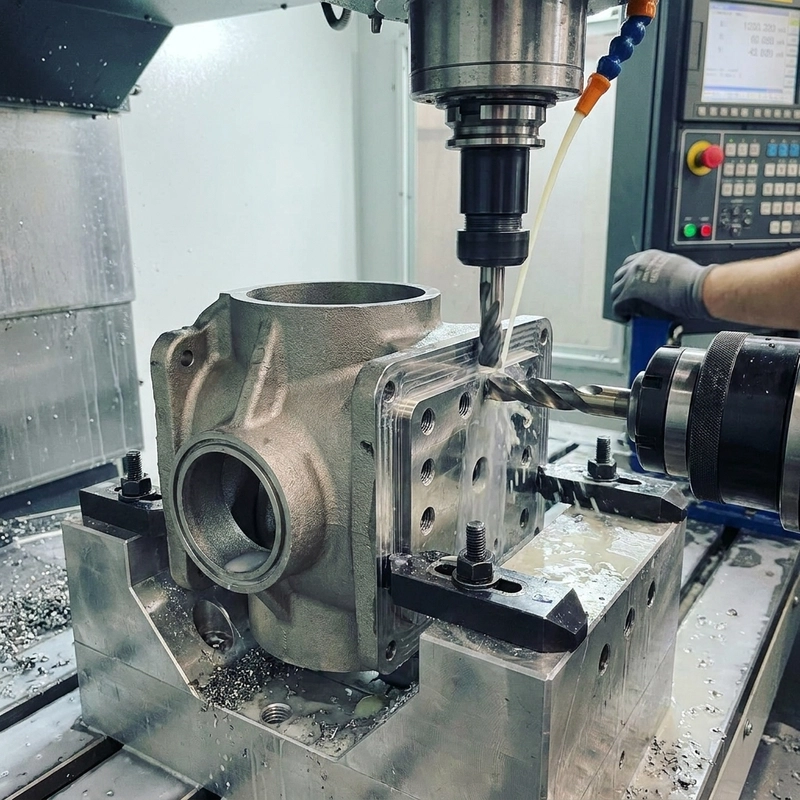
CNC machining after 3D printing is for controlled interfaces
Use CNC finishing when a feature controls assembly, sealing, motion, or measurement. Printed holes can be undersized or rough. Printed threads may wear or fail. Sealing faces need flatness and surface finish. Bearing seats need roundness. Mounting pads may need parallelism. These are machining jobs even when the rest of the part is printed.
The buyer should mark those features before the quote. If every surface is marked critical, cost rises quickly. If no surface is marked critical, the part may print cheaply and fail in assembly. The file-preparation article on 3D printing file preparation is the upstream version of this same problem.
Fixture planning has to happen before printing
A printed part may not have flat rectangular faces for clamping. Organic shapes, lattice brackets, curved housings, and thin metal parts can be difficult to fixture safely. I look for datum pads, sacrificial tabs, extra stock, or reference surfaces that can survive printing and give the machinist something reliable to hold.
Metal parts may need stress relief before machining so they do not move after supports are cut. Resin parts may need full post-curing before a tight feature is cut or measured. Nylon parts may need drying or stable conditioning depending on the application. The post-processing article on metal 3D printing post-processing is especially relevant for SLM parts.
CNC machining after 3D printing needs allowance
Allowance is extra material left for cutting. Too little allowance means the cutter cannot clean the surface. Too much allowance wastes print time, material, and machining time. The right amount depends on process accuracy, distortion risk, feature size, and final tolerance. I would rather define allowance on the drawing than let it be guessed later.
This hybrid thinking shows up in many metal 3D printing industrial applications. Print the shape that is hard to machine. Machine the surfaces that must be precise. Do not ask one process to do both jobs perfectly.
Material changes the CNC machining after 3D printing plan
Metal printed parts are the obvious candidates, but they are not the only ones. SLS nylon may need drilled holes, reamed bushings, or tapped inserts. SLA resin may need a cleaned flat face for a display fixture or a drilled pilot hole for a temporary assembly. The cutting method and clamping force should match the material, not just the drawing.
Metal parts may move after stress relief or support removal. Resin can chip if the cutter grabs a brittle edge. Nylon can deflect if clamped too hard. I would not use the same fixture logic for all three. The process route should say when machining happens, how the part is held, and which surfaces become datums.
Inspection should happen after the final operation that can change the feature. If a hole is printed, cured, sanded, then drilled, measure it after drilling. If a sealing face is machined after blasting, inspect it after machining. CNC machining after 3D printing only helps if the final measurement follows the final cut.
A typical metal route might be: print with machining allowance, stress relieve, remove from the plate, cut supports, rough clean, fixture on planned datums, machine holes and faces, then inspect. Changing that order can change the result. Machining before stress is relieved can lead to movement later. Inspecting before the final cut tells you very little.
For nylon and resin, the sequence is different but the principle is the same. Clean and cure before judging resin dimensions. Depowder and condition nylon before final fit checks. Machine or drill only after the material is stable enough for the feature being controlled.
For RFQ notes, I mark the machined features directly: “ream these two holes”, “tap M4 after printing”, “machine this sealing face”, or “leave stock on this datum pad”. CNC machining after 3D printing works best when the machine shop sees the intention before the part is printed.
| Feature | Printing risk | CNC operation |
|---|---|---|
| Hole | Undersized, rough, or oval | Drill, ream, or bore |
| Thread | Weak or inaccurate form | Tap or thread mill |
| Sealing face | Roughness and waviness | Face mill or grind |
| Bearing seat | Poor roundness | Bore to size |
| Mounting pad | Support scars or distortion | Machine flat datum |
ISO/ASTM 52900 gives useful additive manufacturing vocabulary, but the shop decision is practical. CNC machining after 3D printing is worth planning when a printed part has a few surfaces that must assemble, seal, rotate, slide, or measure correctly. Mark them early, leave stock, and build the quote around the finished part, not just the printed body.