3D printing file preparation is the difference between a quick quote and three rounds of clarification. A printable STL is not always a manufacturable file. A clean STEP model still needs units, material, quantity, tolerance, finish, and notes about the surfaces that actually matter.
When a quote goes wrong, the problem is often not the printer. The file may have no scale, no wall-thickness intent, no material target, no assembly context, or no note that a certain hole must fit a real pin. The supplier can print a shape and still miss the job.

3D printing file preparation starts with STL vs STEP
STL is a mesh. It works well for many visual models, figurines, scanned objects, and simple prototypes. The downside is that it approximates surfaces with triangles. If the mesh is coarse, curves look faceted. If the mesh is damaged, it may contain holes, non-manifold edges, or flipped normals.
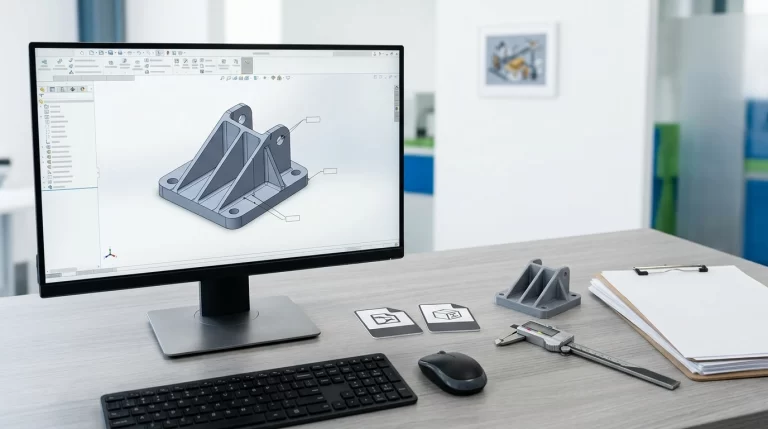
STEP is usually better for engineering parts because it preserves solid geometry and is easier to inspect or modify. Holes, mating faces, machining allowance, and assembly features are easier to understand from STEP. When possible, I like receiving both: STEP for engineering review and STL if the customer has already approved a mesh shape.
Wall thickness and small features need process context
A wall that survives in SLA may be too fragile in FDM. A small channel that looks fine in CAD may trap powder in SLS. A metal overhang may need supports that scar the surface. Thin pins, tiny text, narrow slots, screw bosses, snap hooks, and internal cavities should be checked against the chosen process before the quote is treated as final.
The support article on 3D printing support design is useful here because support access can change cost, finish, and even whether the part can be cleaned.
3D printing file preparation should mark critical surfaces
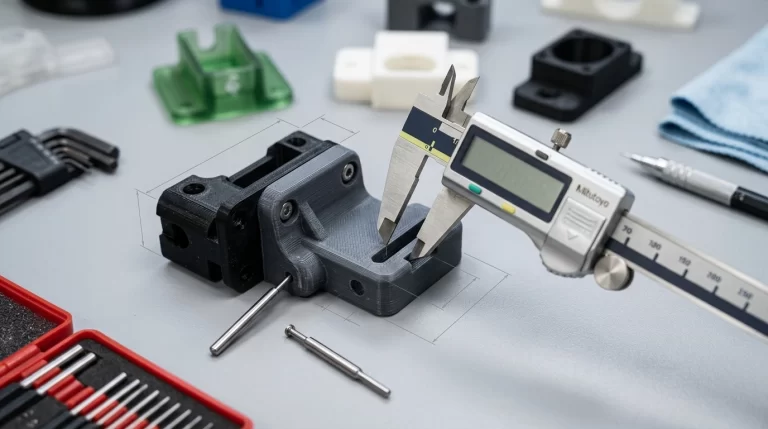
Do not make the supplier guess which face is cosmetic. Mark visible faces, sliding faces, sealing faces, holes for metal inserts, datum surfaces, and areas that should avoid support marks. If the part will be painted, machined, tapped, dyed, or assembled, say that before quoting.
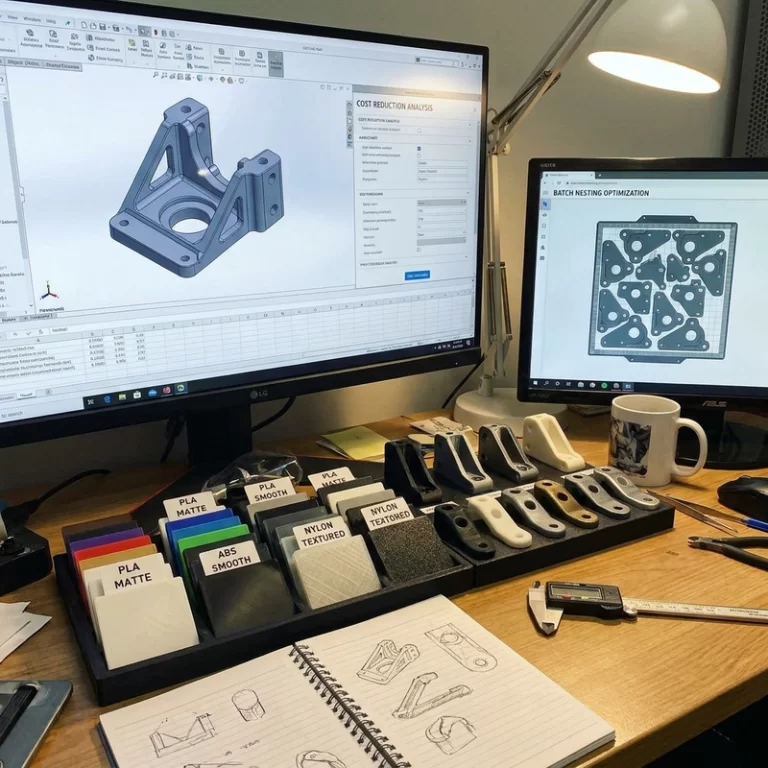
For cost control, this connects directly to 3D printing cost reduction. A clear file lets the supplier quote the right finish and tolerance only where needed. A vague file either gets a risky low quote or an expensive safe quote.
| RFQ item | Why it matters | Common miss |
|---|---|---|
| Units | Prevents scale mistakes | Inch/mm mismatch |
| STEP file | Supports engineering review | Only coarse STL sent |
| Material target | Controls process choice | Color named instead of resin grade |
| Critical surfaces | Controls support and machining | Cosmetic face not marked |
| Quantity | Controls batch planning | Sample and production mixed together |
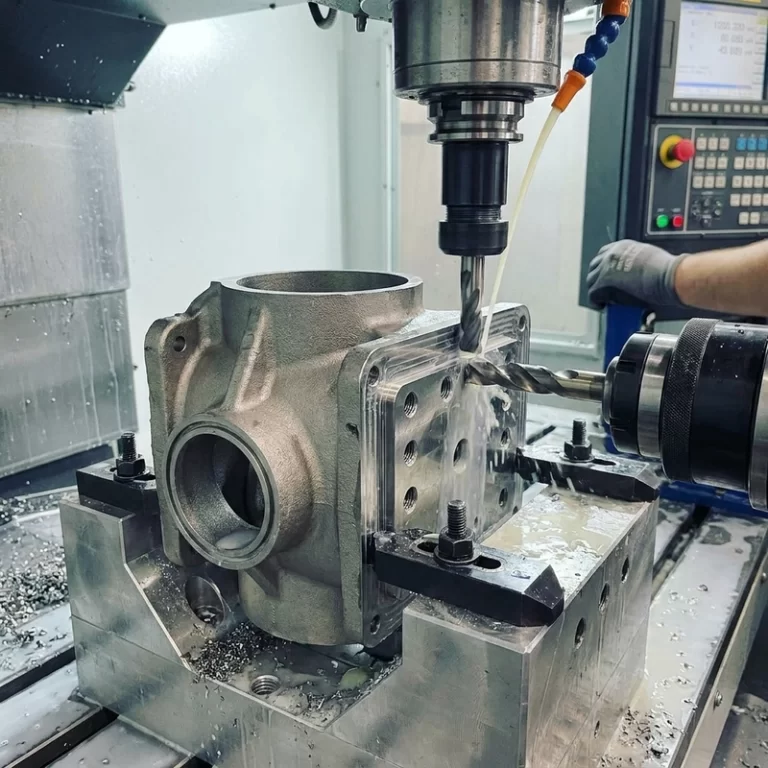
If machining is expected, add stock or at least say which features need machining. The hybrid article on CNC machining after 3D printing explains why printed holes and final holes are not always the same thing. ISO/ASTM 52900 is useful for process terms, but good 3D printing file preparation is still mostly practical: clean model, clear units, real use case, and no hidden critical features.
Repair the file before the quote, not after failure
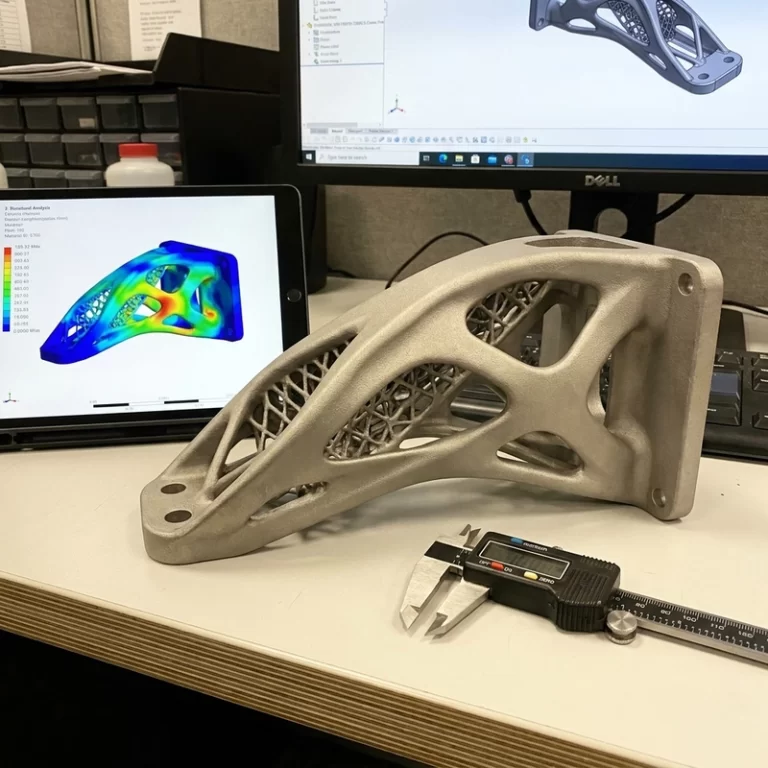
Mesh repair is not glamorous, but it saves time. Open edges, duplicate shells, self-intersections, inverted normals, and tiny loose bodies can all confuse print preparation. A slicer may repair some problems automatically, but automatic repair can close holes, thicken details, or change geometry in ways the designer did not intend.
For sculpted models, I check whether the mesh is watertight and whether fine features are large enough for the process. For engineering parts, I prefer STEP plus a simple drawing note for tolerance and critical features. 3D printing file preparation should make the manufacturing intent visible before the price is calculated.
Revision control matters too. If a buyer sends `final.stl`, then `final-new.stl`, then a screenshot with a changed hole size, mistakes become likely. Use a clear file name, date, unit, and revision note. A quiet file-name habit can prevent a very real production mistake.
I also like a short RFQ note beside the CAD file. It can be plain English: material target, quantity, finish, visible faces, critical holes, assembly hardware, and whether the first order is a sample or batch. That note often answers more manufacturing questions than a screenshot.
For photo-to-model or sculpted gift work, the file package is different. Reference photos, target size, pose, color expectation, and packaging matter more than engineering tolerance. For industrial parts, STEP, drawing notes, and critical dimensions matter more. 3D printing file preparation should follow the type of work, not one universal upload habit.
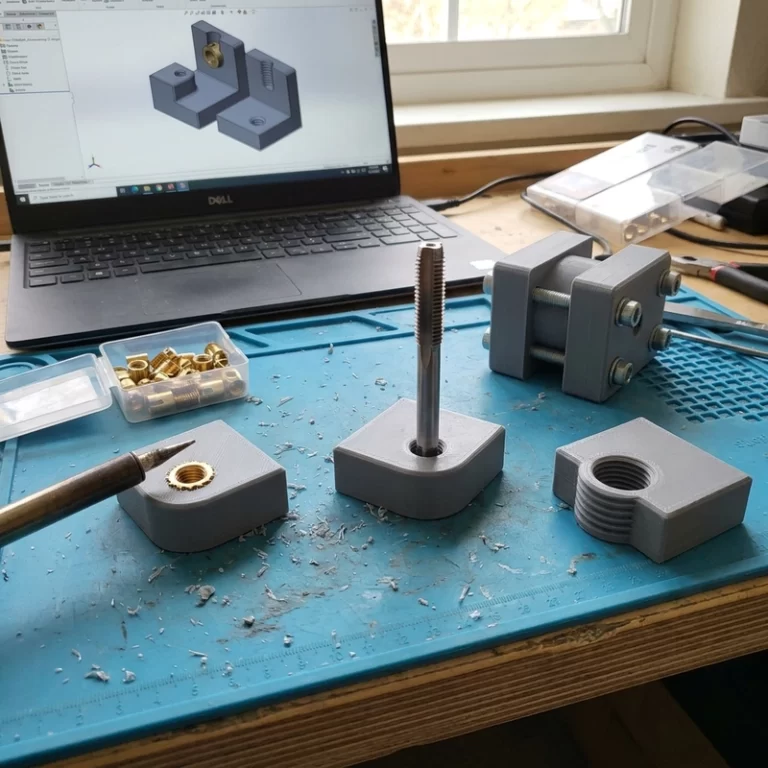
If the part has threads, do not assume modeled threads are the best manufacturing choice. It may be better to print a pilot hole and tap it later, use an insert, or machine the feature after printing. Put that expectation in the RFQ instead of leaving it to be discovered after the sample arrives.
The same goes for color and finish. A file named with the material is not enough. 3D printing file preparation should say whether the part is raw, dyed, painted, polished, sealed, or machined, because those choices change both price and manufacturability.