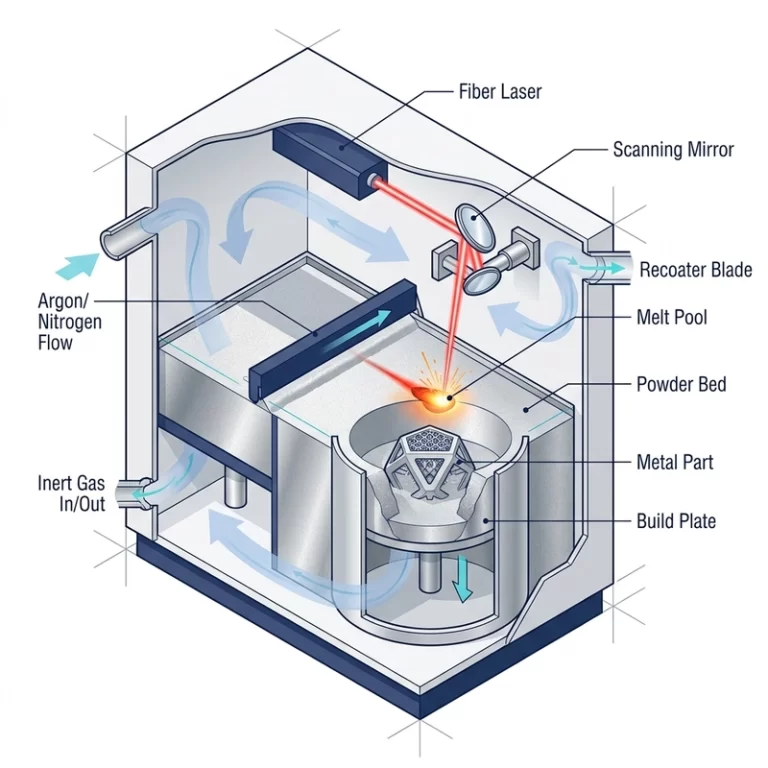
Binder jetting 316L stainless steel should be judged as printing plus sintering, not as a single metal-print button. The green part is formed with binder in a powder bed, then cured, depowdered, and sintered so the metal particles bond. That furnace step is where shrinkage, density, and final accuracy become real.
I like binder jetting for the right stainless parts, but I do not treat it like SLM. A binder-jetted part can be attractive for batches, complex shapes, decorative metal items, and lower-stress components. If the buyer expects fully dense laser-melted behavior or tight as-printed holes, the discussion needs to slow down.
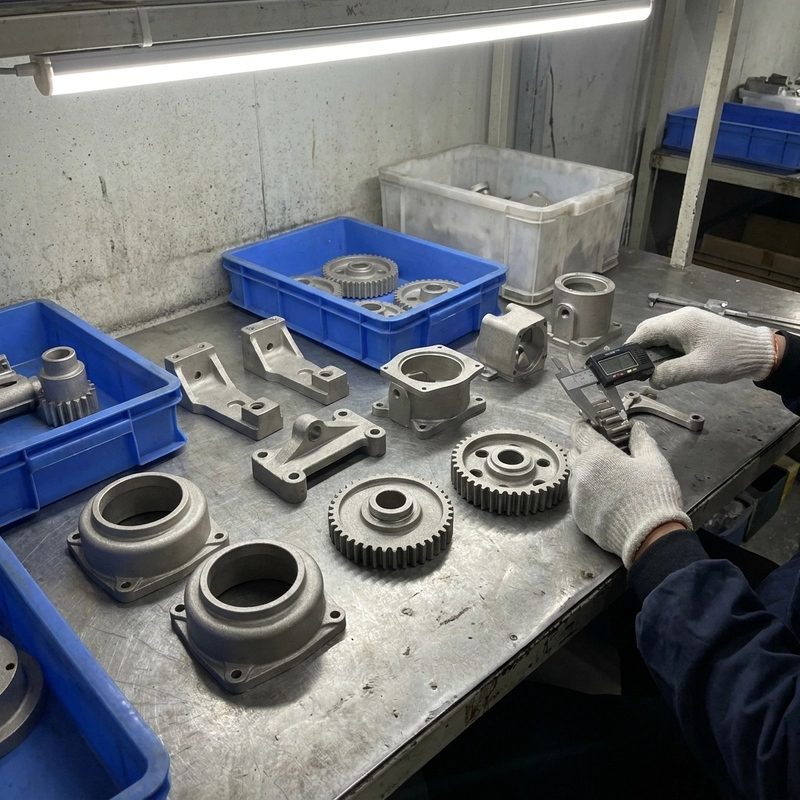
Binder jetting 316L stainless steel has a shrinkage problem to plan for
The printed green part is larger than the final part because sintering causes shrinkage. Software and process rules compensate, but geometry still matters. Thick sections, thin ribs, long flat shapes, and parts with uneven mass can move differently in the furnace. A simple coupon does not prove every production shape will behave the same.
For a serious RFQ, I want to know which dimensions are allowed to move and which ones must be controlled after sintering. Holes, threads, sealing faces, and bearing seats often need machining. The hybrid discussion in CNC machining after 3D printing applies here as much as it does to SLM.
Density is not just a line in the brochure
Binder jetting does not melt the metal during the print. Final density depends on powder packing, binder behavior, debinding, sintering cycle, atmosphere, and sometimes infiltration or post-treatment. For decorative or lightly loaded parts, that may be acceptable. For fatigue-loaded or pressure-related parts, density and internal defects need more inspection.
316L stainless steel is corrosion-resistant in many normal environments, but the final part is only as good as the process route. I would not claim a binder-jetted 316L component is suitable for a critical use without density data, mechanical requirements, and inspection. For broader metal process terminology, NIST additive manufacturing is a safer neutral reference than supplier marketing.
Surface finish needs an honest expectation
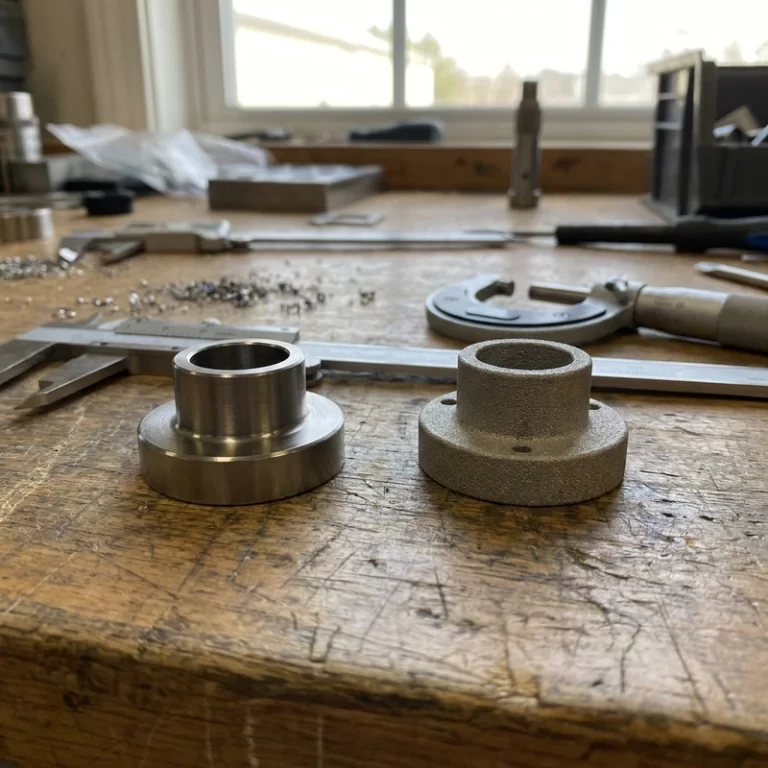
As-sintered binder jetting surfaces are usually not the same as machined stainless. They may be matte, slightly porous-looking, or grainy depending on powder and finishing. Blasting, polishing, tumbling, passivation, or machining can improve the result, but each adds cost and may change dimensions.
If the part is visible, ask for finish samples. If it is functional, ask which surfaces are machined and which remain as-sintered. The post-processing article on metal 3D printing post-processing is a useful companion before approving a batch.
Binder jetting 316L stainless steel before and after sintering
The green part stage is easy to ignore because buyers usually never see it. It matters anyway. Thin walls, tall unsupported features, and delicate edges can be damaged before sintering. If the design is fragile before it becomes metal-solid, the process route needs support from geometry, handling, or part orientation.
After sintering, I check whether the part has enough stock for any finishing operation. A hole that will be machined should not be designed as a final-size as-sintered hole unless the process owner confirms that route. A surface that needs polishing should be accessible. A batch part should have a plan for checking shrinkage on representative locations, not only the easiest dimension.
I would avoid binder jetting 316L stainless steel when the part depends on very tight as-sintered tolerance, unknown fatigue performance, or a surface that cannot be reached for finishing. That does not make the process weak. It just means the design is asking the wrong route to do the wrong job.
For batch approval, I would use a first article or a small pilot run rather than jumping from one nice sample to full quantity. Measure the dimensions that are likely to move during sintering. Cut or inspect representative areas if density matters. Check the surface after the exact finishing route, not after a quick shop cleanup.
Binder jetting 316L stainless steel also needs a clear conversation about corrosion expectations. 316L is a familiar stainless alloy, but surface condition, porosity, passivation, and environment still matter. I would not turn the material name into a blanket corrosion guarantee without the finishing and use conditions written down.
My RFQ note would also separate prototype intent from batch intent. A first sample can prove geometry and finish direction. A batch needs shrinkage repeatability, furnace control, and inspection rules. Binder jetting 316L stainless steel is easier to approve when those two stages are not blurred together.
| Issue | Why it matters | Practical RFQ note |
|---|---|---|
| Sintering shrinkage | Changes final size and shape | Identify critical dimensions |
| Green part fragility | Handling damage before sintering | Avoid unsupported delicate features |
| Density | Affects strength and leak risk | Define inspection level |
| Surface finish | As-sintered may be rough | Request sample or finish route |
| Machining | Controls holes and faces | Add machining allowance |
Binder jetting 316L stainless steel makes sense when the geometry, quantity, and finish expectations match the route. It is not the route I would choose for every metal part. If the buyer can accept sintering compensation, planned finishing, and proper inspection, it can be a useful production option. If not, SLM or CNC may be the cleaner decision.