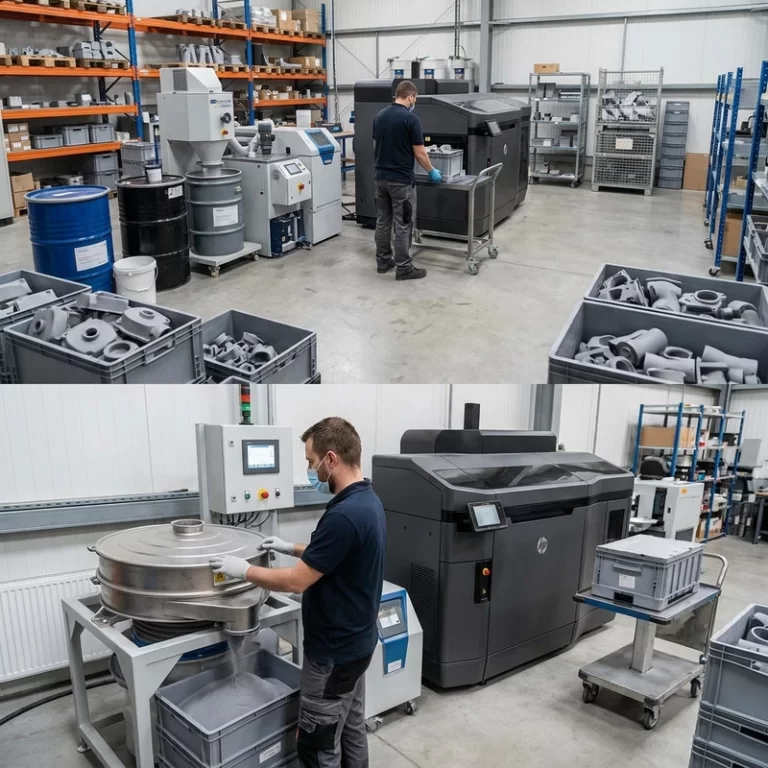
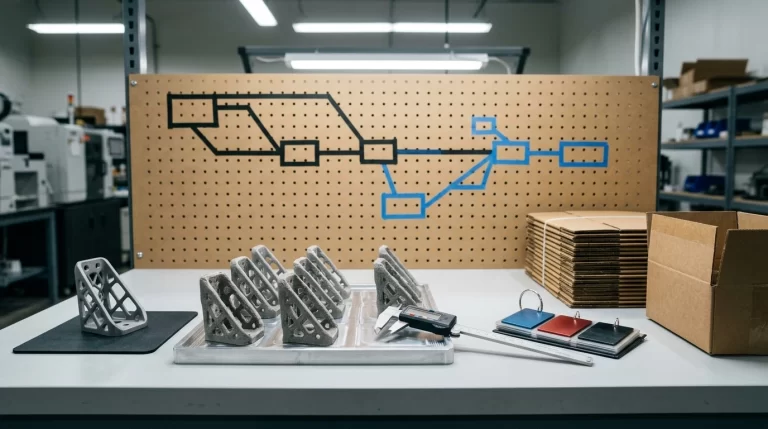
Vacuum casting vs 3D printing is a decision I only make after I know what the sample has to prove. One printed part is great for fast geometry feedback. A small run of ten or twenty plastic housings may need consistent surface, color, and material feel. Those are different jobs, even if the CAD file is the same.
The mistake I see most often is choosing the process by quantity alone. Quantity matters, but design maturity matters more. If the file is still changing every day, a silicone mold can become outdated before the first castings are reviewed.
Vacuum casting vs 3D printing starts with design maturity
3D printing is the better route when the geometry is still being adjusted, when each part may be different, or when the design uses internal channels, lattices, or shapes that are hard to demold. SLA is useful for appearance masters and fine details. SLS or MJF nylon is often stronger for functional plastic parts. FDM can be good for large rough fixtures or low-cost checks.
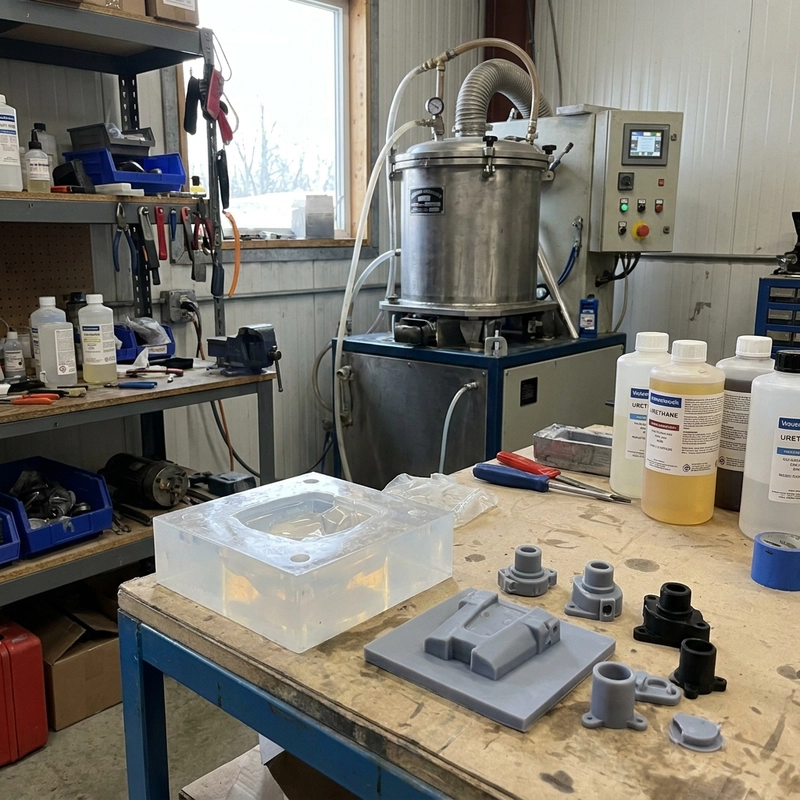
Vacuum casting starts with a master pattern, usually SLA printed or CNC machined. That master is finished to the desired surface, surrounded with silicone, and removed after the mold cures. Polyurethane resin is then cast into the mold under vacuum. This route makes sense when the design is stable enough that repeating the same part is more valuable than changing it again tomorrow.
Where vacuum casting vs 3D printing changes the finished part
The master controls the casting. Support marks, sanding scratches, wrong texture, or dimensional errors on the master can be copied into the silicone mold and then repeated across every casting. I like to approve the master surface before mold making, especially for consumer-product shells, buttons, transparent parts, or gift items that will be judged by touch and appearance.
Vacuum casting can simulate ABS-like, rubber-like, transparent, or colored plastic behavior depending on the polyurethane system. It is not the same as injection molding, but it can feel closer to molded plastic than many printed resins. 3D printing has the opposite advantage: it avoids mold cost, responds quickly to CAD changes, and can build features that a silicone mold cannot release cleanly.
| Decision point | 3D printing fits when | Vacuum casting fits when |
|---|---|---|
| Design status | Still changing | Frozen enough for a mold |
| Quantity | One-off to small mixed batch | Repeated small batch from one master |
| Surface feel | Process texture is acceptable or finish is planned | Molded-like surface consistency matters |
| Geometry | Channels, lattices, complex internal features | Demoldable shells, covers, buttons, pads |
| Color | Paint, dye, or material color | Pigmented casting resin or post-finish |
Mold life, undercuts, and demolding are not small details
A silicone mold has a limited life. The number of usable castings depends on resin chemistry, wall thickness, undercuts, part size, and demolding force. A simple cover may cast cleanly many times. A part with deep ribs, hooks, sharp undercuts, or fragile texture may tear the mold early. When a buyer asks for several dozen identical pieces, I would rather discuss mold count before quoting a unit price that quietly assumes everything demolds easily.
Designs that print easily can be poor casting candidates. A trapped cavity, reverse undercut, thin internal channel, or aggressive lip may be fine in SLS nylon but awkward in silicone. Sometimes the answer is to adjust the design for casting. Sometimes the answer is to keep printing. The process should be chosen before the small batch is treated as approved production.
Vacuum casting vs 3D printing RFQ notes
For a clean decision, I ask for quantity now, expected follow-up quantity, material feel, finish, color, critical dimensions, and whether the design is frozen. If a housing must be assembled with screws, inserts, lenses, or electronics, those mating parts matter. If the part will later move to injection molding, the vacuum-cast sample should not hide design problems that tooling will expose.
Related decisions often overlap with SLA resin 3D printing for master quality and 3D printing cost reduction for batch planning. For neutral terminology on additive processes, I still point buyers to ISO/ASTM 52900, then bring the discussion back to the real part.
My practical rule: print while the design is learning, cast when the design is stable and repeated plastic feel matters. Vacuum casting vs 3D printing is not a contest. In a good prototype program, the printed master and the cast batch often belong in the same workflow.
For the first cast part, I do not only look at the outside. I check parting lines, vent marks, trapped bubbles, thin ribs, screw bosses, and the places where the silicone mold had to flex during demolding. A glossy sample can hide a weak rib. A nice color can hide a tiny void near a clip root. Those are the spots that decide whether a small batch feels controlled or just lucky.
I also ask whether the master pattern is being saved as the approved reference. If a second mold is needed later, the master condition matters. Sanding a master one more time, changing the primer, or repairing a small chip can shift the next batch. This is where vacuum casting vs 3D printing becomes a documentation issue: the process route, master finish, mold count, resin system, and color match should be recorded before the buyer approves repeat production.